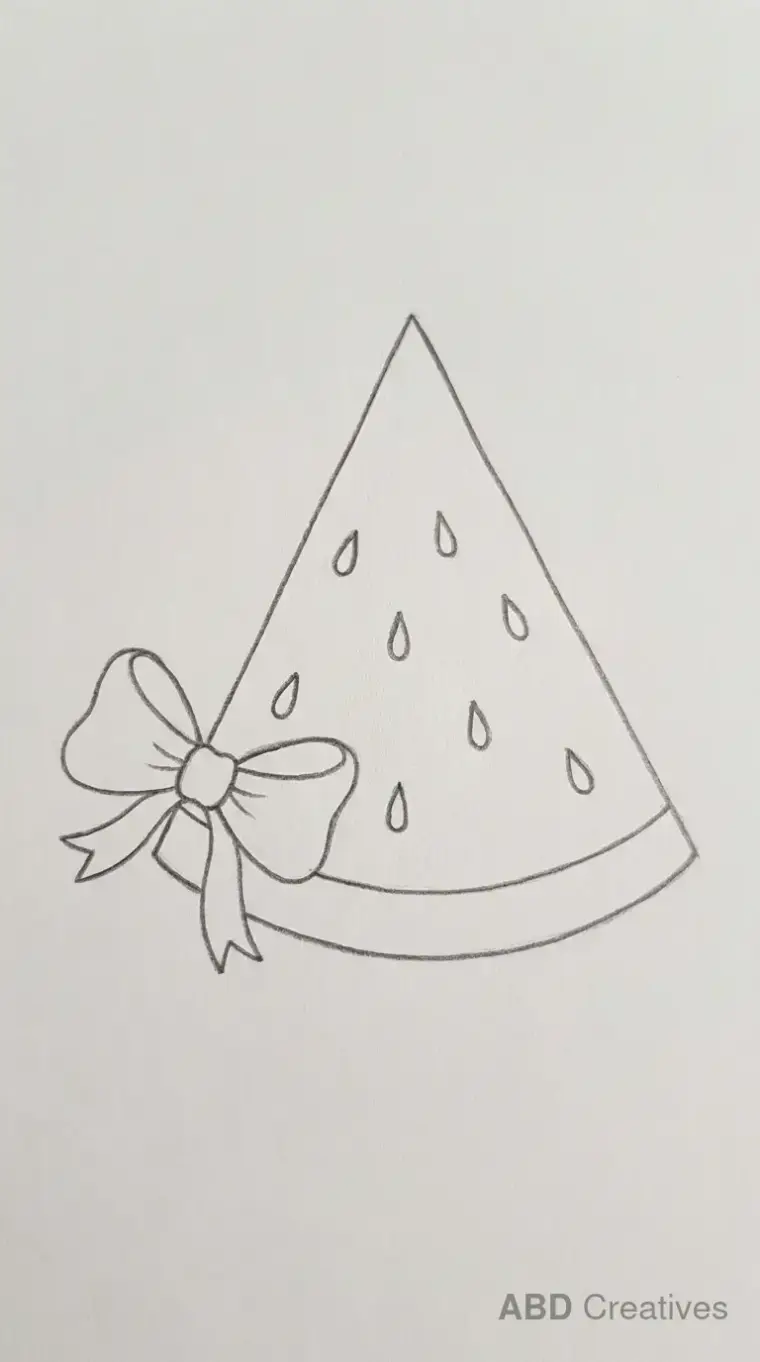
Watermelon Drawing Ideas
Twenty watermelon drawings you can copy straight onto paper, from a single slice to a whole striped watermelon. Every one is a clean pencil outline drawn by hand, with no shading and no colour. Pick one, keep it next to you, and copy it line by line.
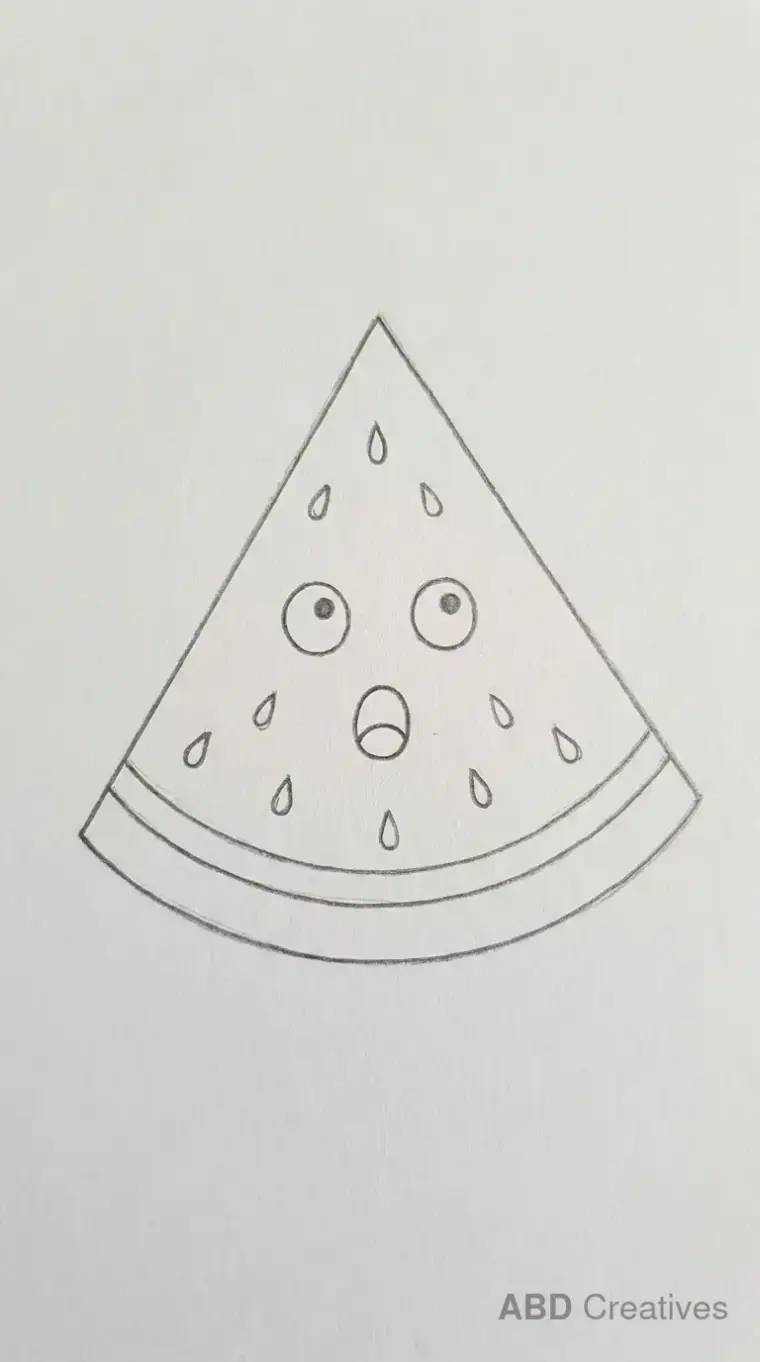
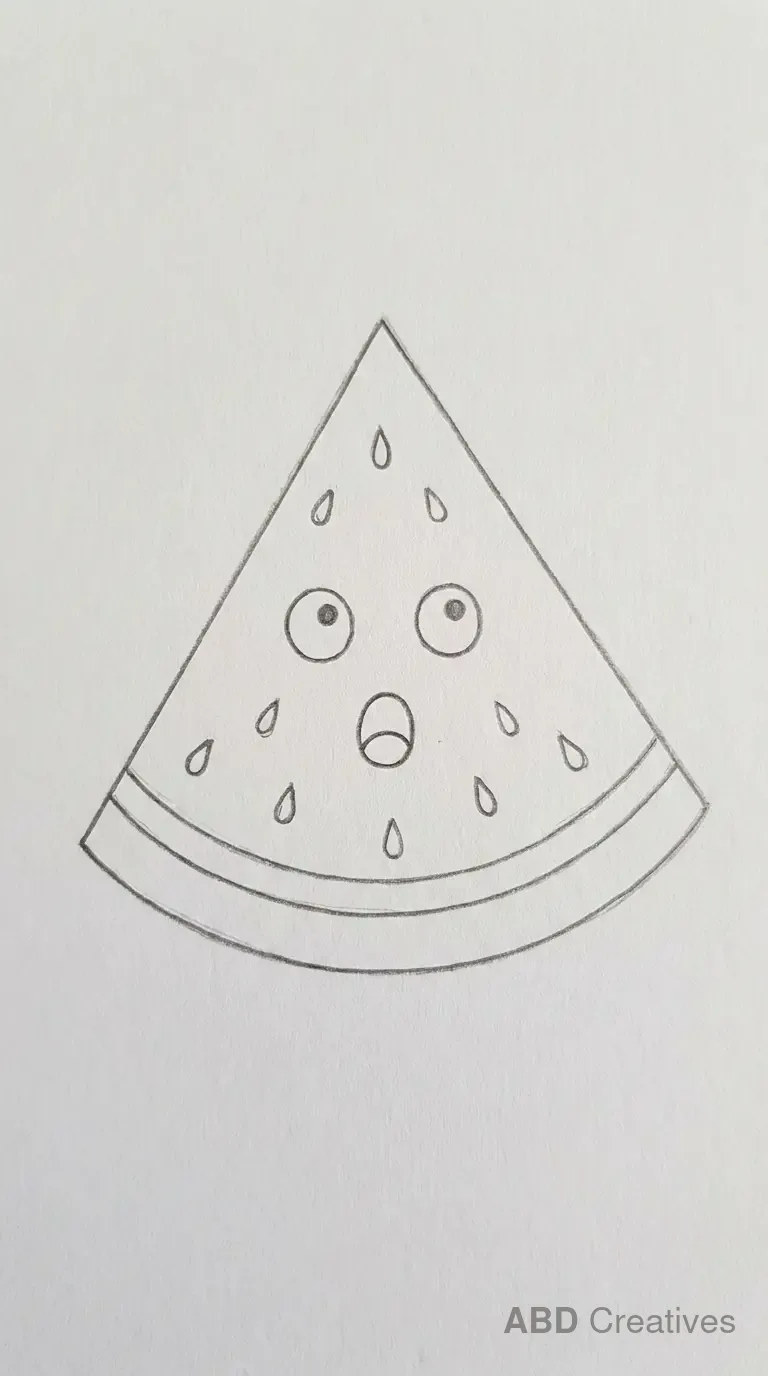
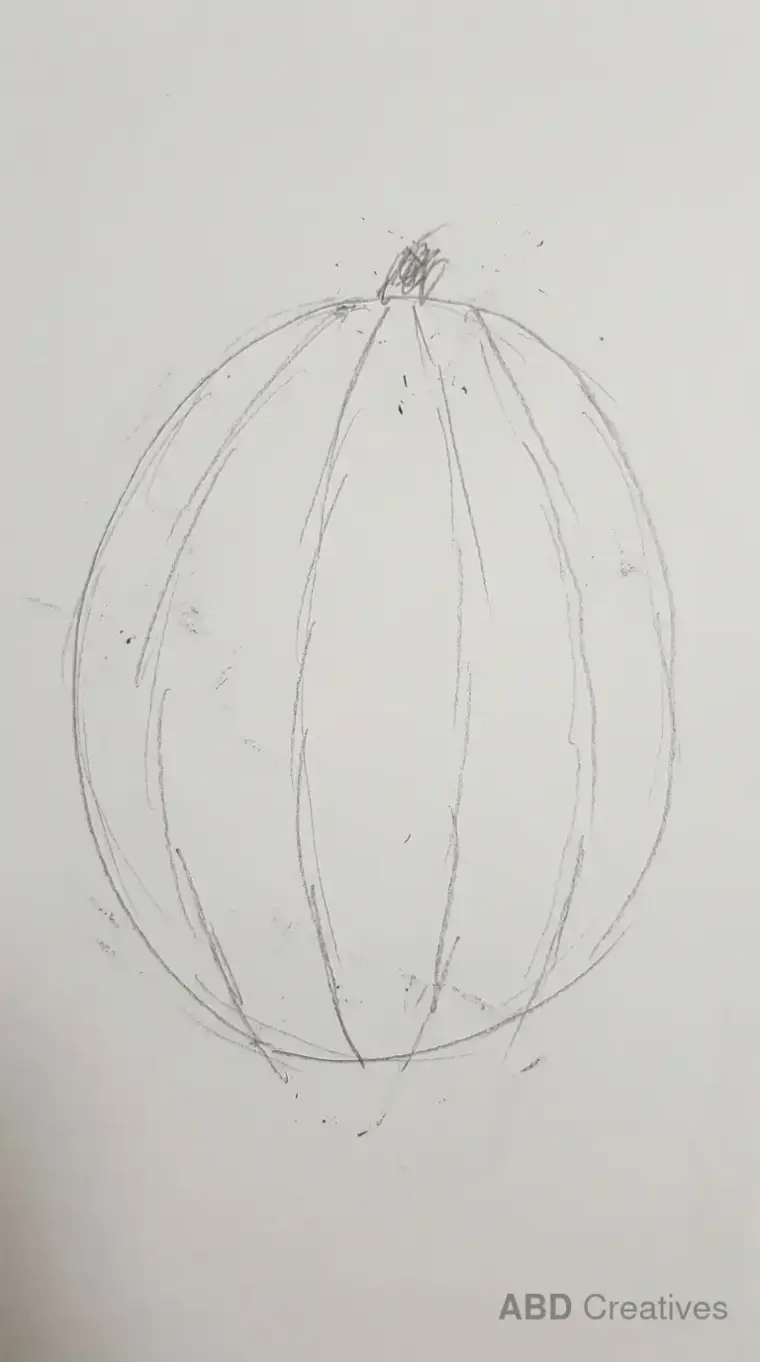
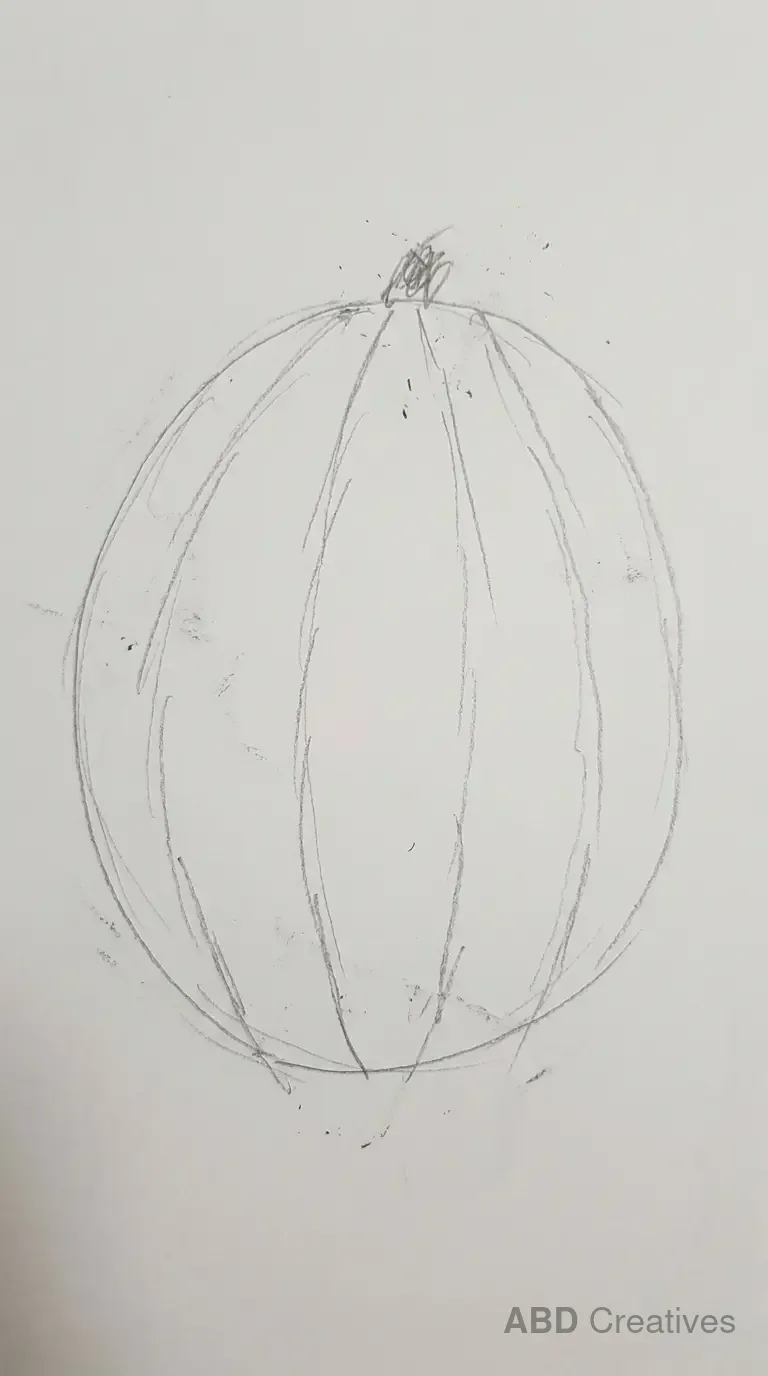
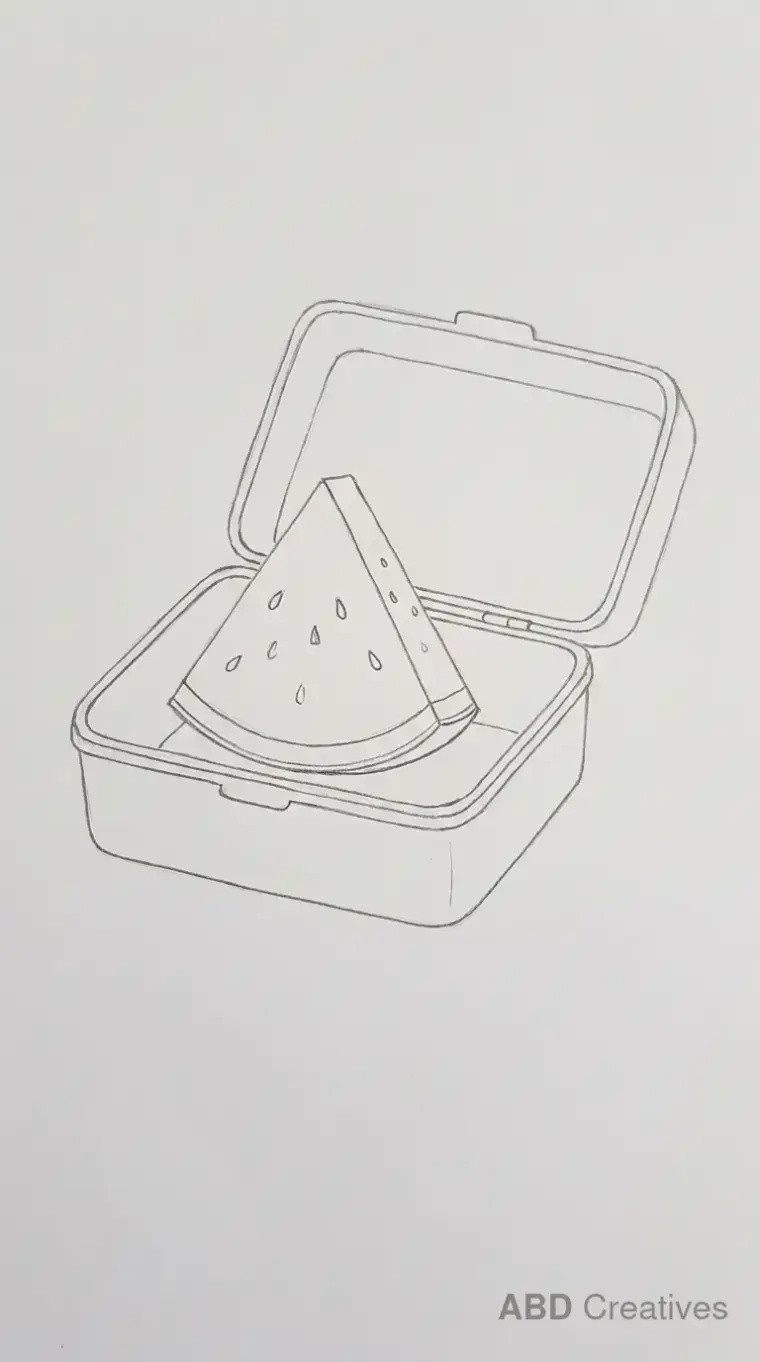
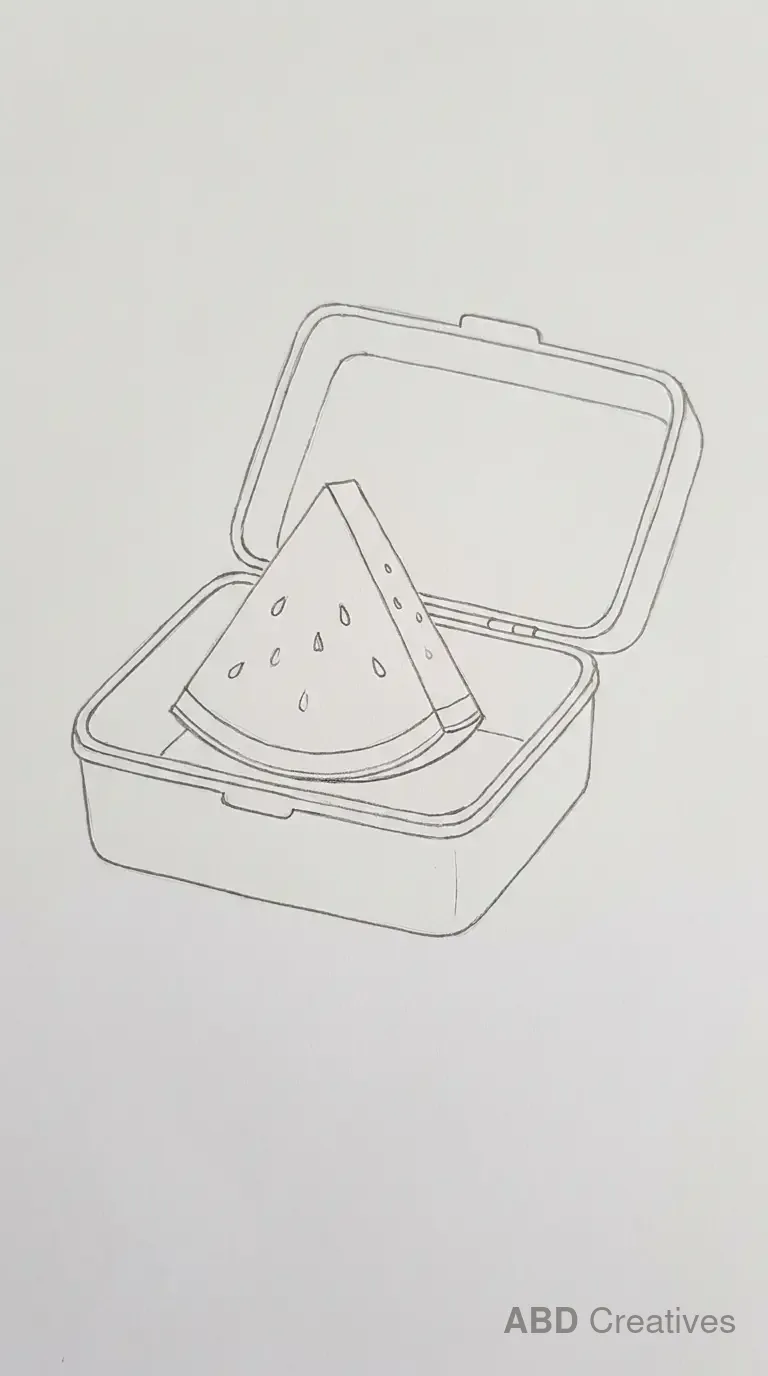
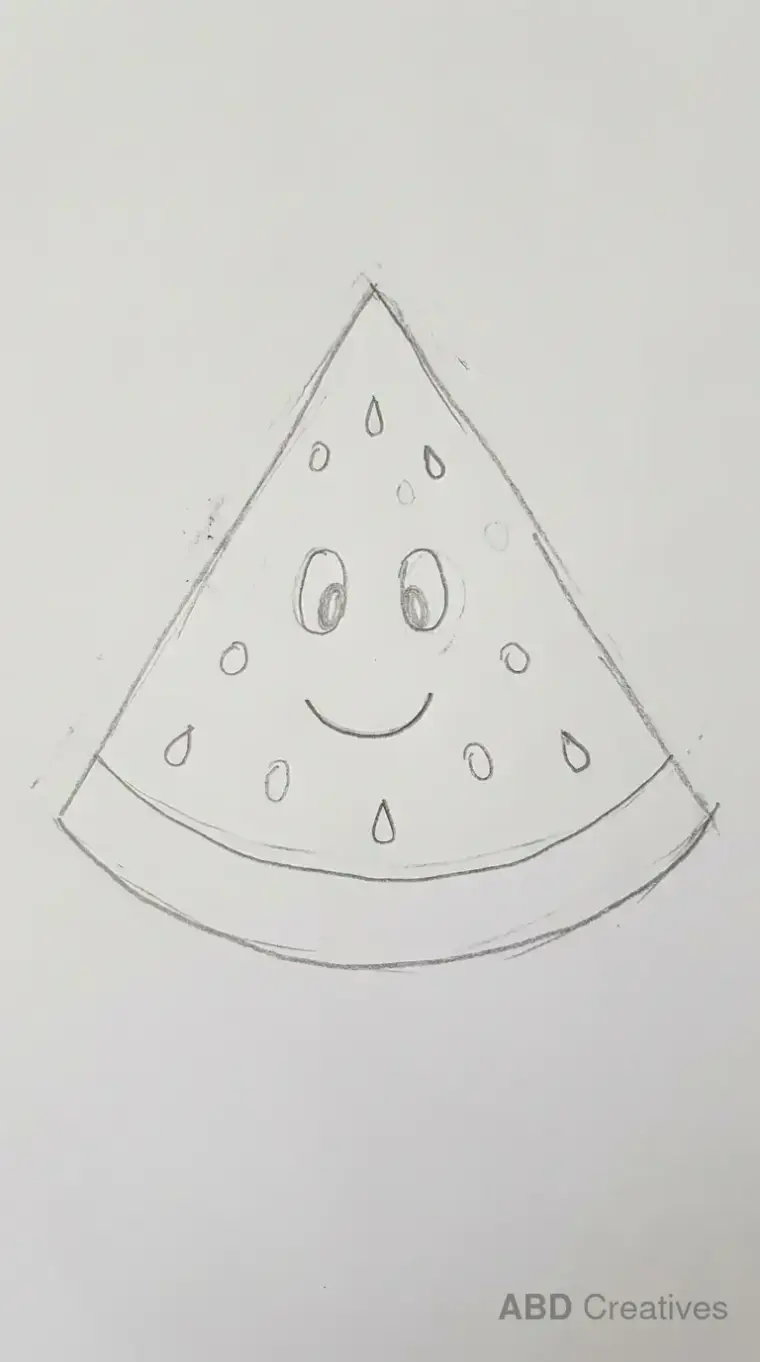
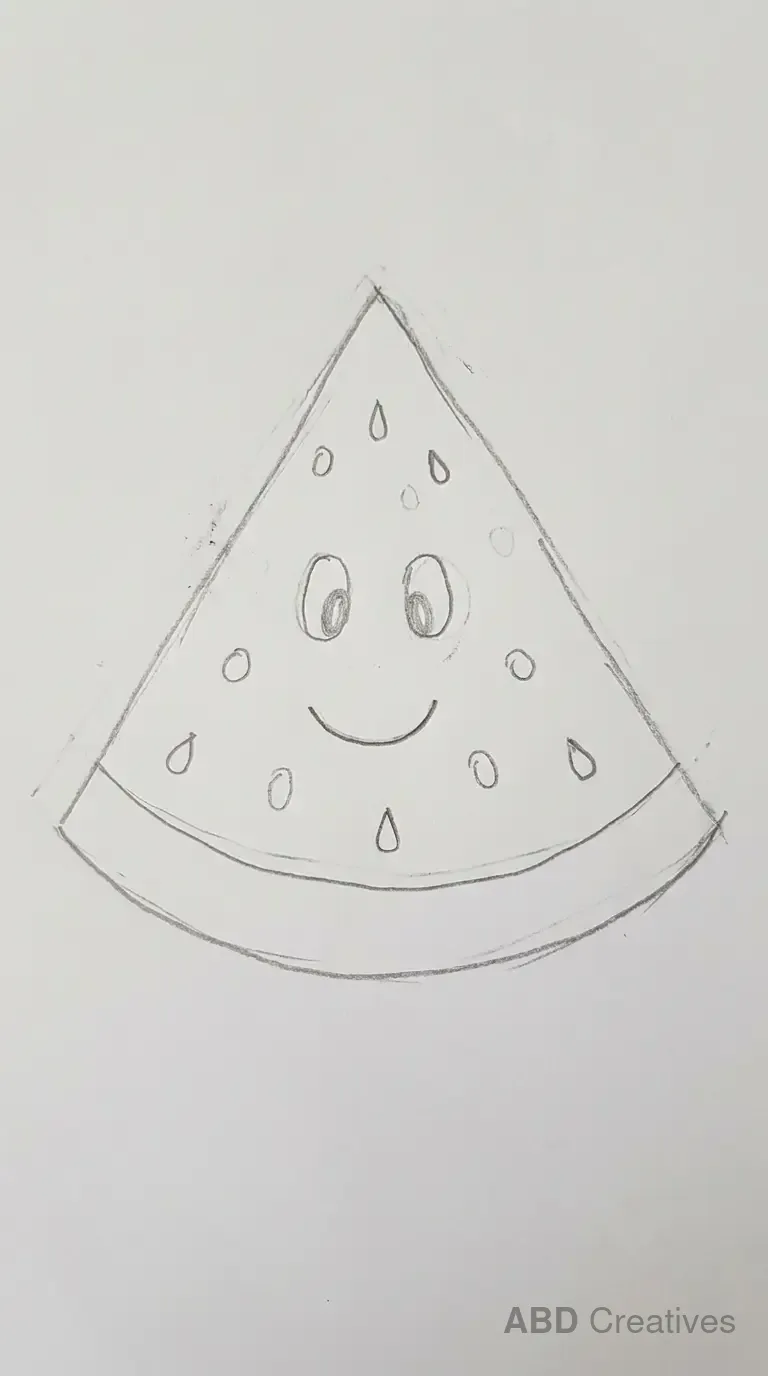
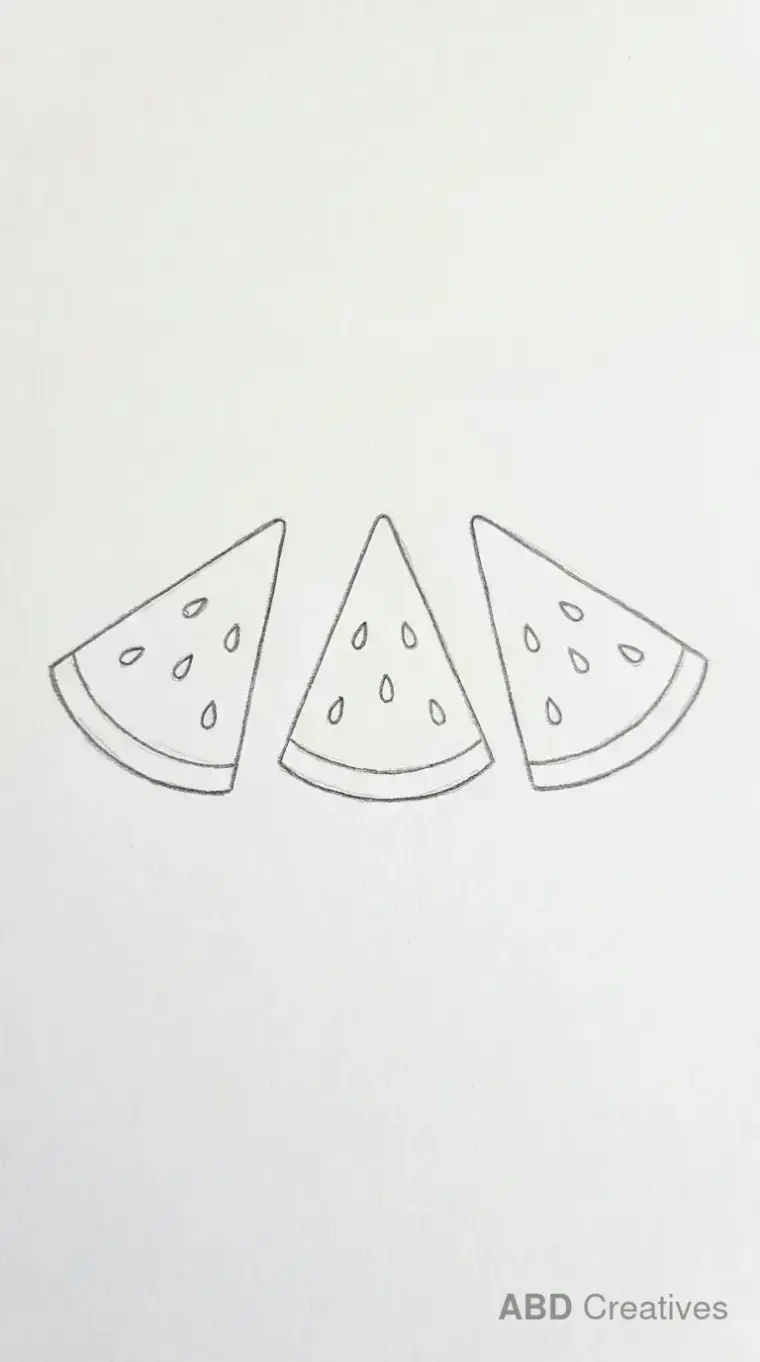
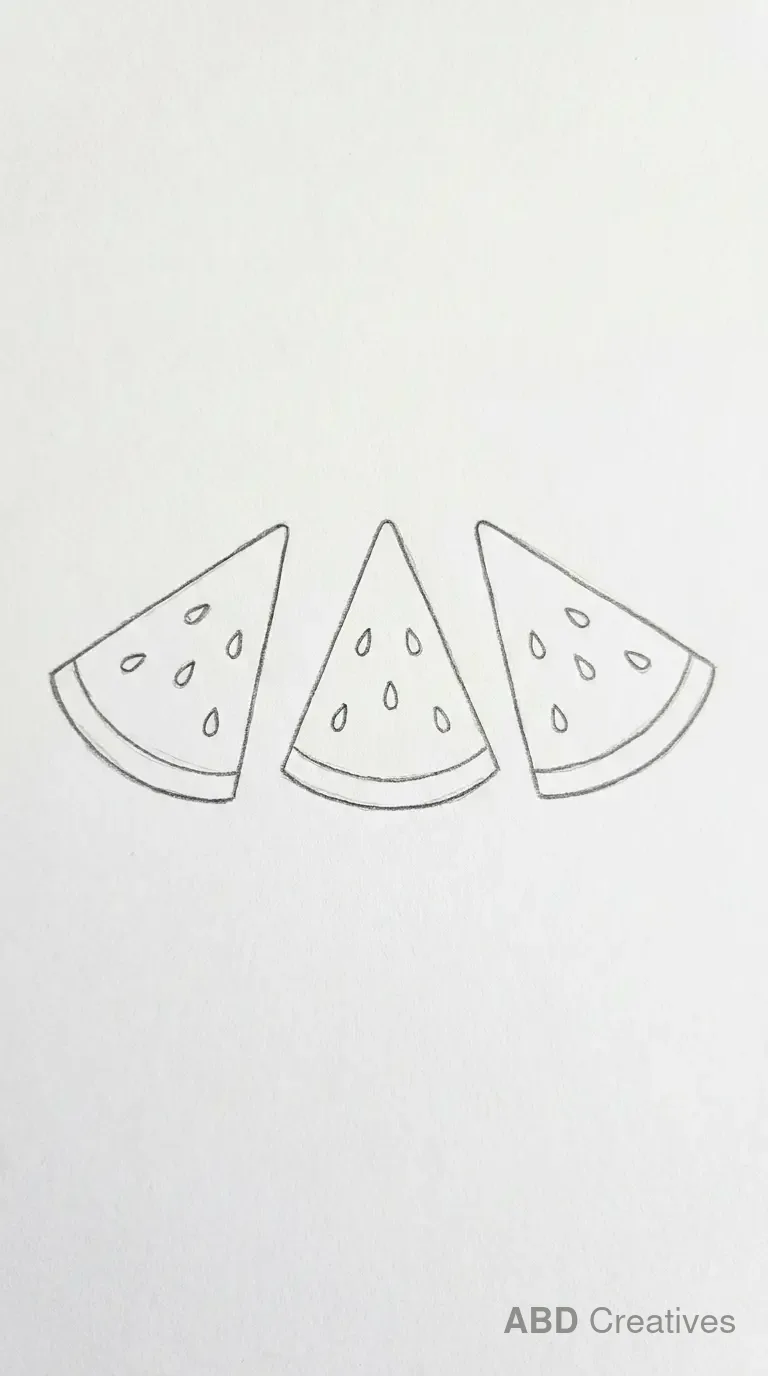
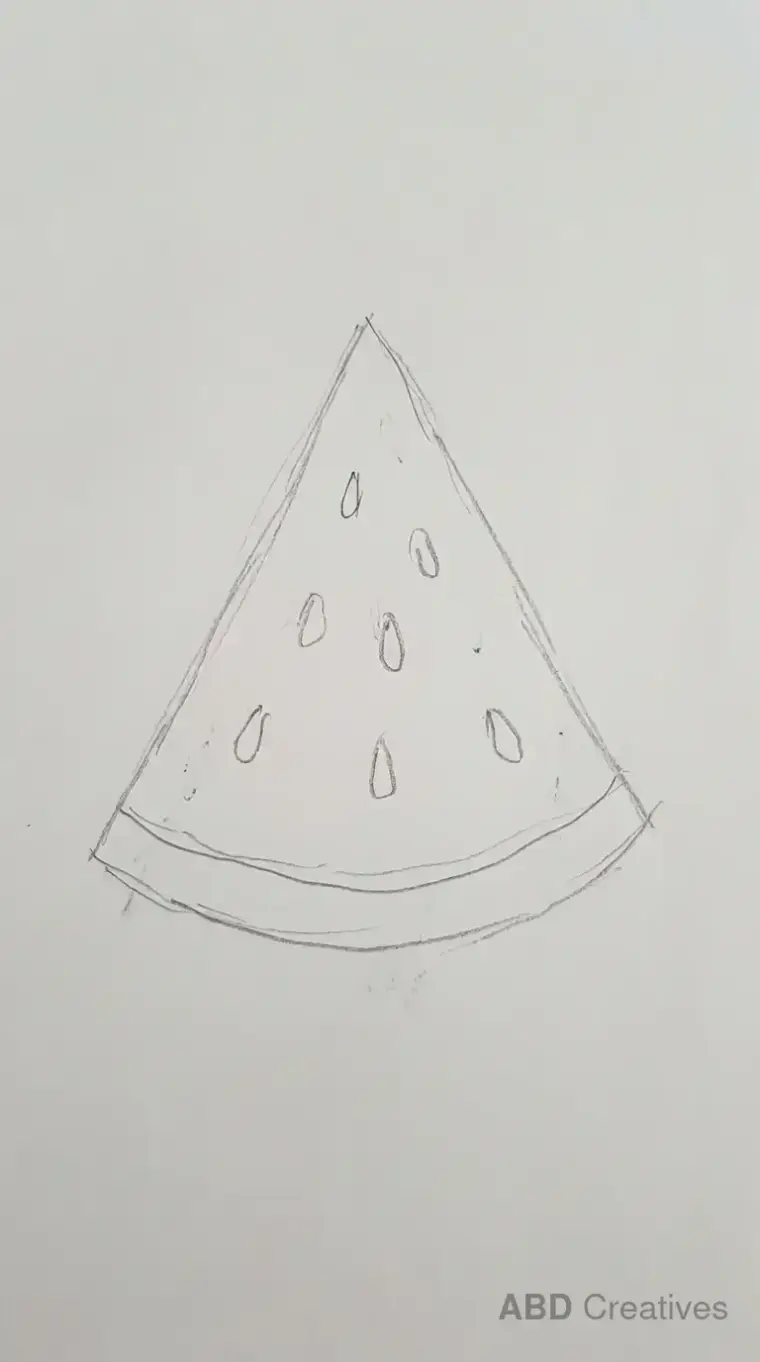
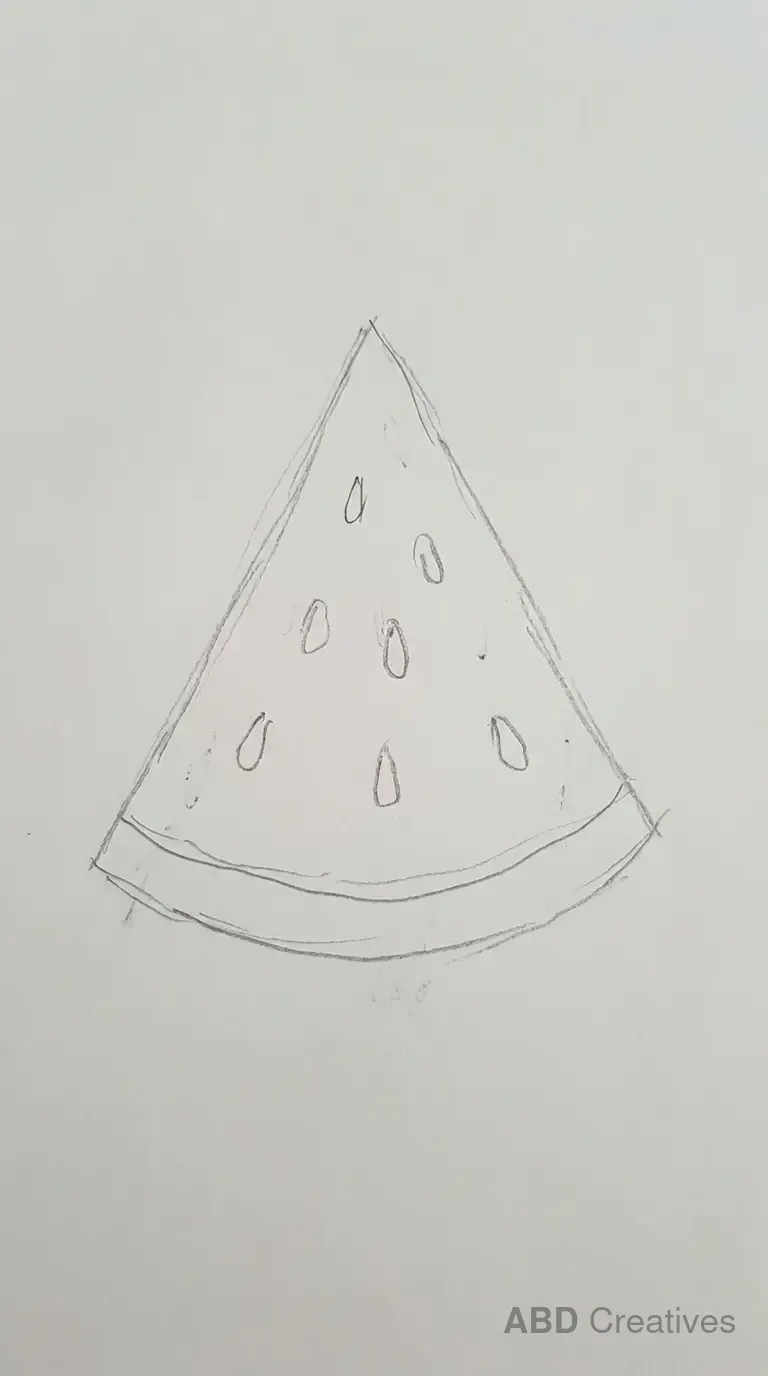
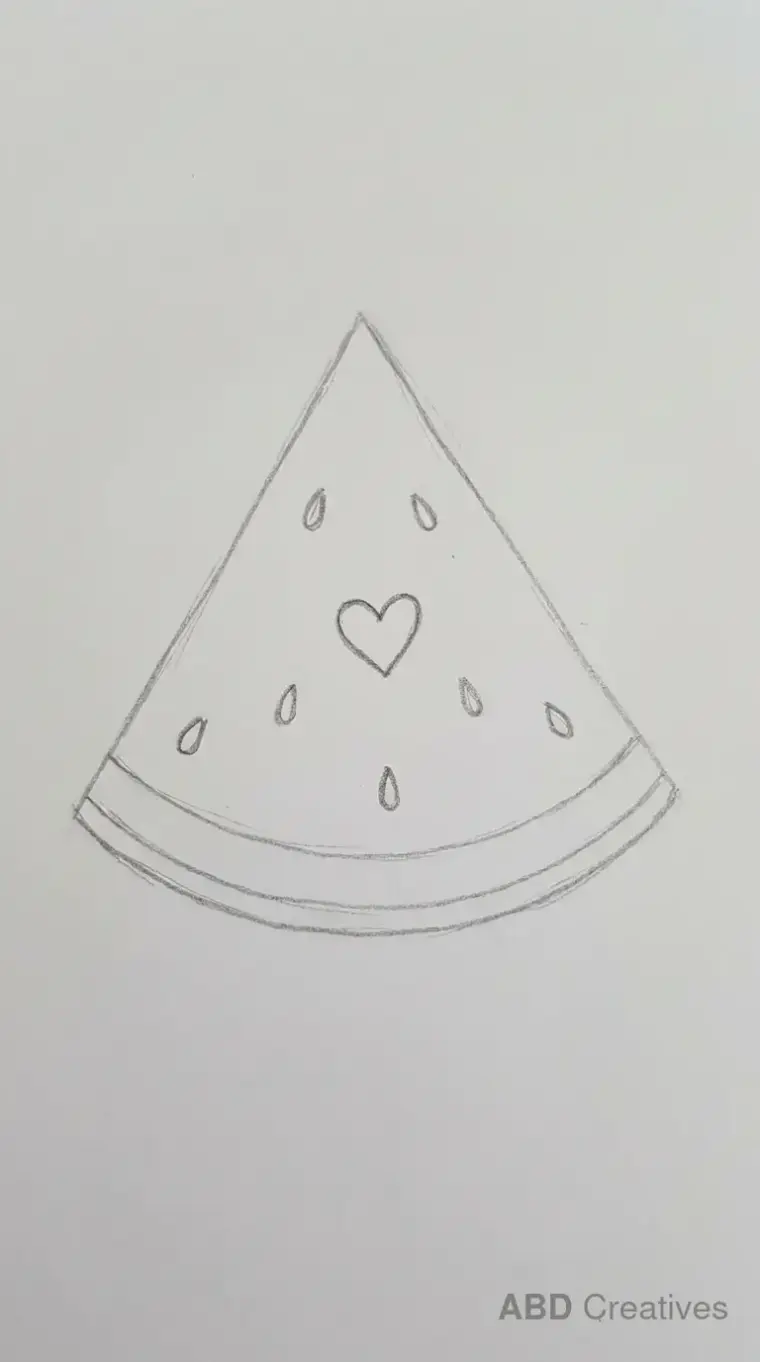
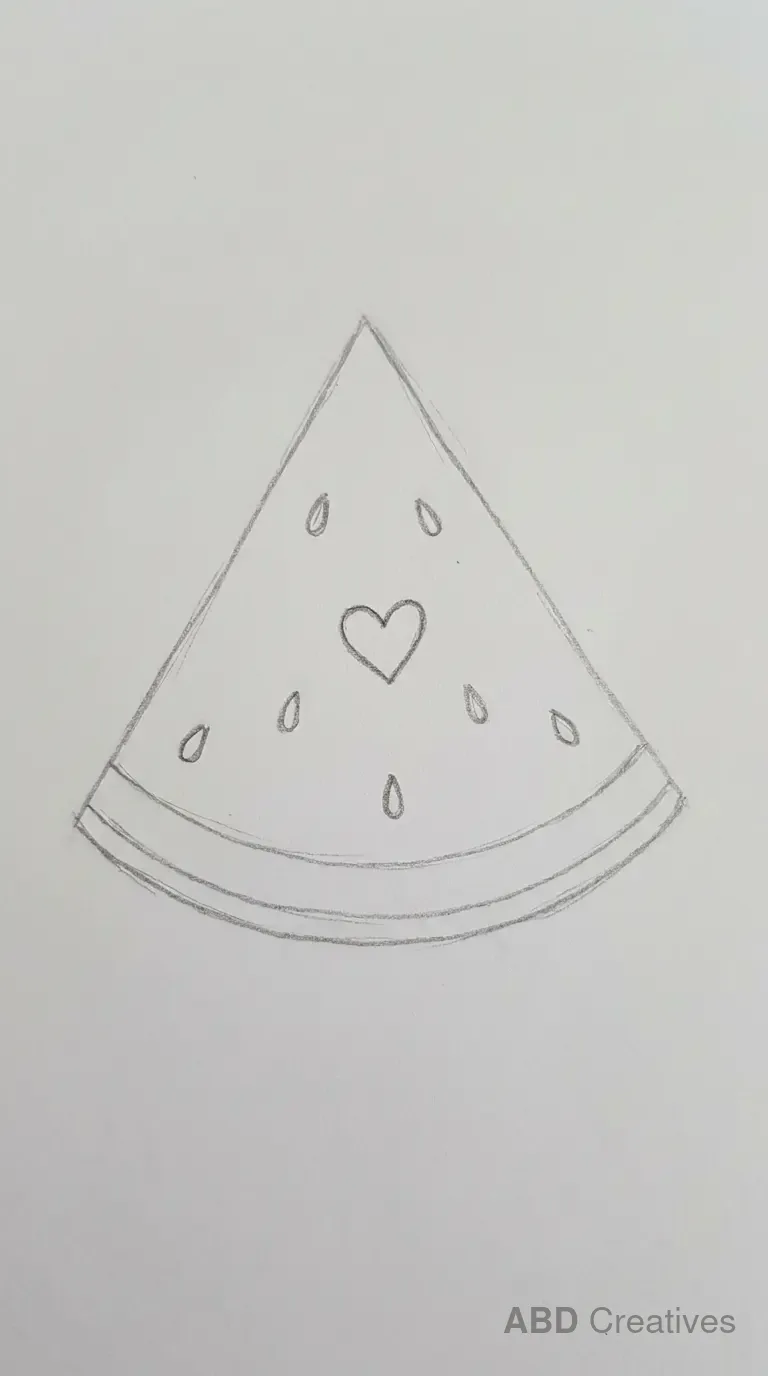
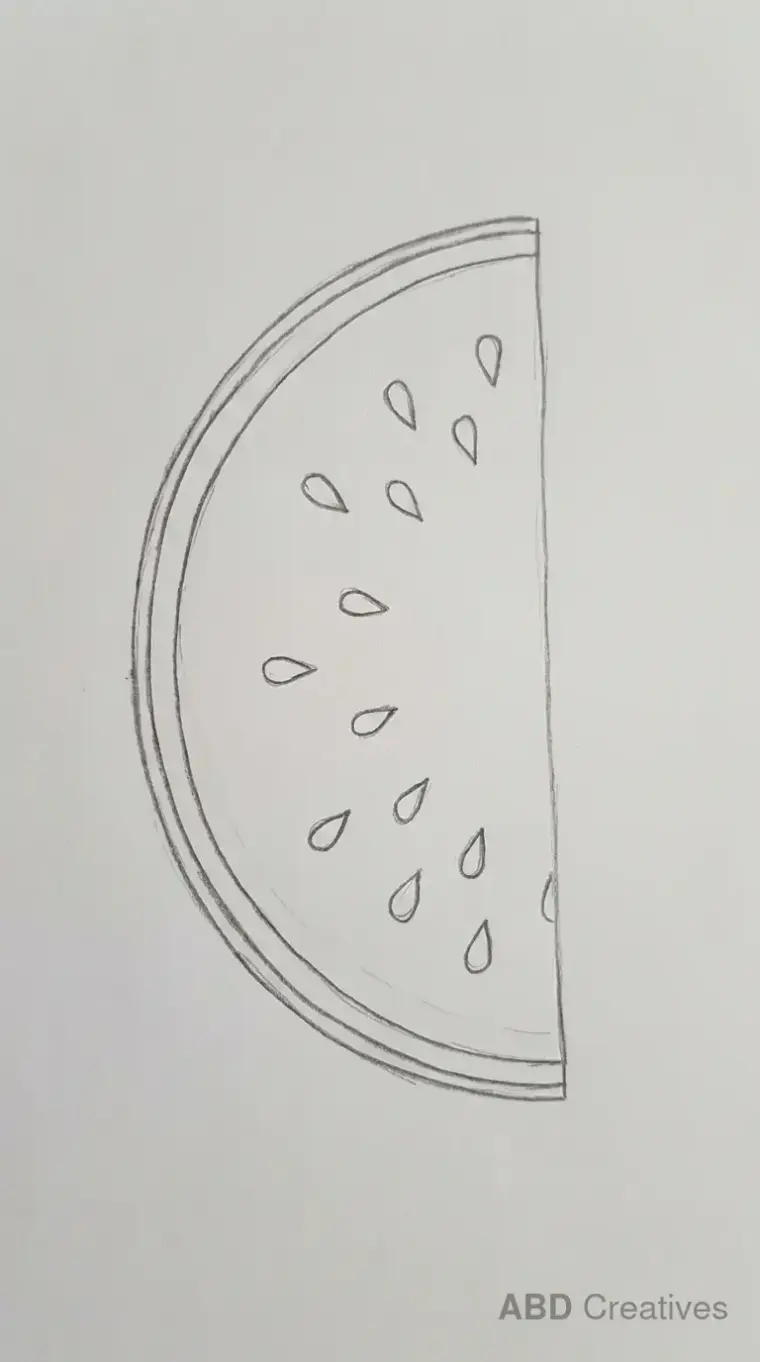
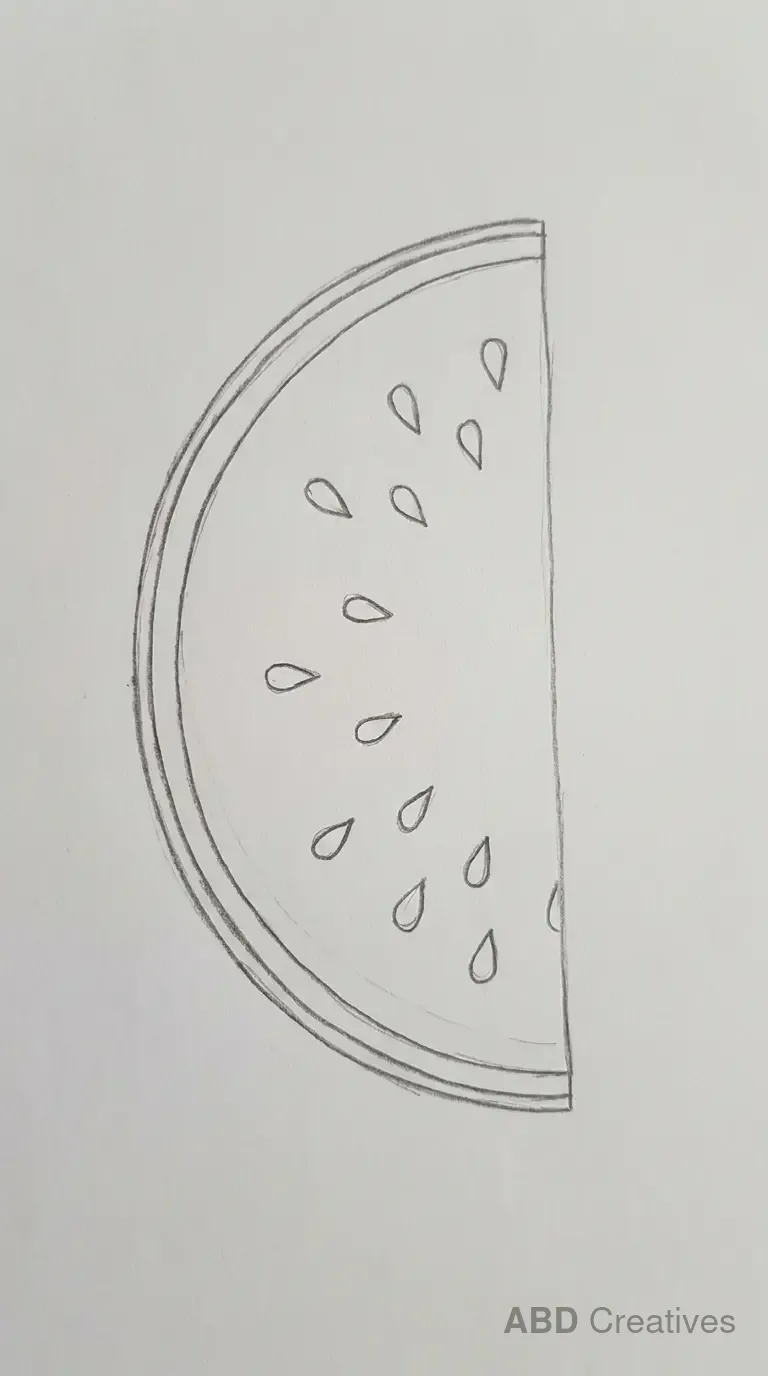
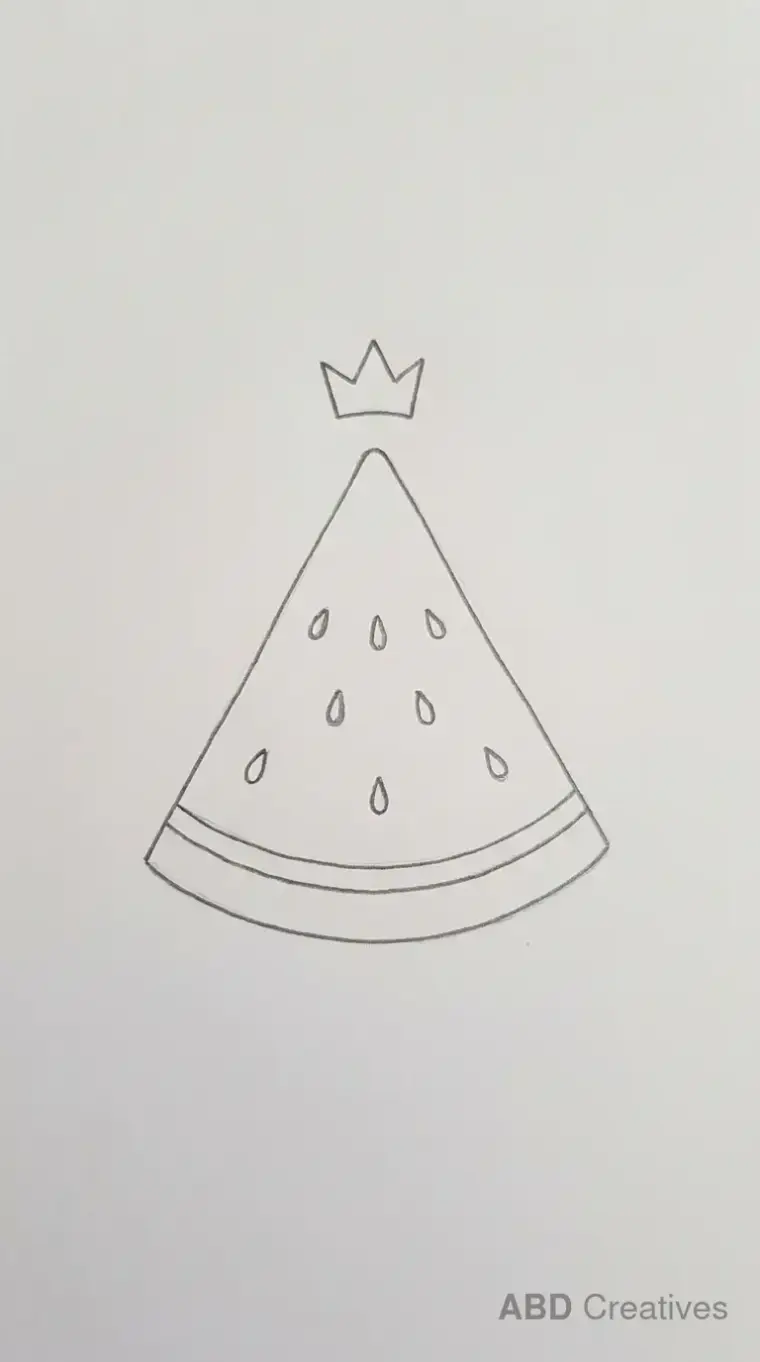
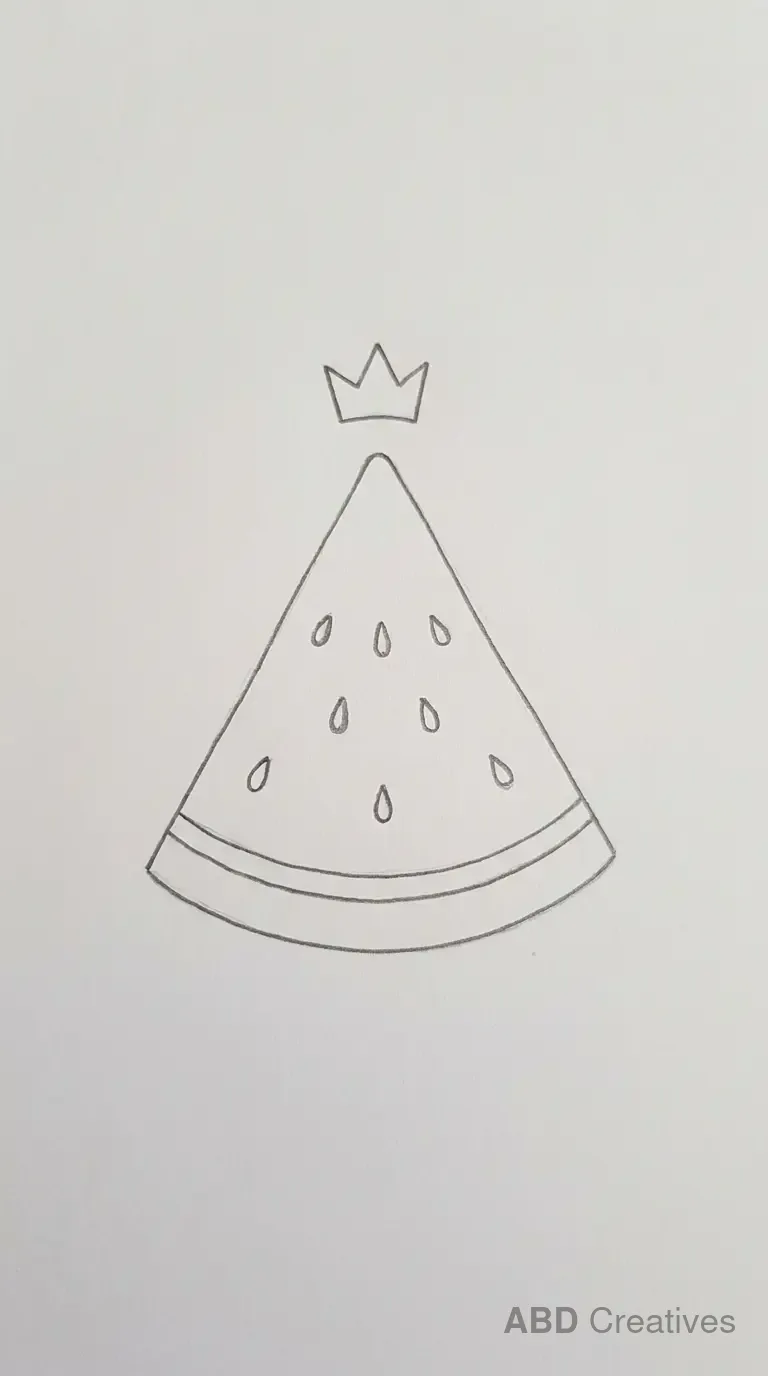
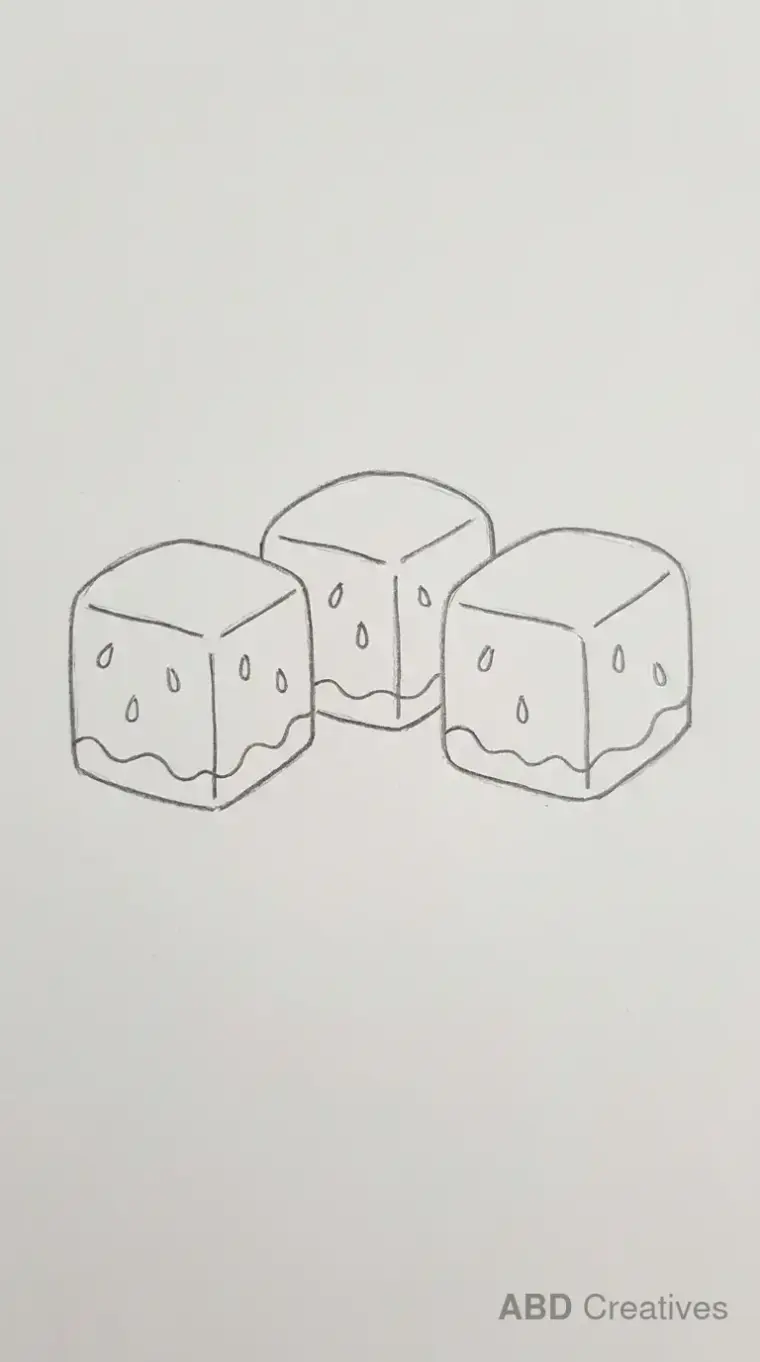
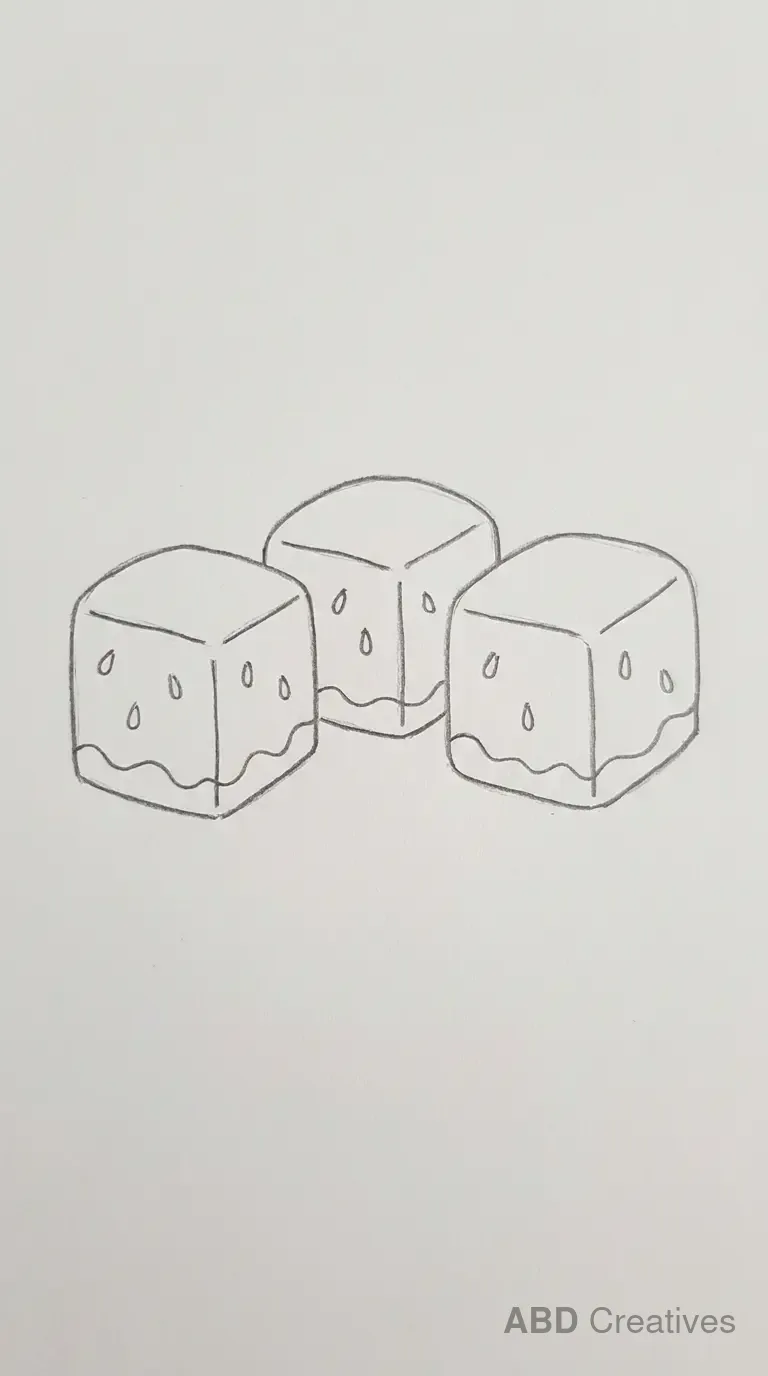
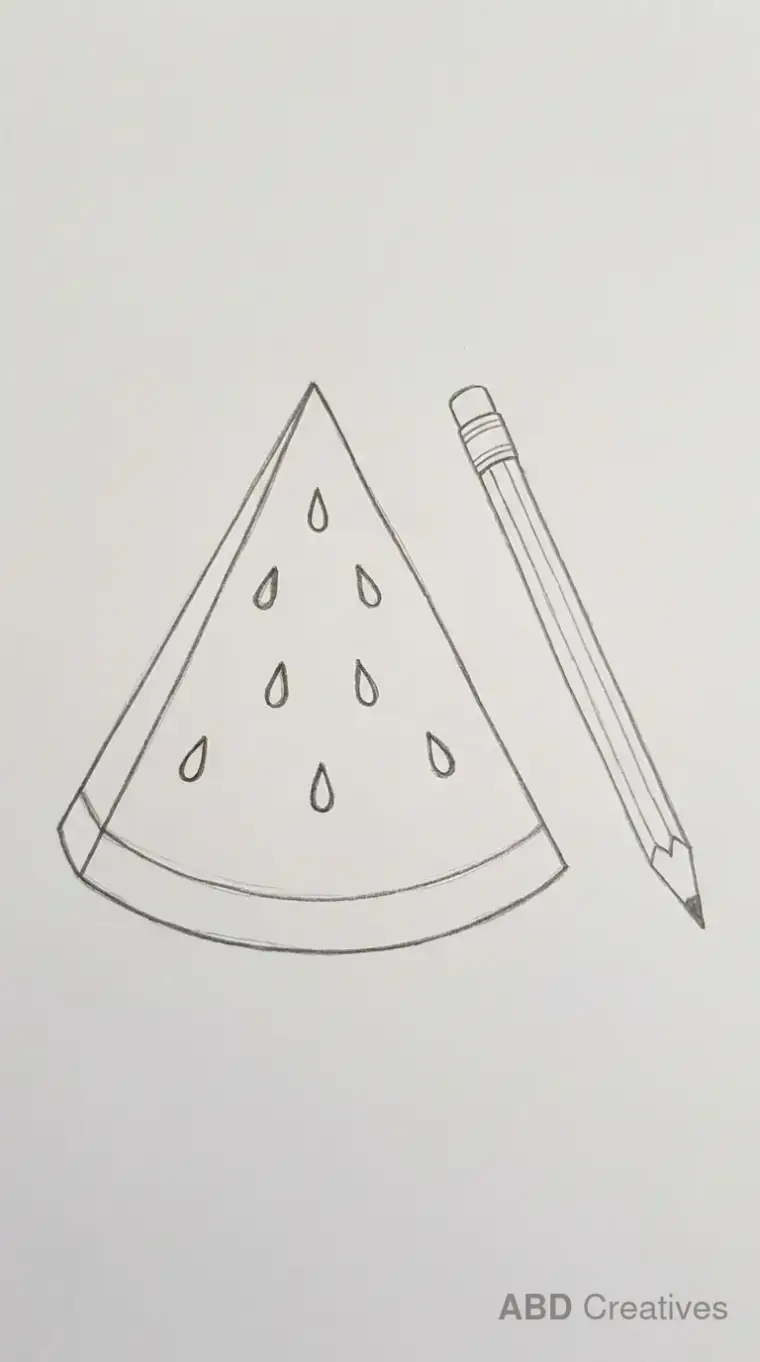
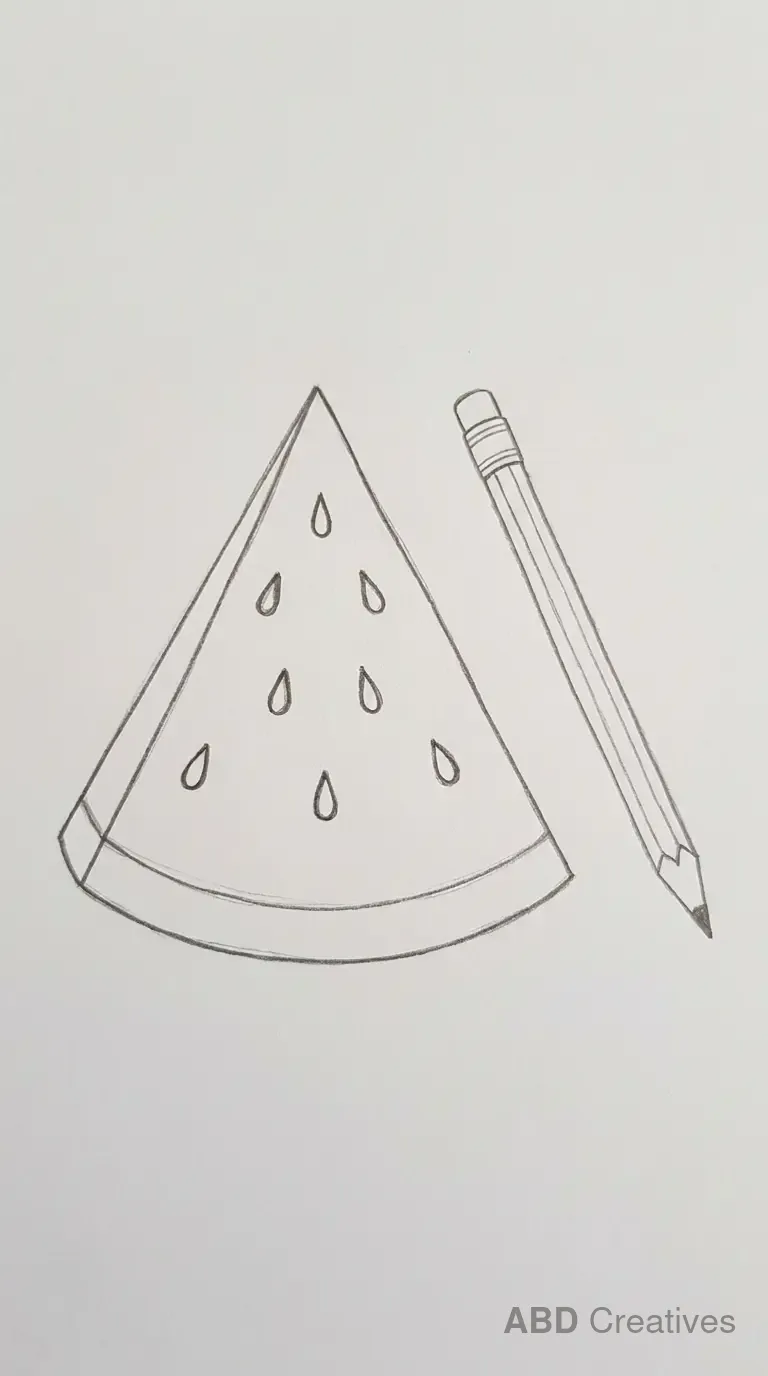
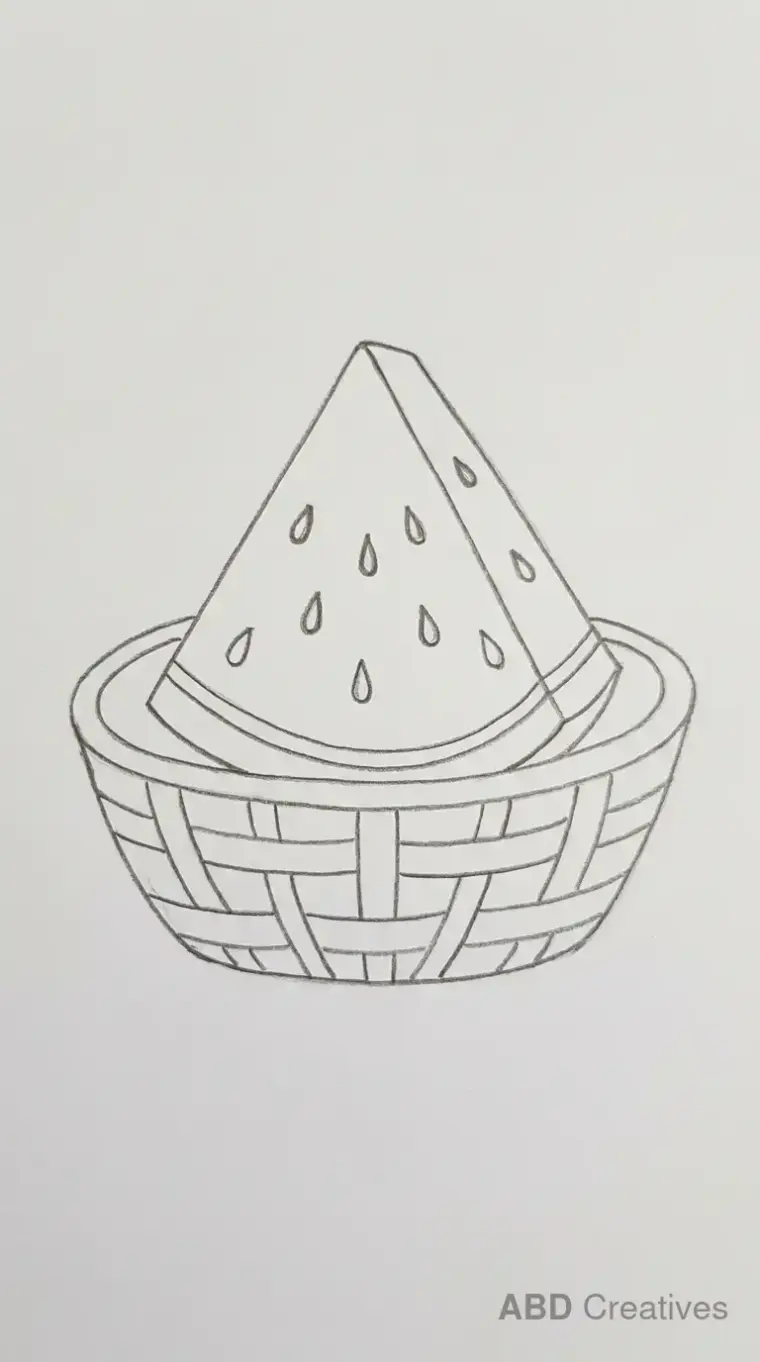
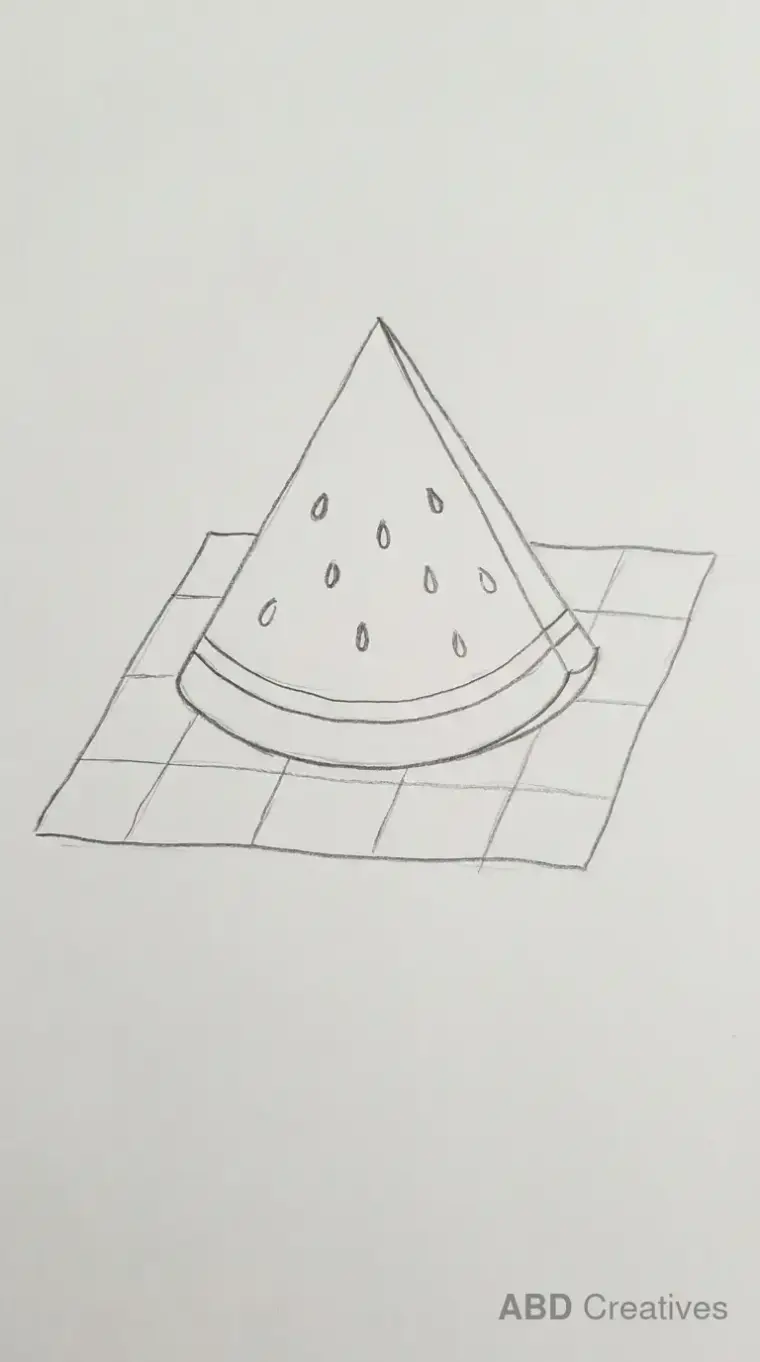
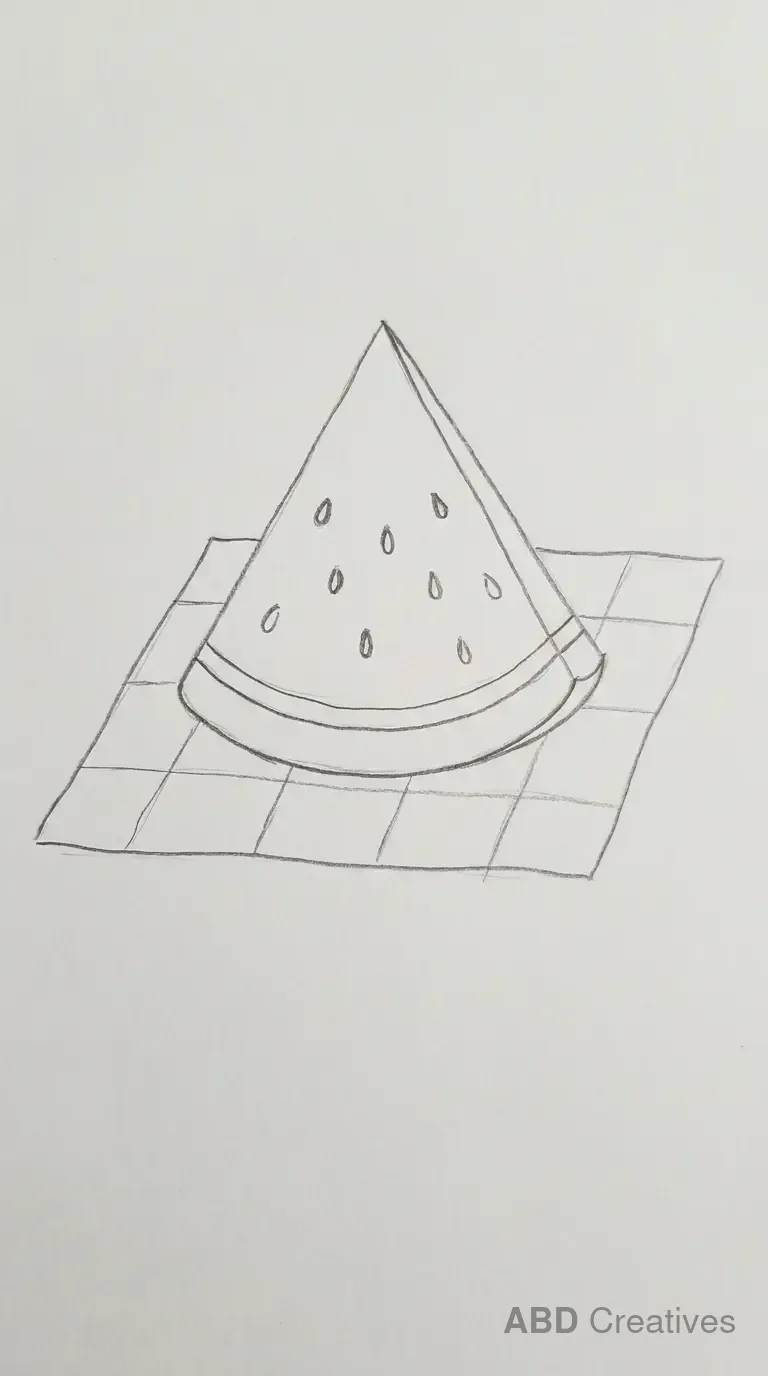
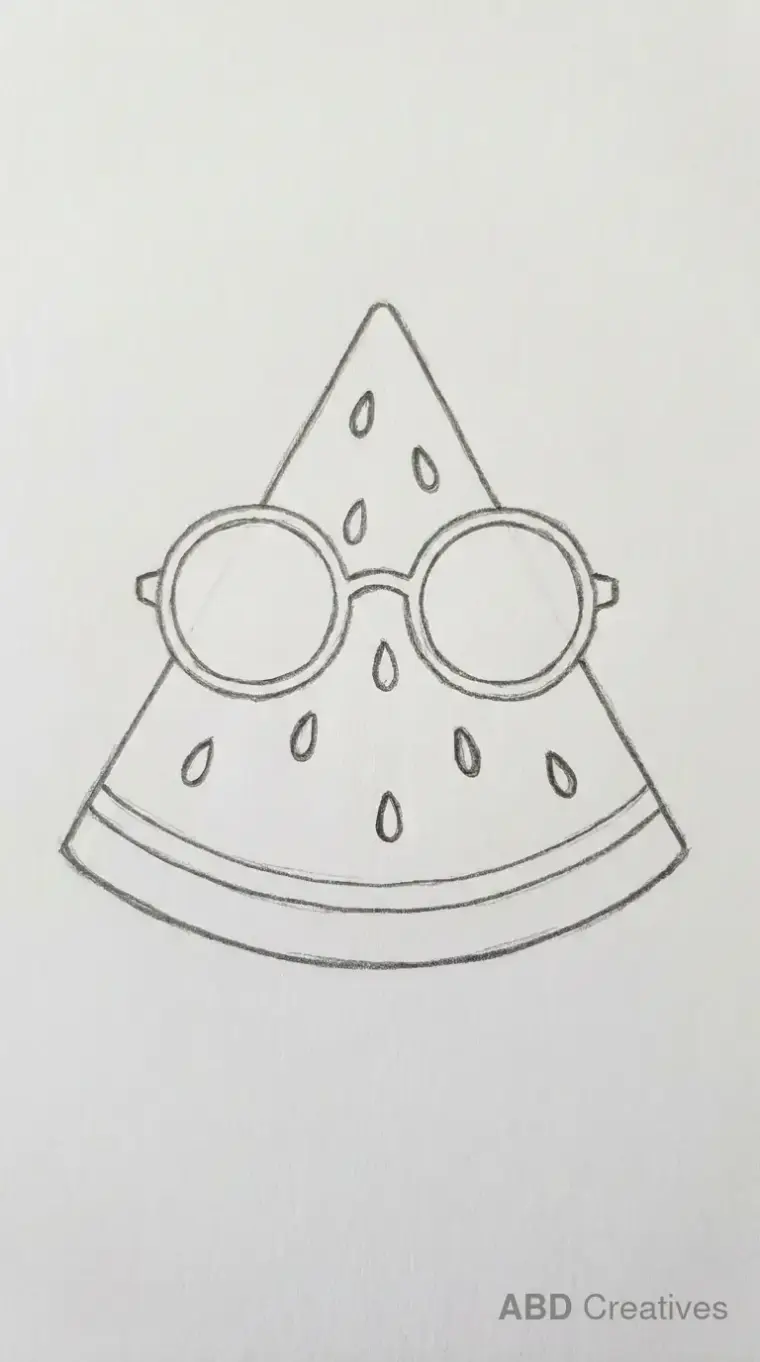
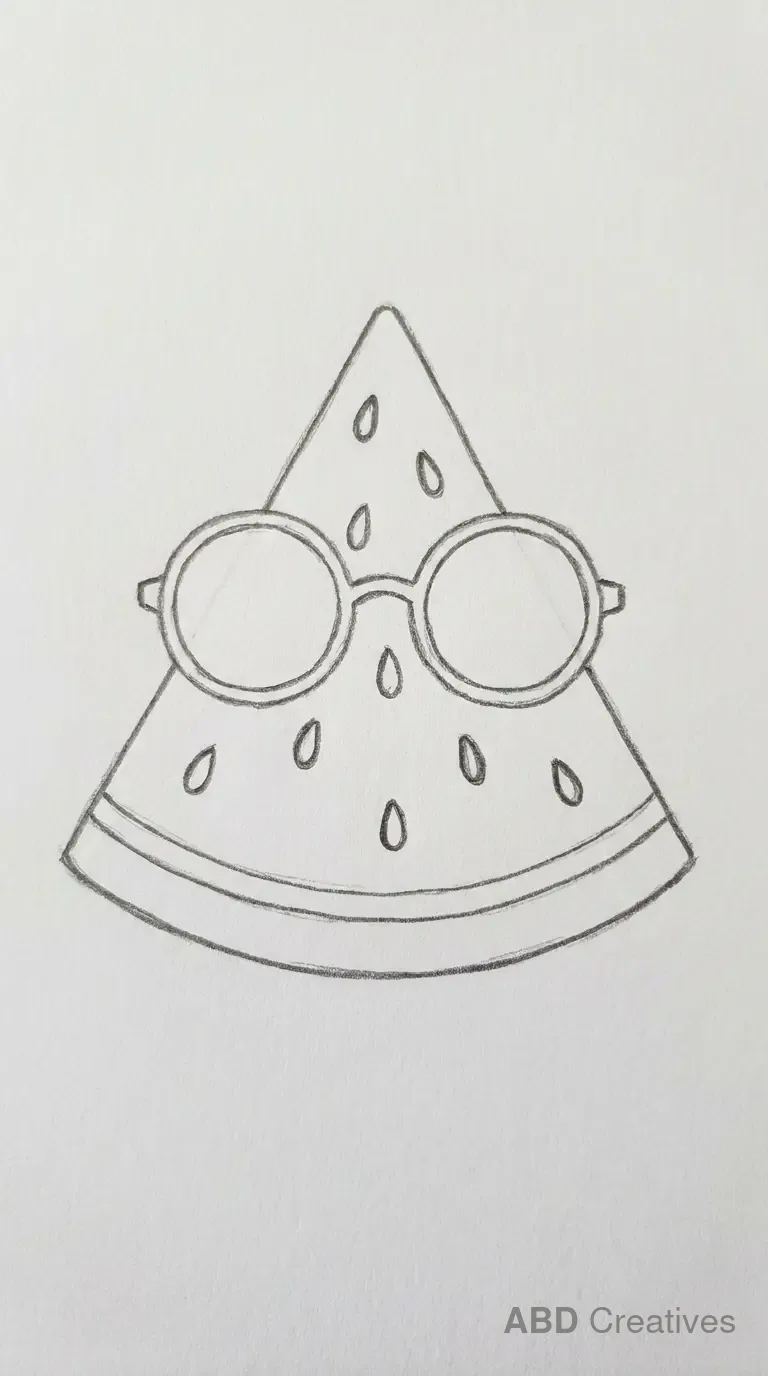
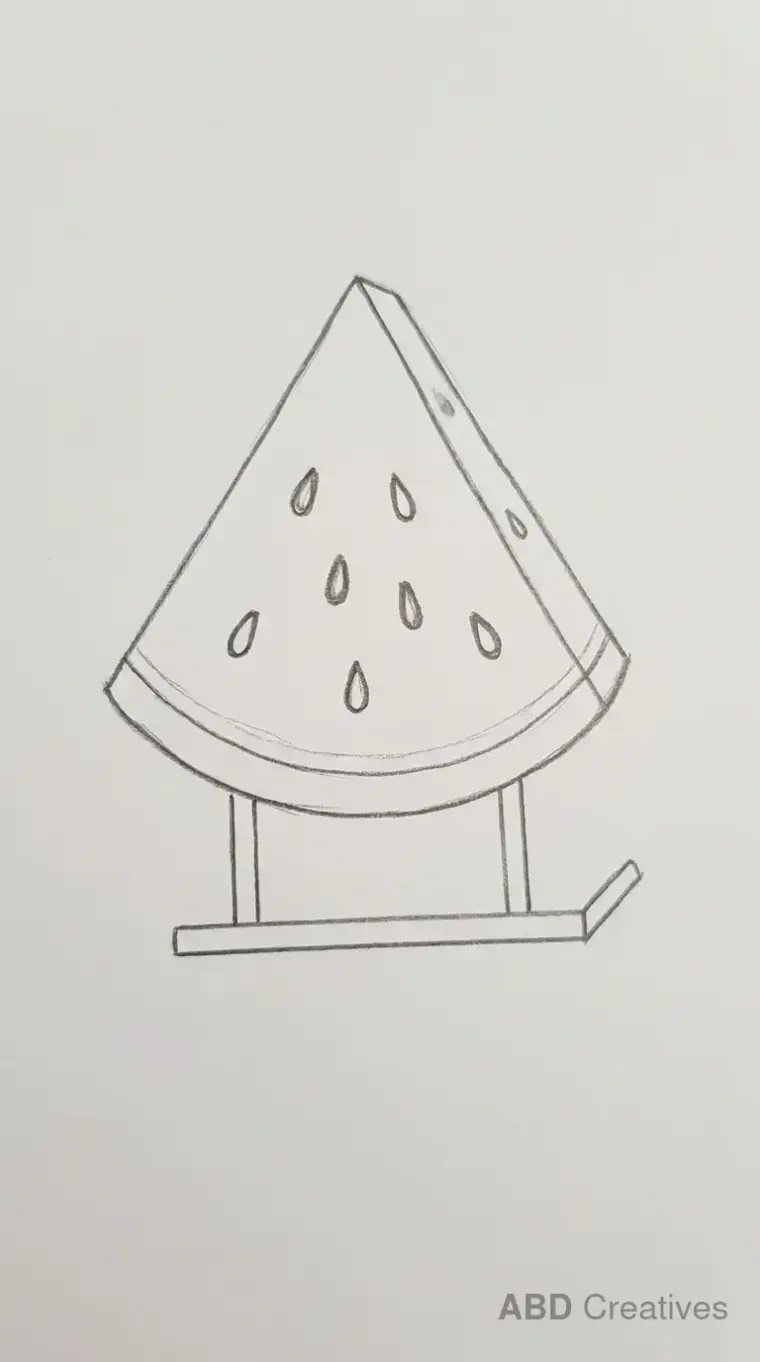
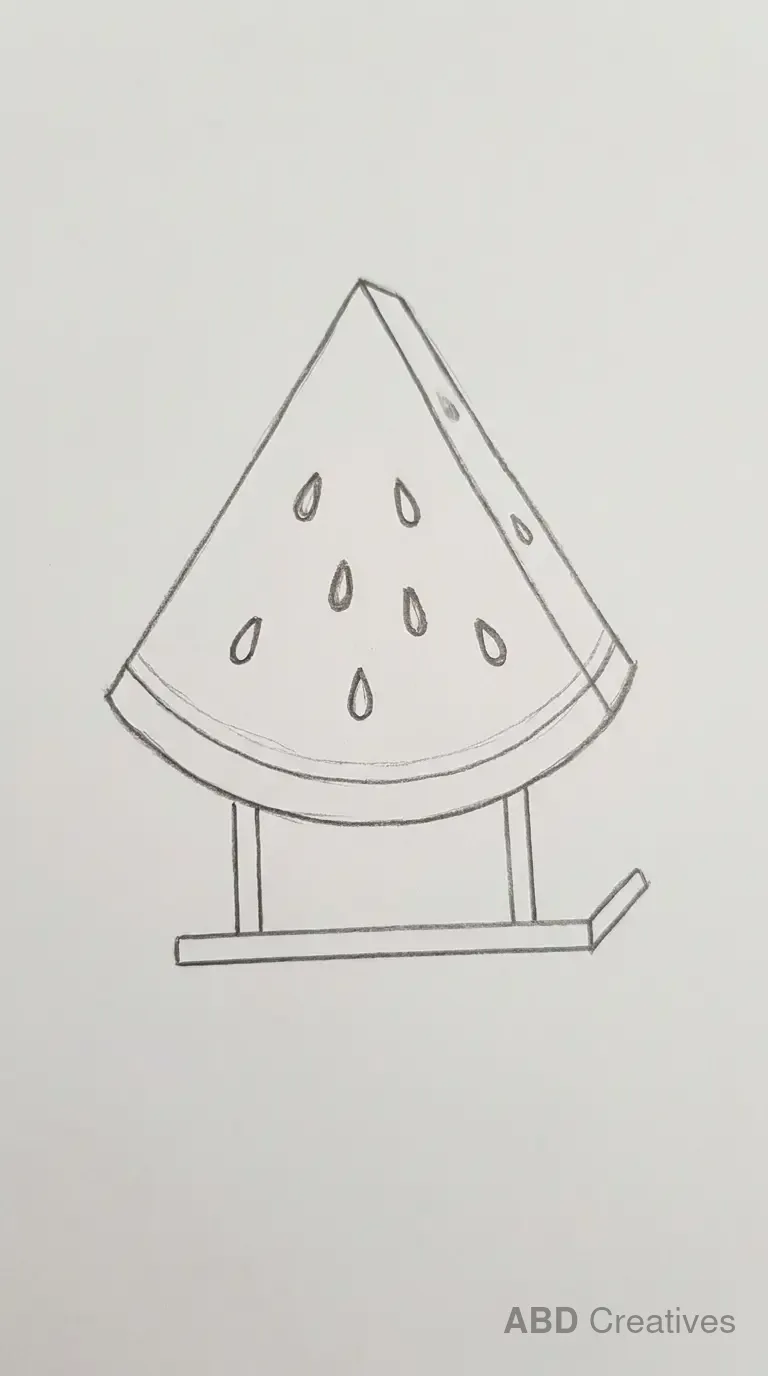
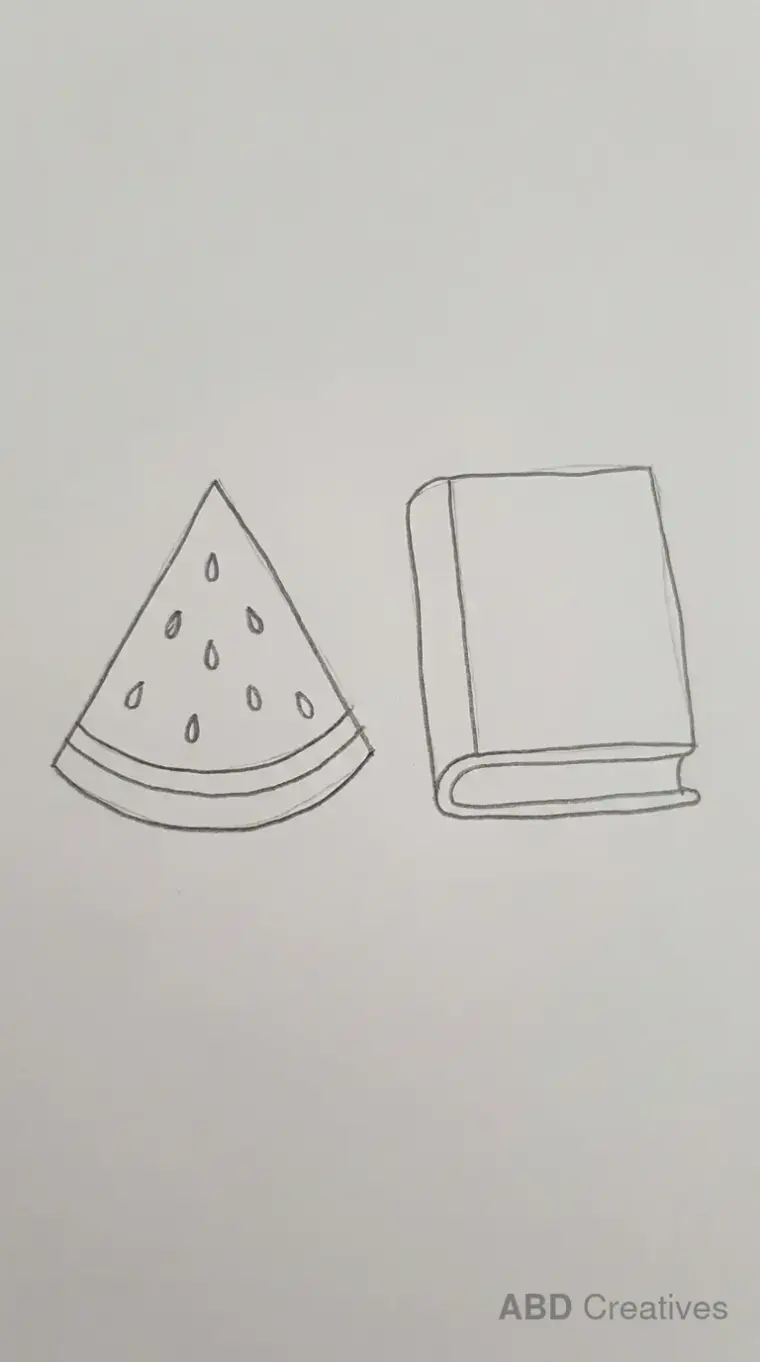
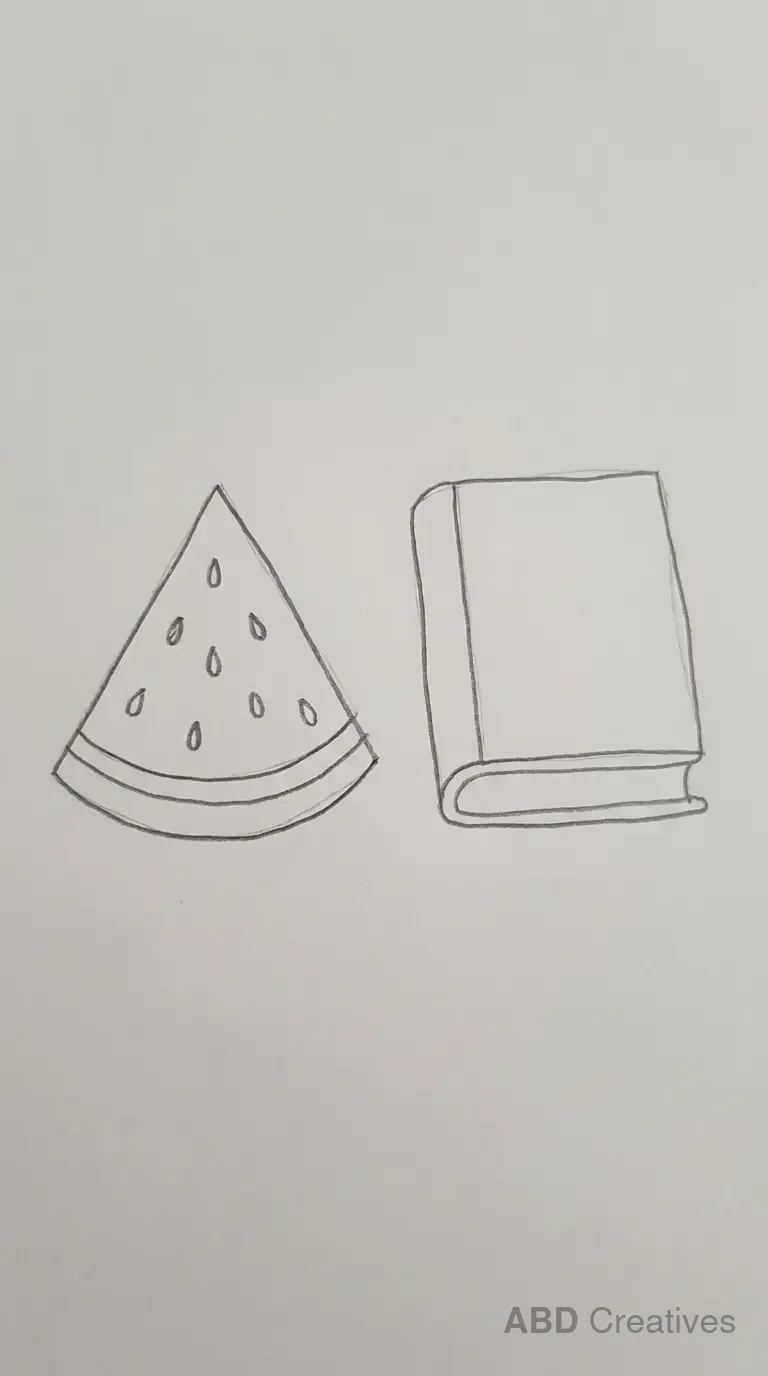
How to draw a watermelon step by step
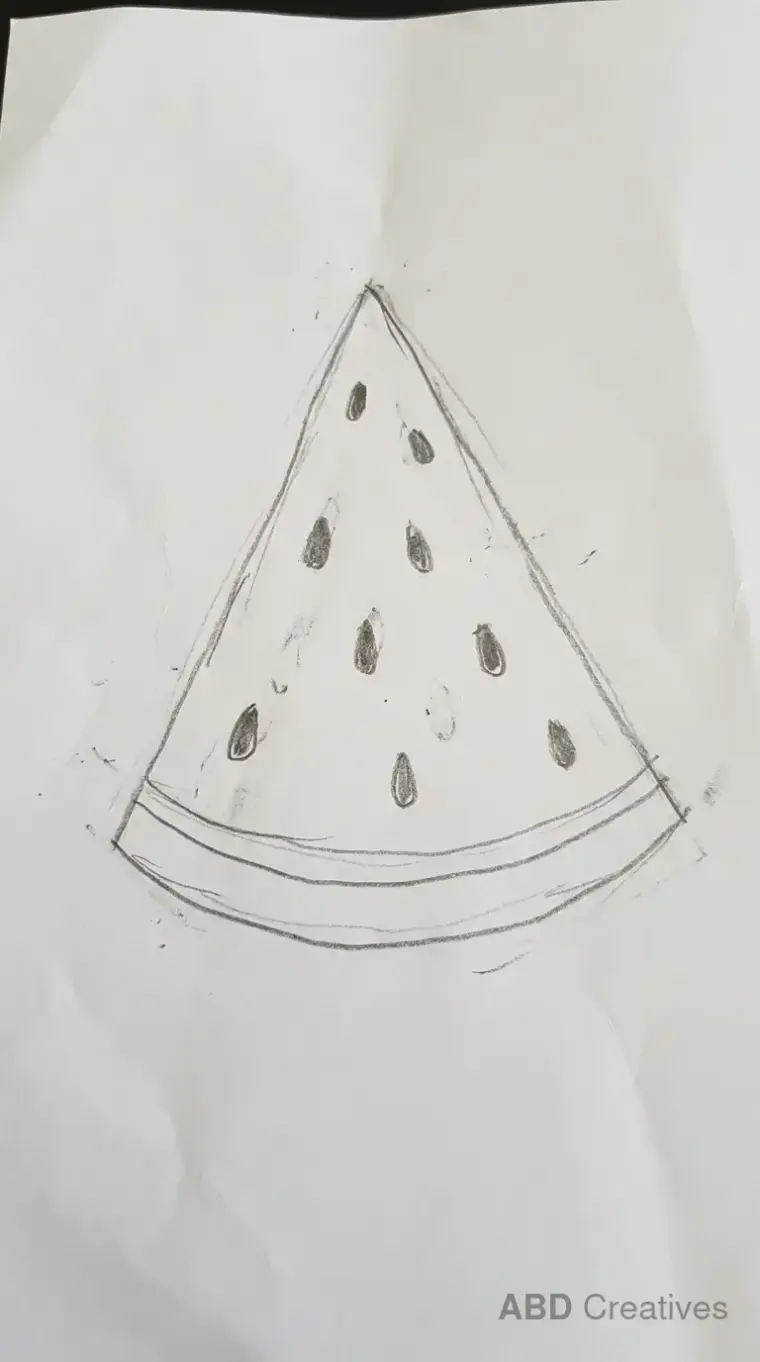
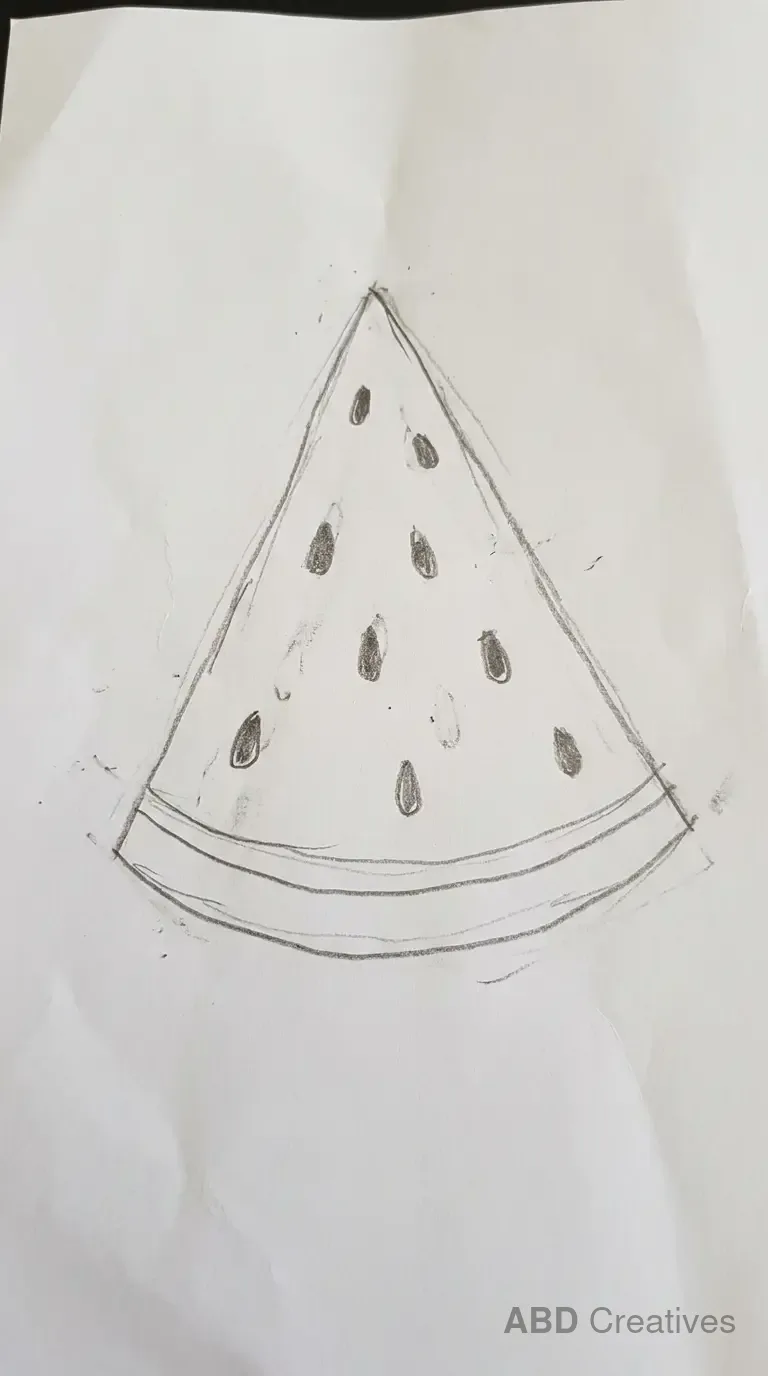
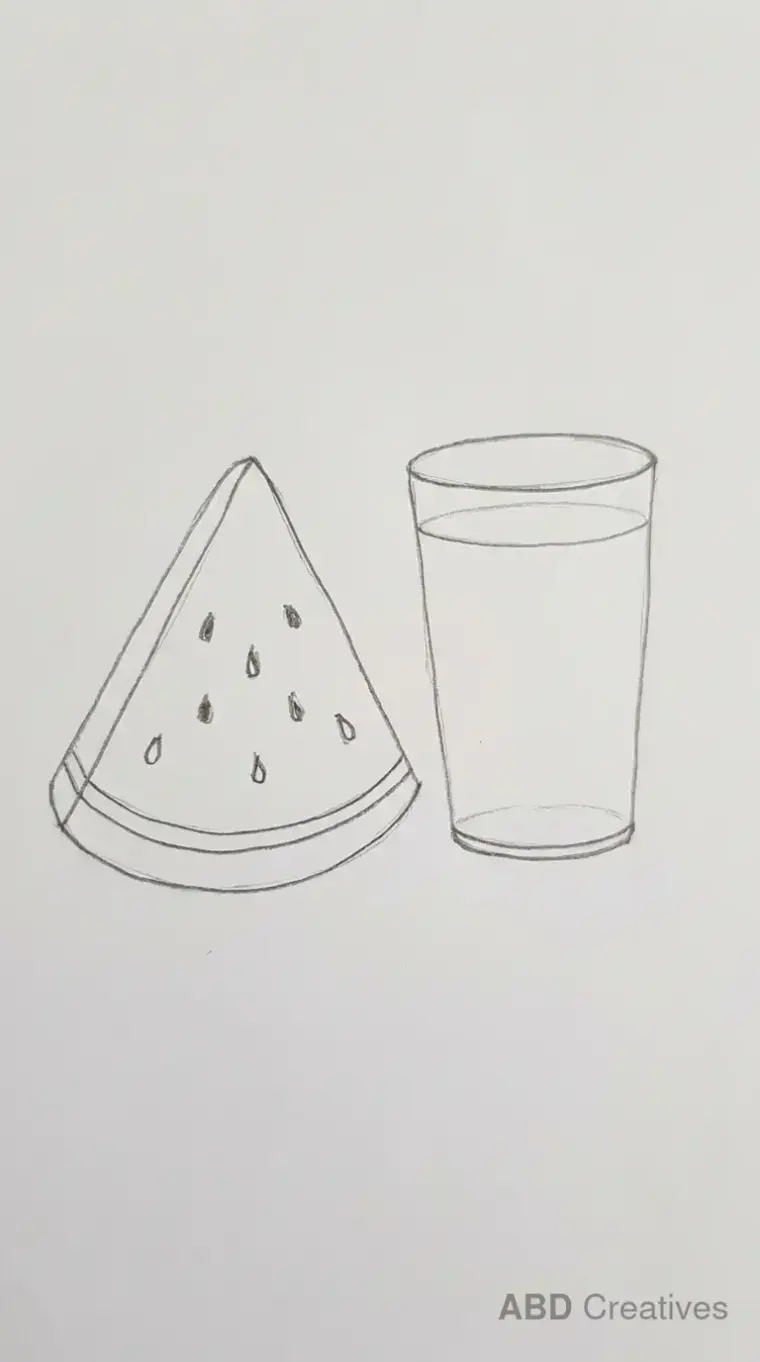
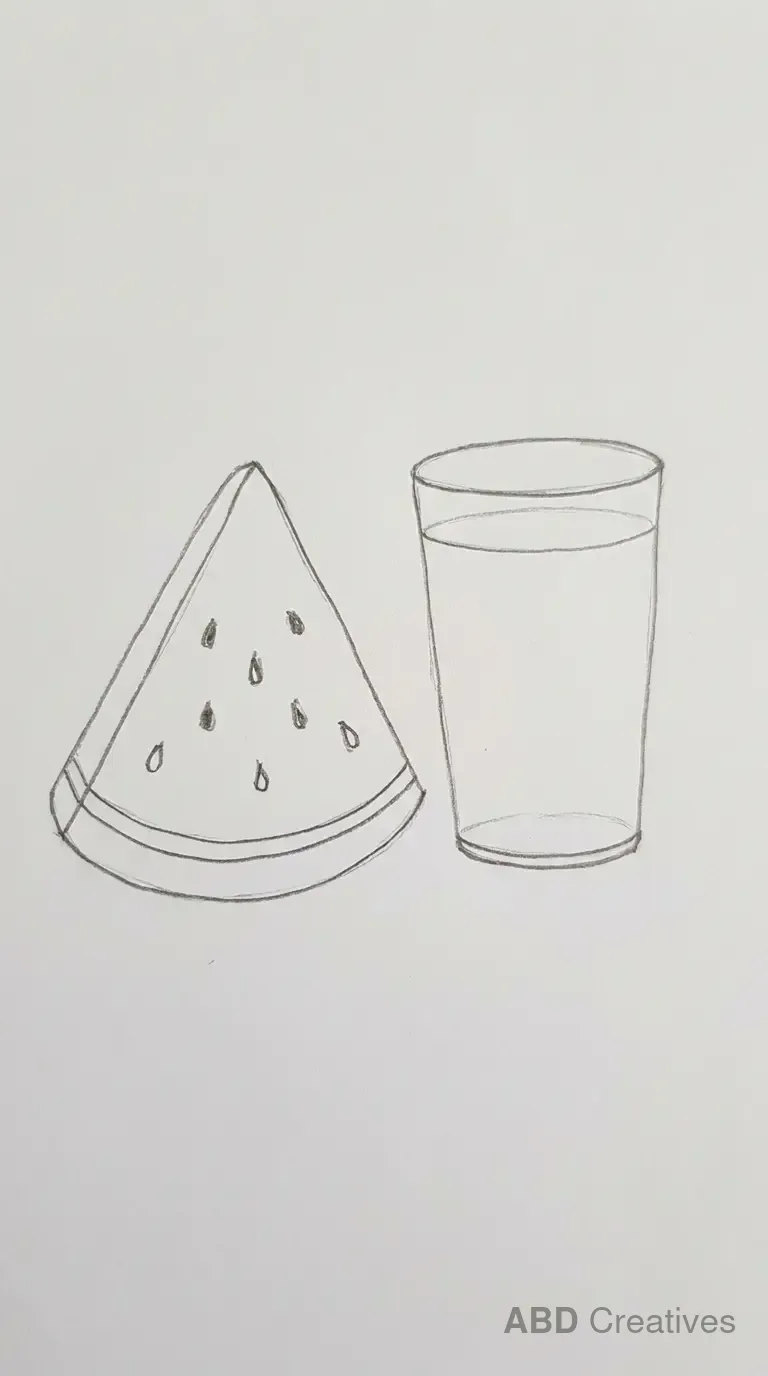
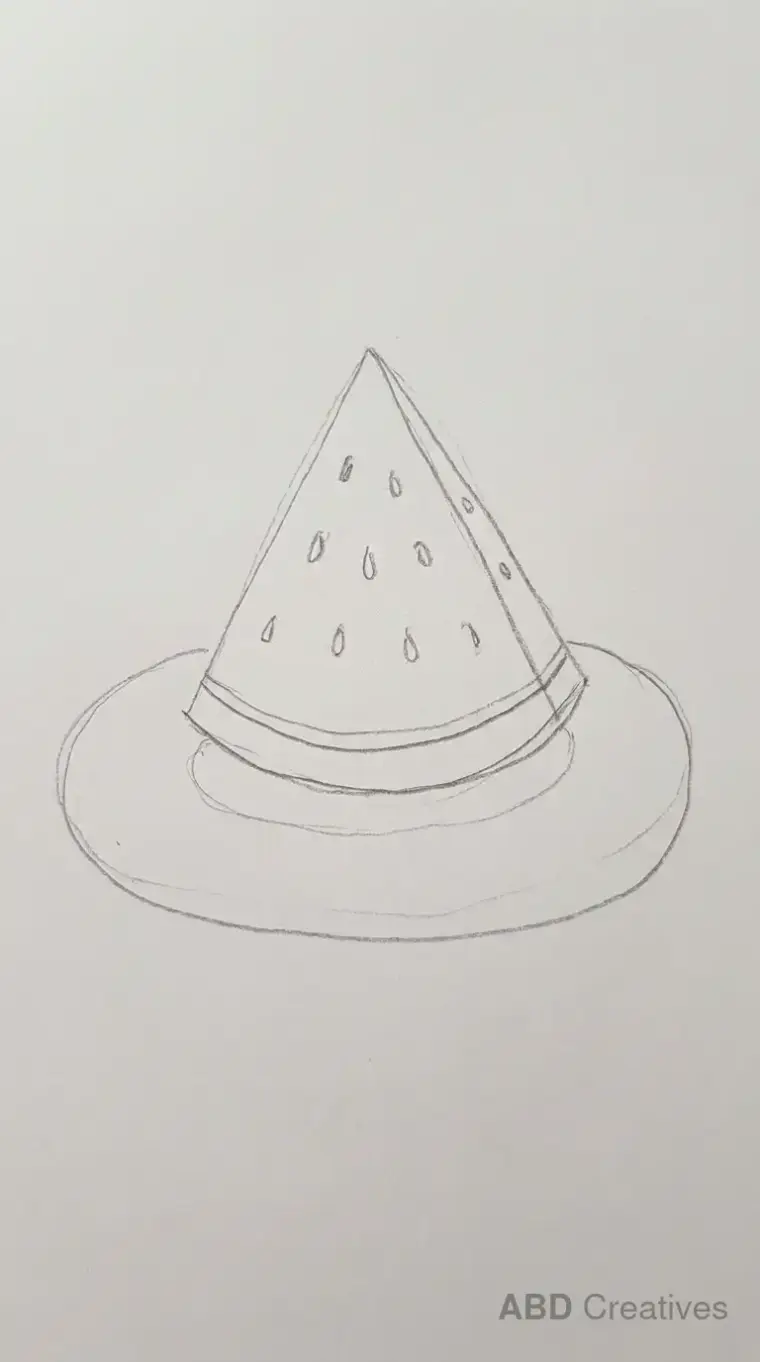
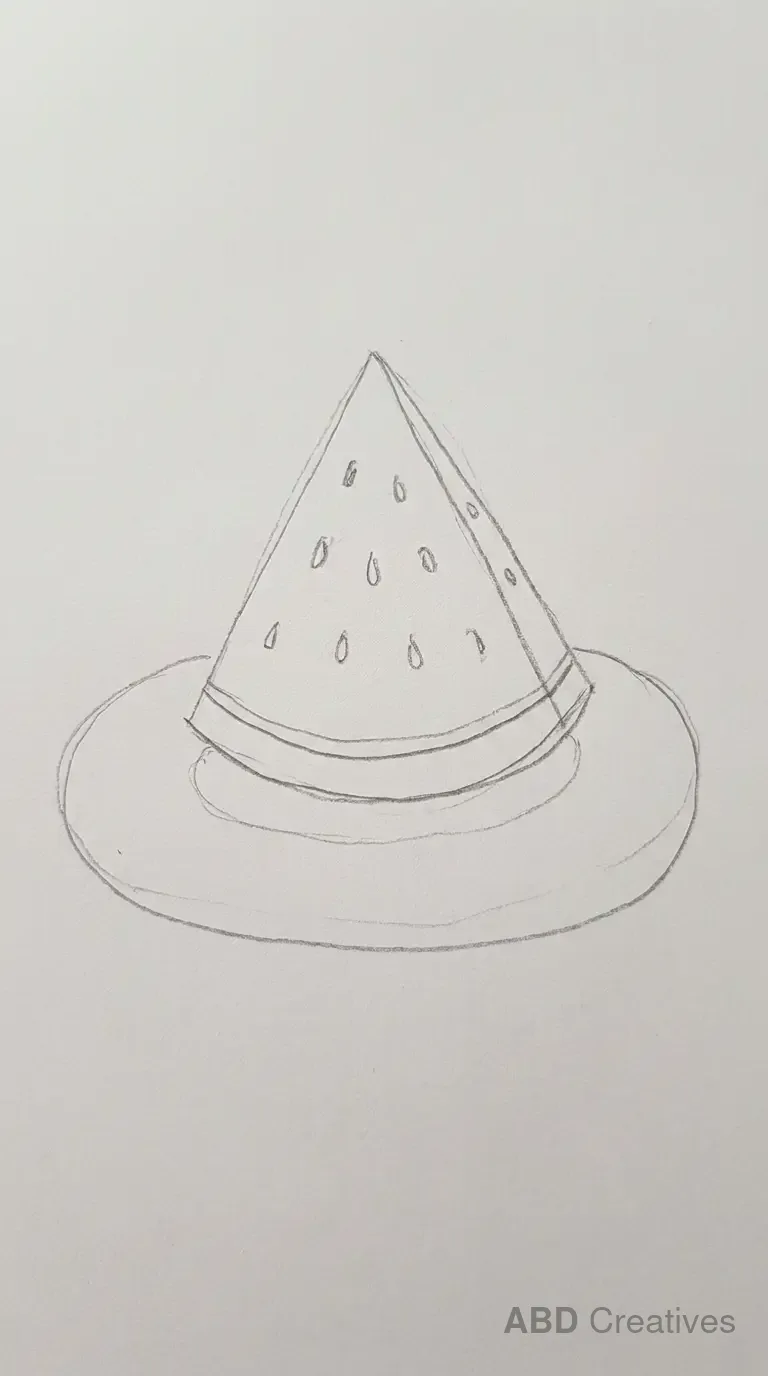
A watermelon slice is one of the friendliest shapes to draw, because it is really just a curved triangle with a rind along one edge. The seeds are what turn a plain wedge into a watermelon.
- Draw a curved triangle, like a slice of pie with rounded corners. Keep the line light so you can adjust it.
- Add a second curved line just inside the outer edge for the green rind, leaving a thin strip of white between the rind and the red flesh.
- Scatter small oval seeds across the red middle, following the curve of the slice rather than a straight grid.
- For a whole watermelon, draw one large oval instead of a wedge, then add curved stripes running from top to bottom.
- Darken your final lines at the end and rub out the guide shapes.
Which watermelon should you start with
If this is your first watermelon
Start with the simple watermelon slice or the watermelon with a face. Both are one piece of fruit on its own with nothing else on the page, so you are only thinking about the wedge shape, the rind and the seeds.
If you have drawn fruit before
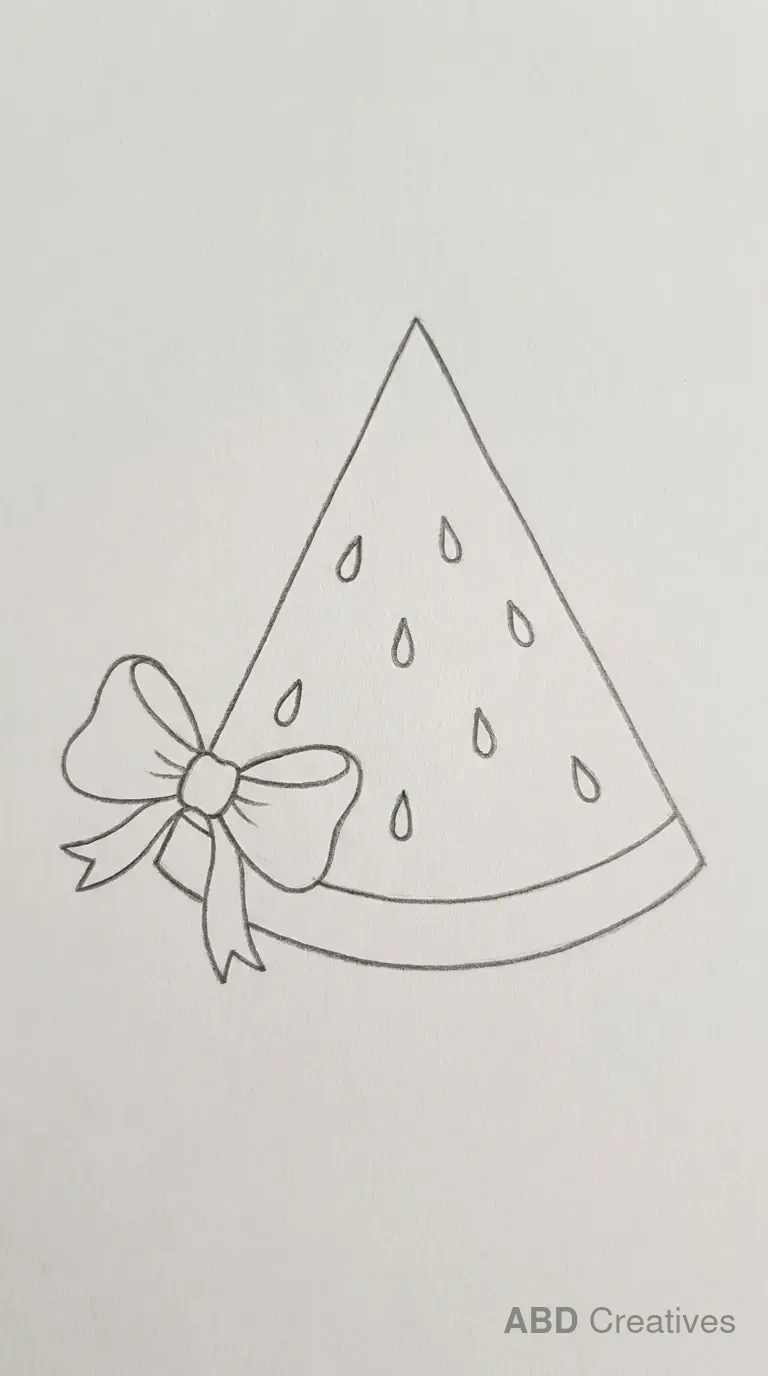
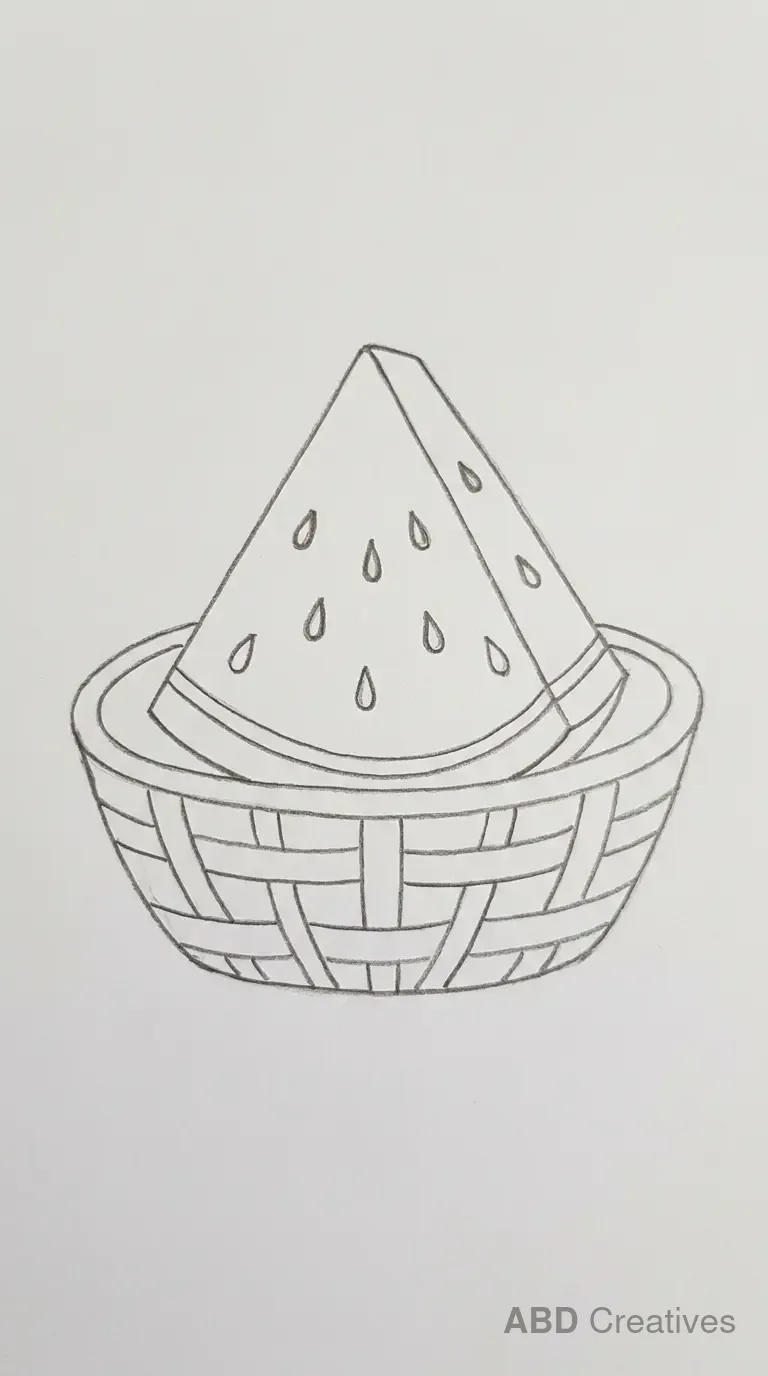
Try the watermelon with a bow, the watermelon with a small crown or the watermelon in a basket. The fruit stays simple and you are adding one small prop, which is a good way to make a drawing feel finished without much extra difficulty.
If you want a challenge
The whole watermelon and the watermelon half are the hardest here, because you have to keep the curved stripes even around a large rounded shape. Draw the outer oval first in both, then add the stripes last.
What you need
An HB pencil, plain paper and an eraser. A 2B pencil helps if you want darker final lines. Nothing on this page needs a tablet, a light box or special paper, and none of these were drawn with any.
Three things that make a watermelon look like a watermelon
- The rind is too thick. Keep the green rind as a thin curved strip along the edge, with an even thinner white line between it and the red flesh.
- The seeds are in straight rows. Real watermelon seeds follow the curve of the slice. Scatter them slightly rather than lining them up.
- The slice looks flat. A slight curve to the straight edge of the wedge makes it read as a rounded piece of fruit rather than a flat triangle.
Ways to use these drawings
Copy any of these by hand, or download and print them for yourself, for your children or for your classroom. They work as colouring sheets, tracing practice, a warm up before a bigger drawing, or line art for a card. The bow, the crown and the picnic cloth drawings all suit summer party invitations. If you want to use one in something you sell, write to us first.
Questions people ask
What is the easiest watermelon drawing on this page?
The simple watermelon slice for beginners. It is one wedge on its own with a curved rind and a few seeds, and nothing else on the page.
Are these watermelon drawings free to download?
Yes. Every drawing here can be downloaded and printed for personal use, school use or classroom use at no cost. For commercial use, please contact us first.
Can young children draw these?
Most of them. The simple slice, the smiling watermelon and the watermelon with a face all suit children around five and up. The whole watermelon and the watermelon half suit older children and adults.
Why do my watermelon stripes look wrong?
Usually because they are too straight and even. Real watermelon stripes curve gently and vary a little in width. Let them bend slightly around the oval shape.
How do I draw a watermelon slice step by step?
Draw a curved triangle first, add a thin green rind line just inside the outer edge, then scatter seed marks across the red middle. Darken the final lines last.
How do I draw a whole watermelon?
Draw one large oval, then add curved stripes running from the top of the oval to the bottom, keeping them evenly spaced around the shape.
What pencil should I use?
An HB for the light guide shapes and a 2B for the final lines. If you only have one pencil, an HB is fine. Press lightly at the start so the guides rub out cleanly.
Are these drawings made by hand?
Yes. Each one was drawn in pencil on plain paper and photographed. They are not computer generated or traced from photographs.