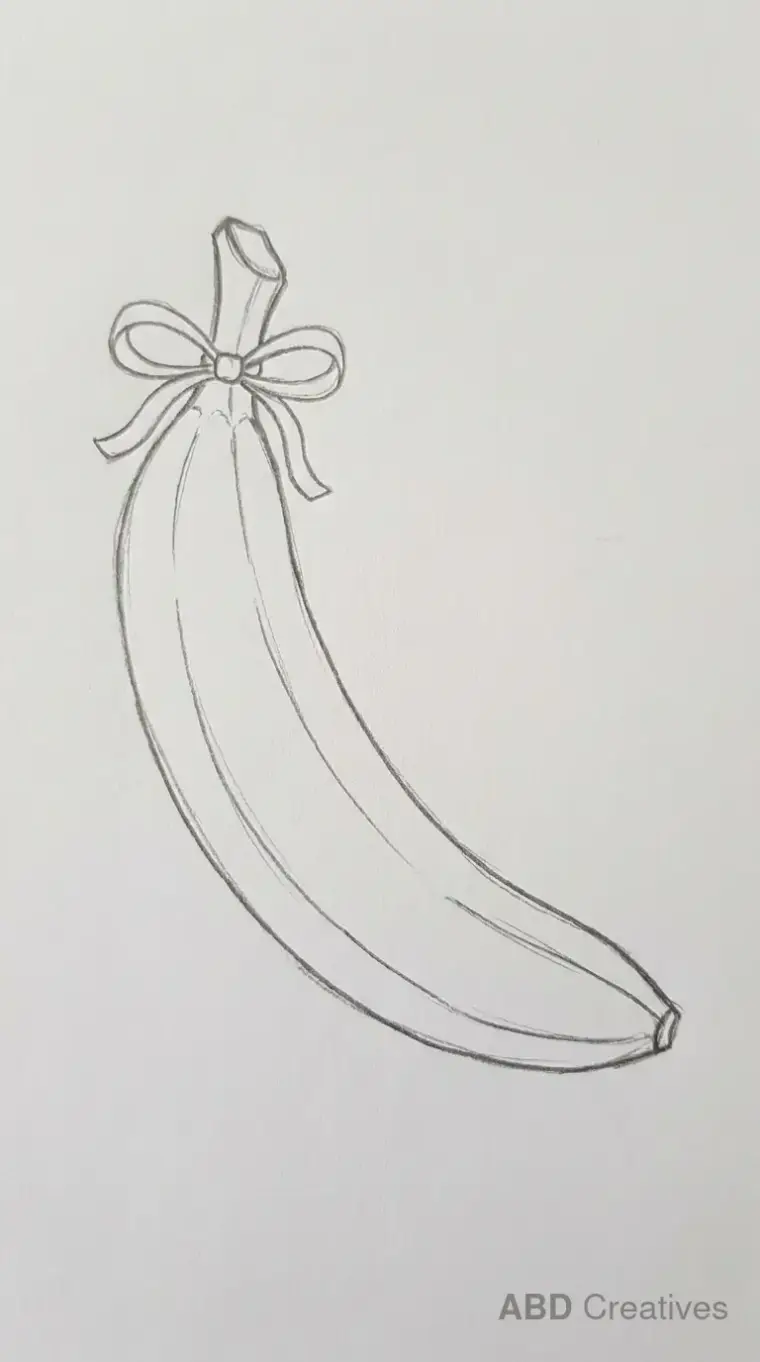
Banana Drawing Ideas
Twenty banana drawings you can copy straight onto paper, from a plain curved banana to a banana hanging from a hook. Every one is a clean pencil outline drawn by hand, with no shading and no colour. Pick one, keep it next to you, and copy it line by line.
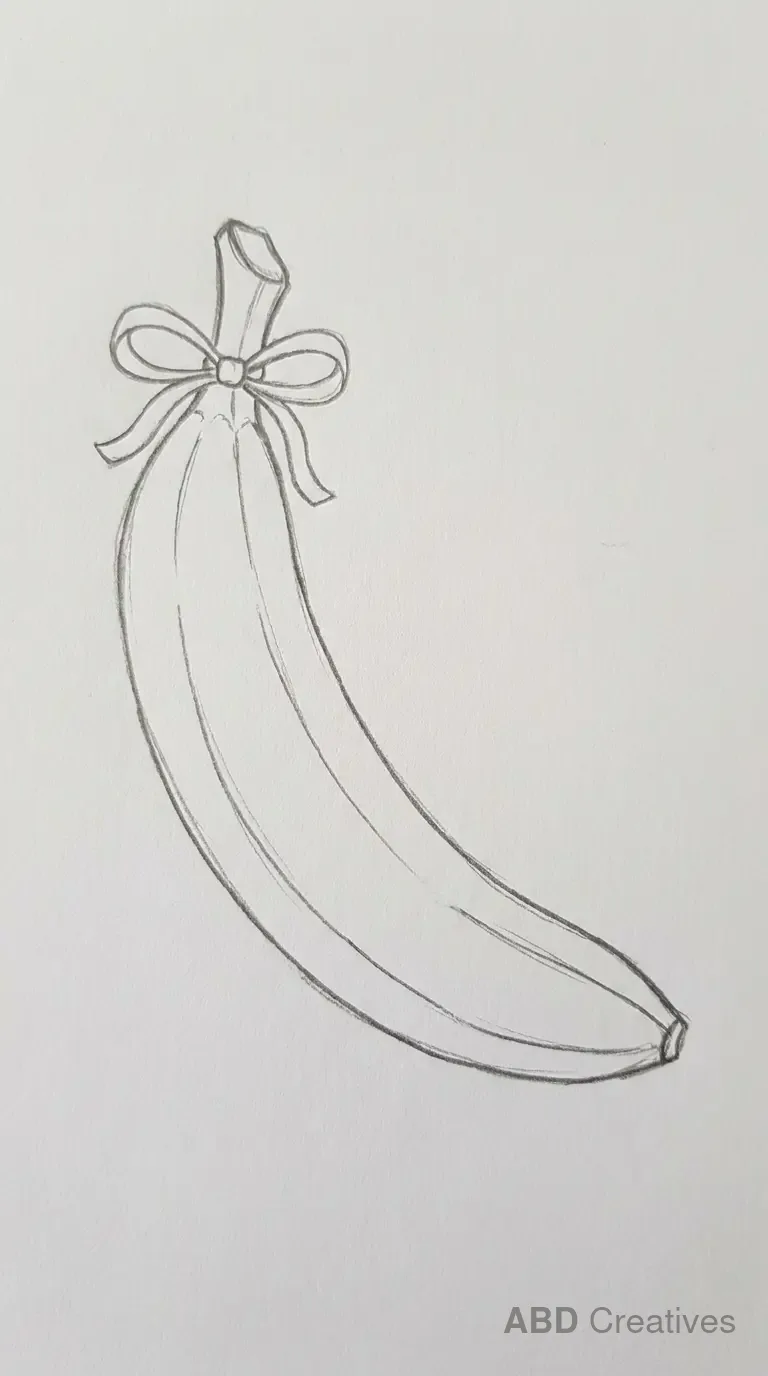
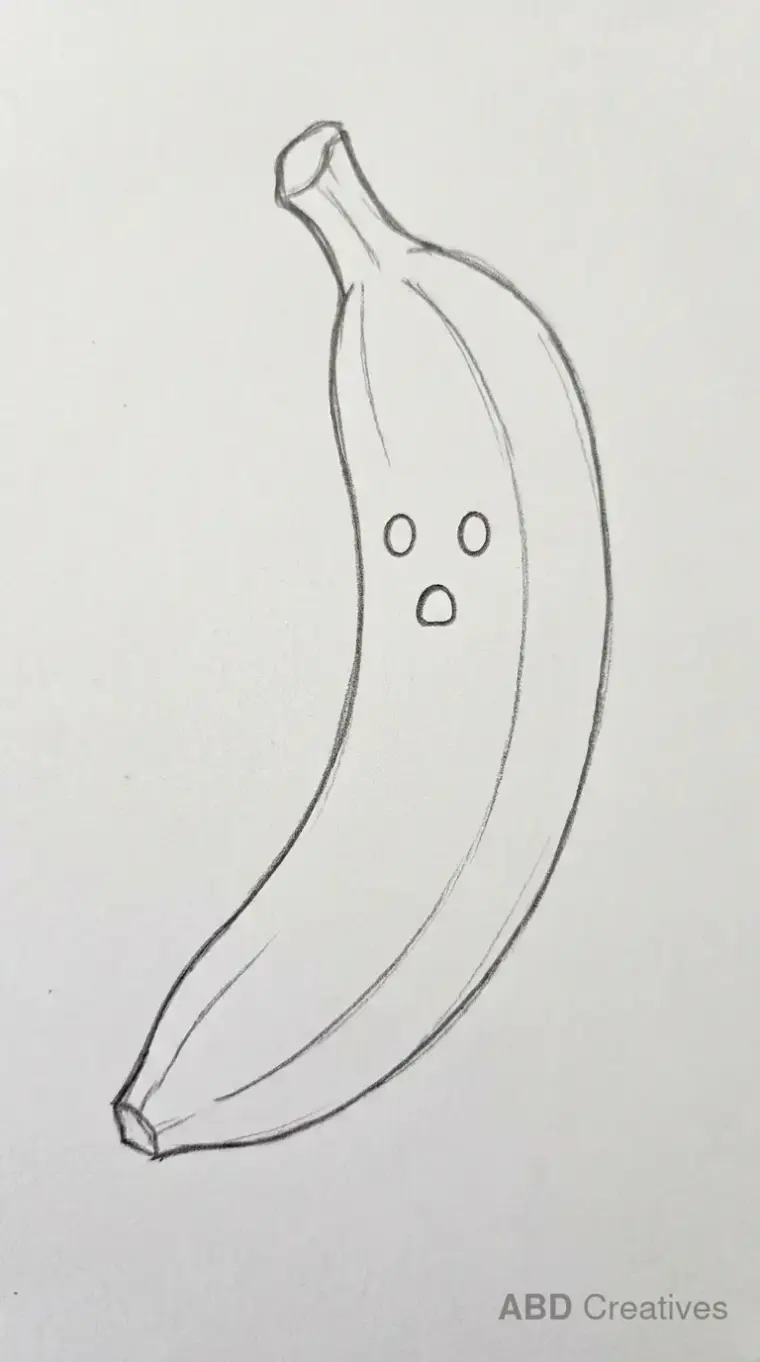
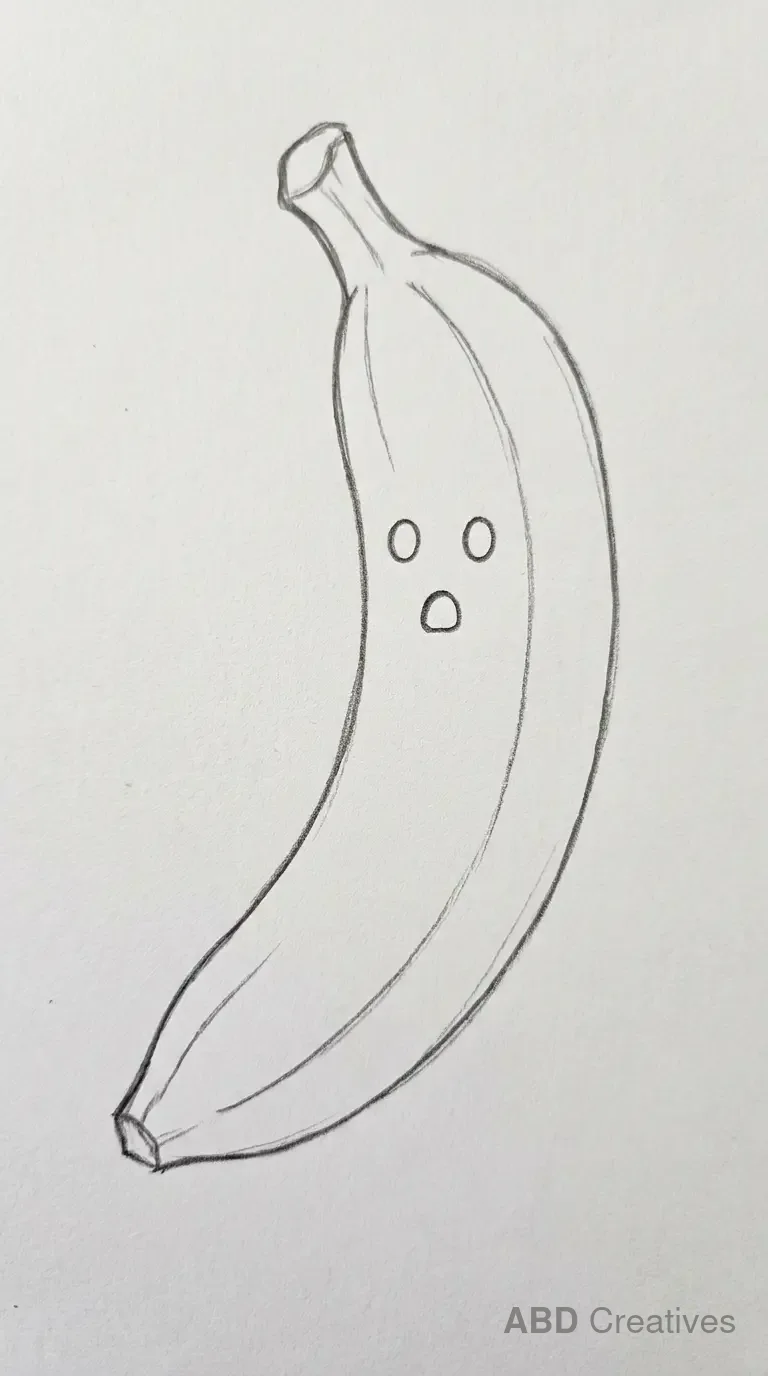
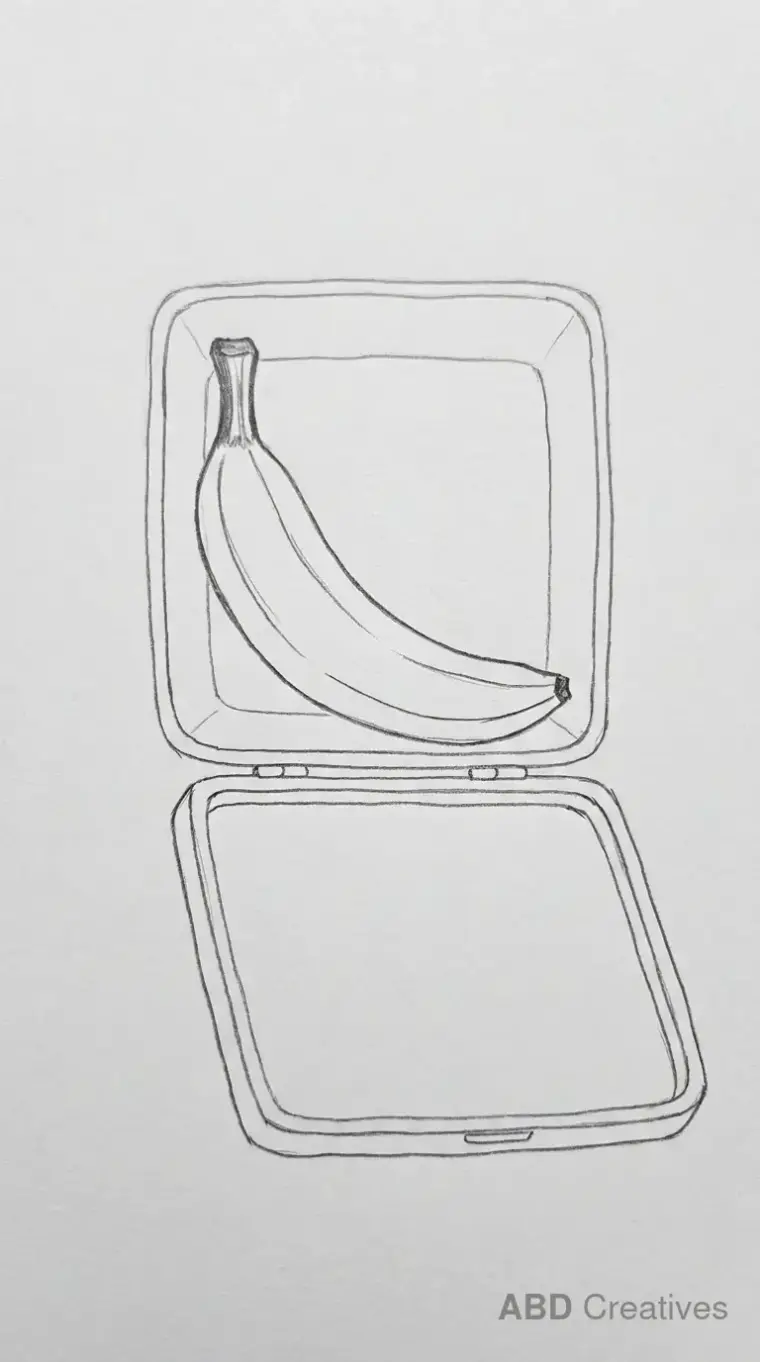
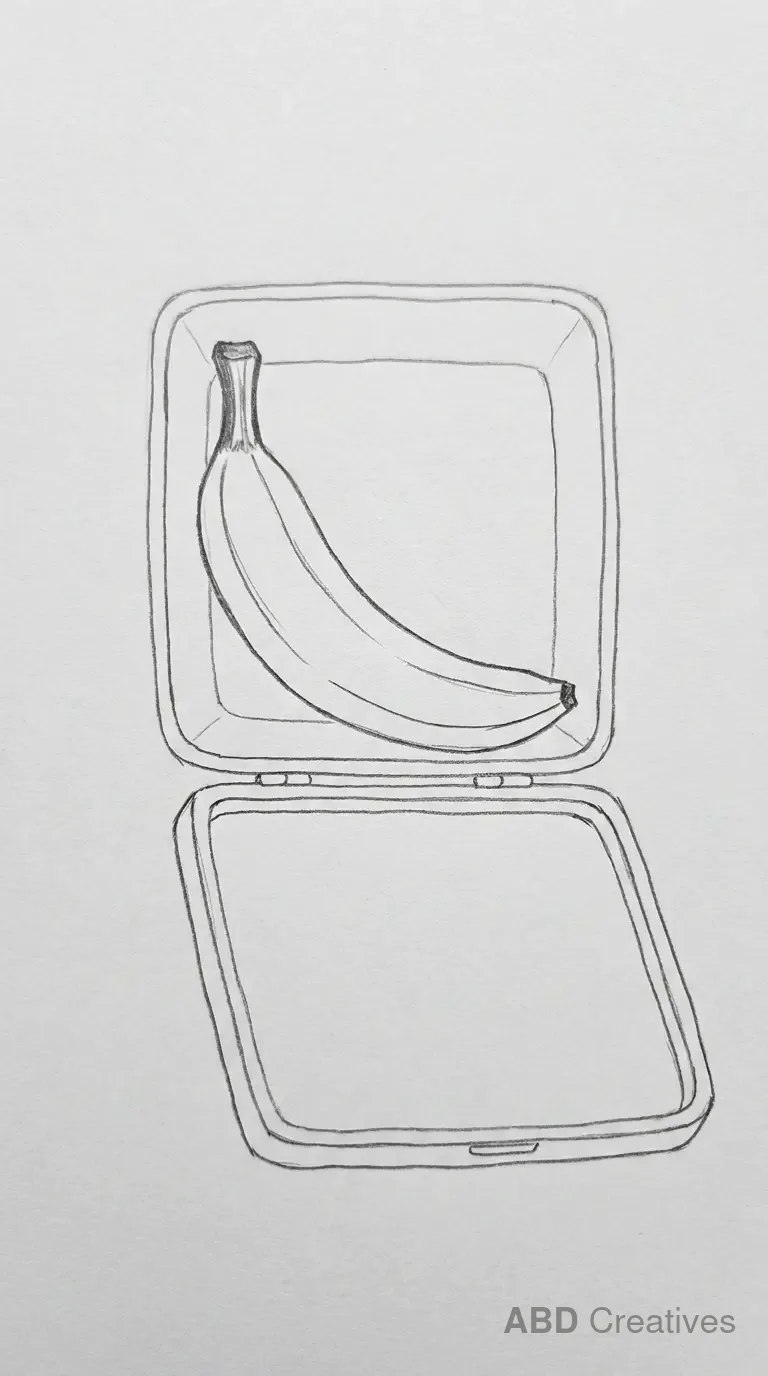
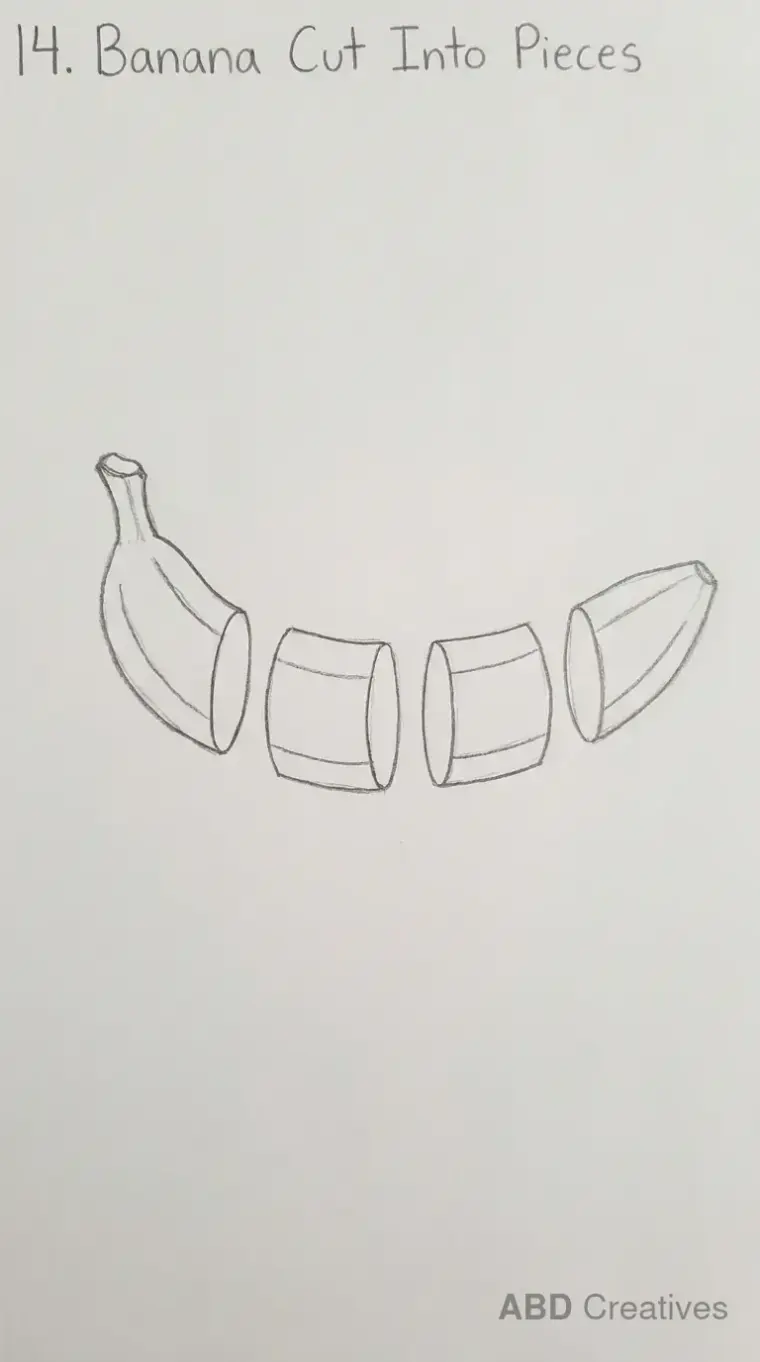
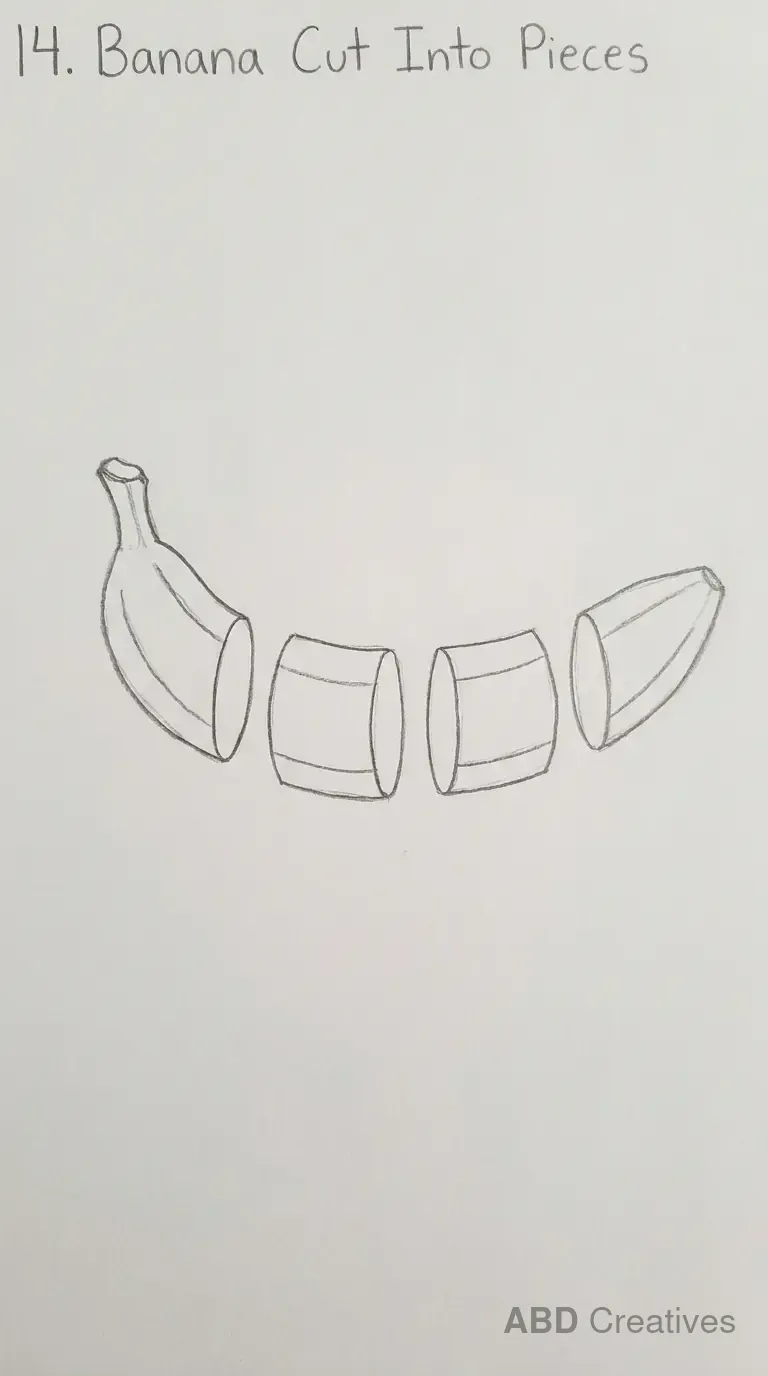
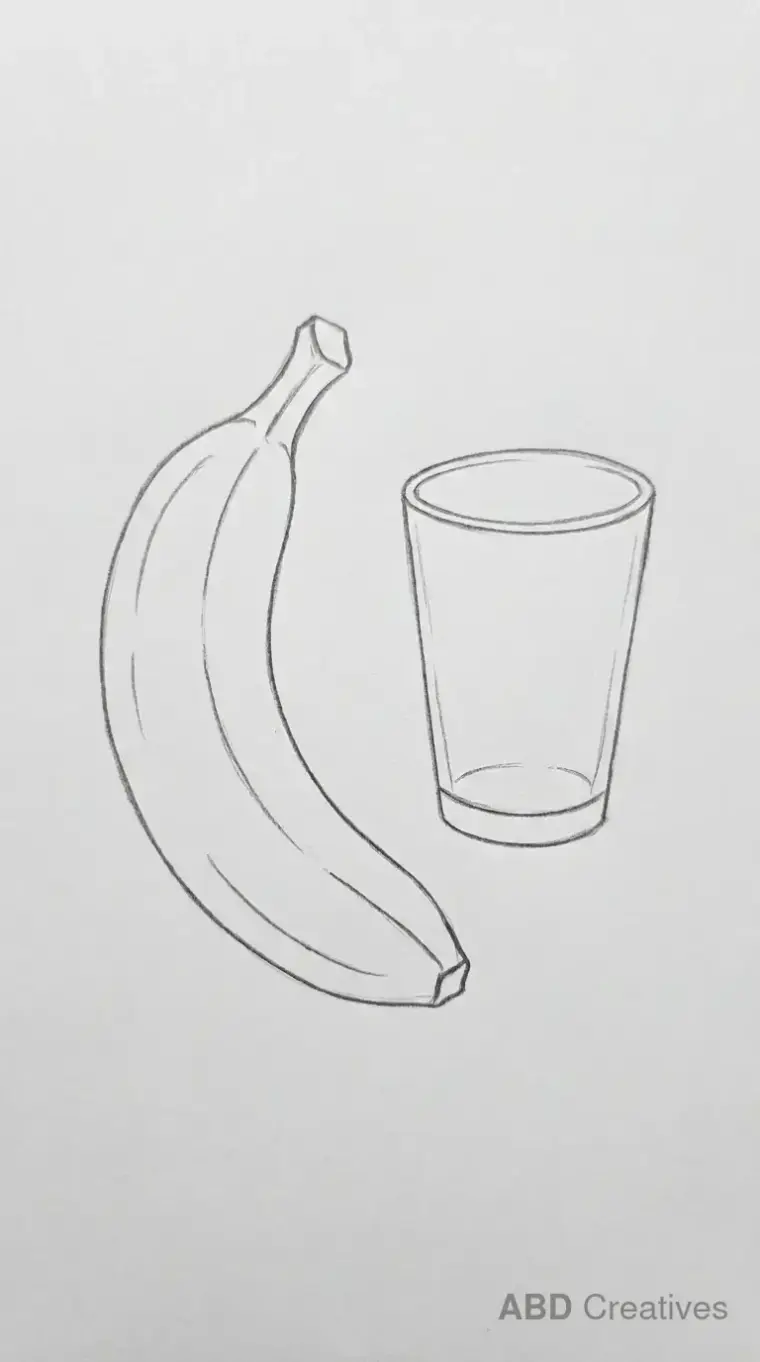
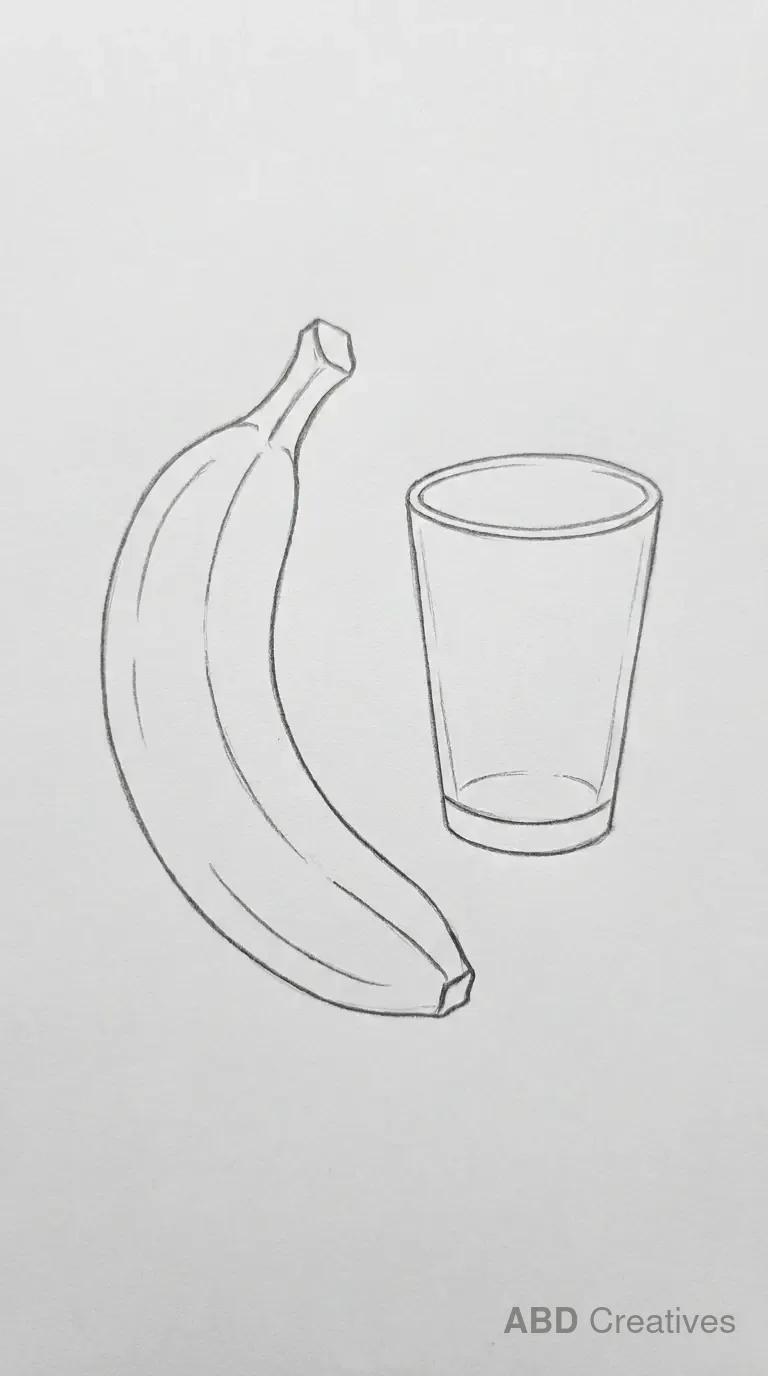
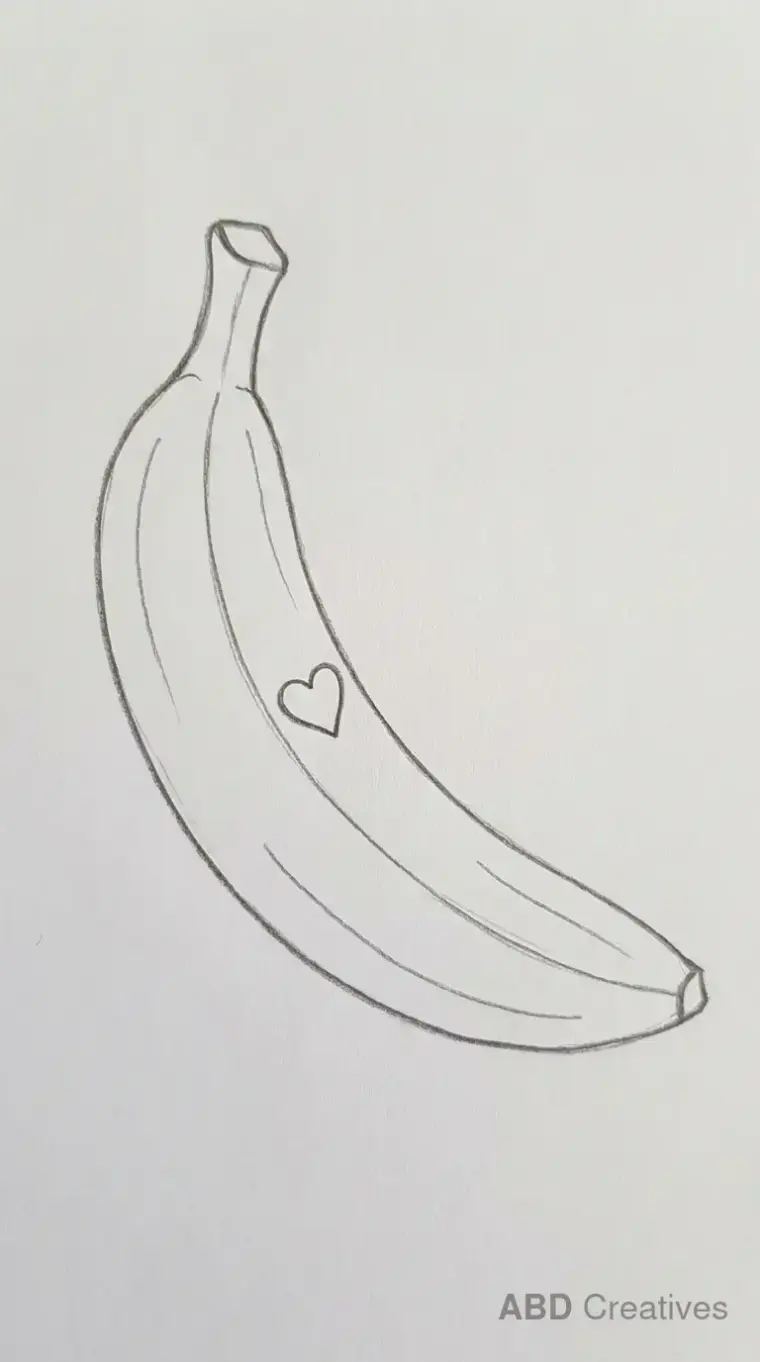
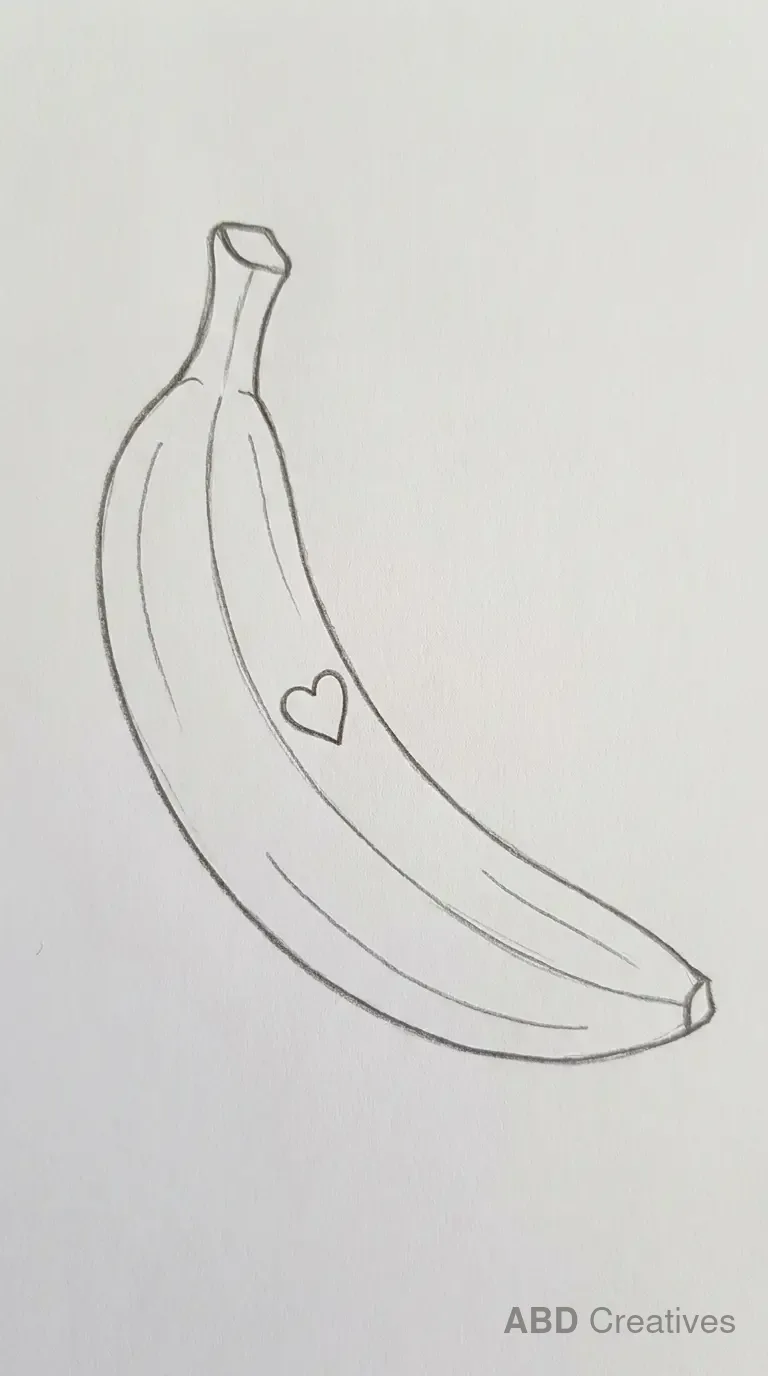
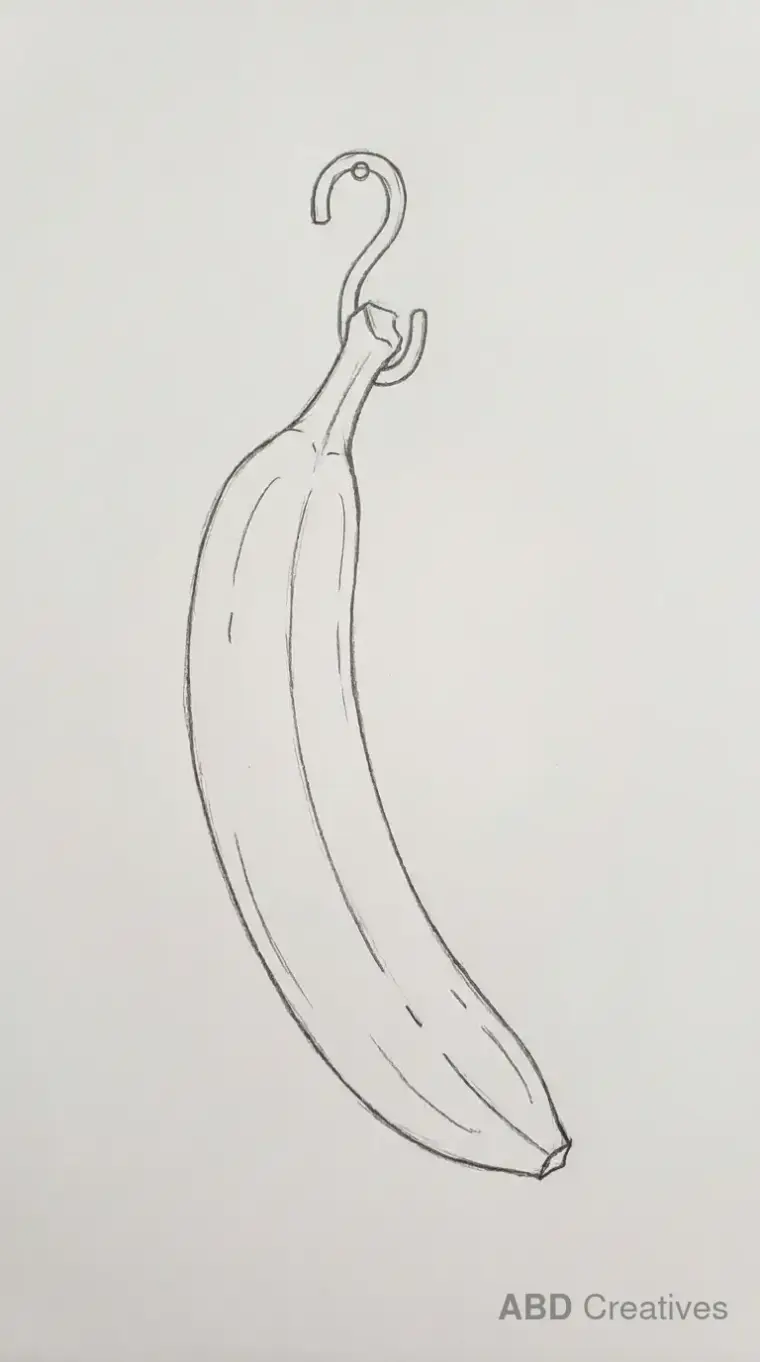
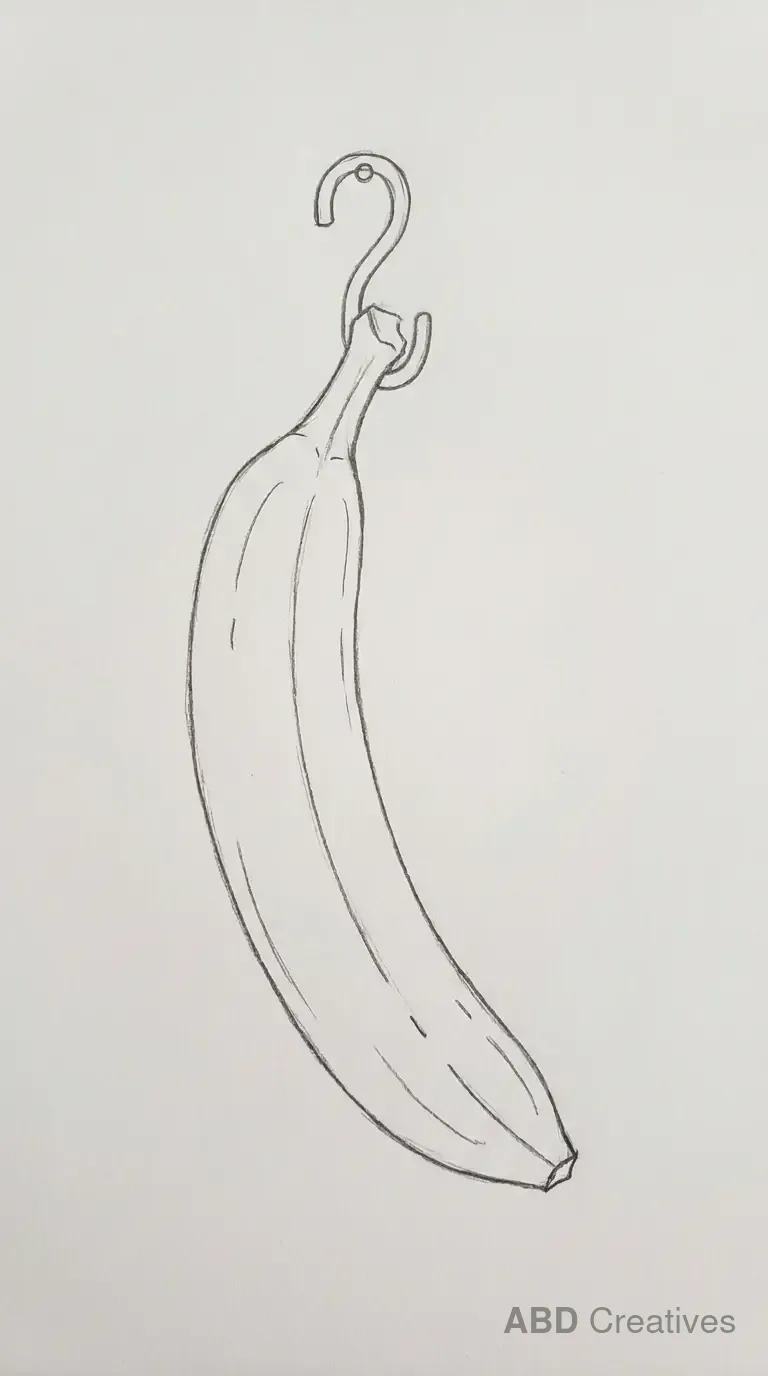
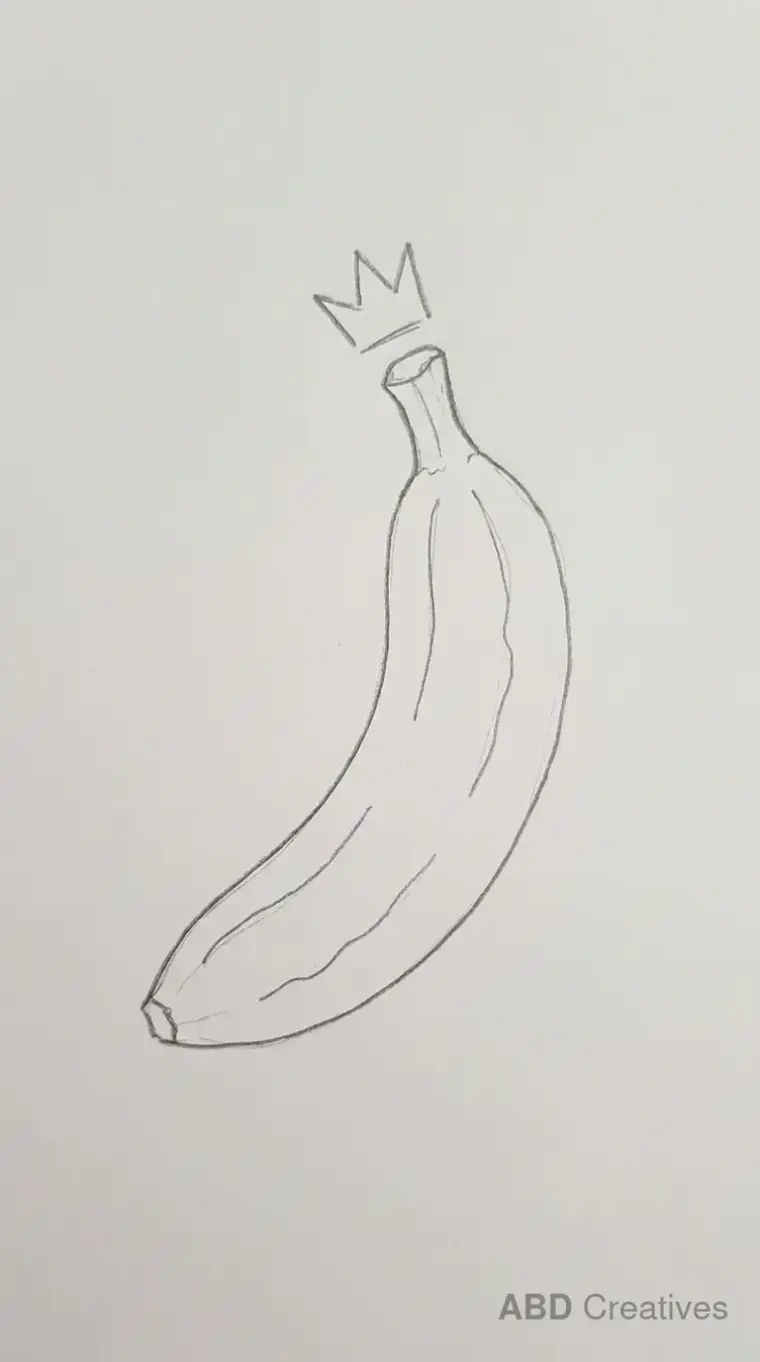
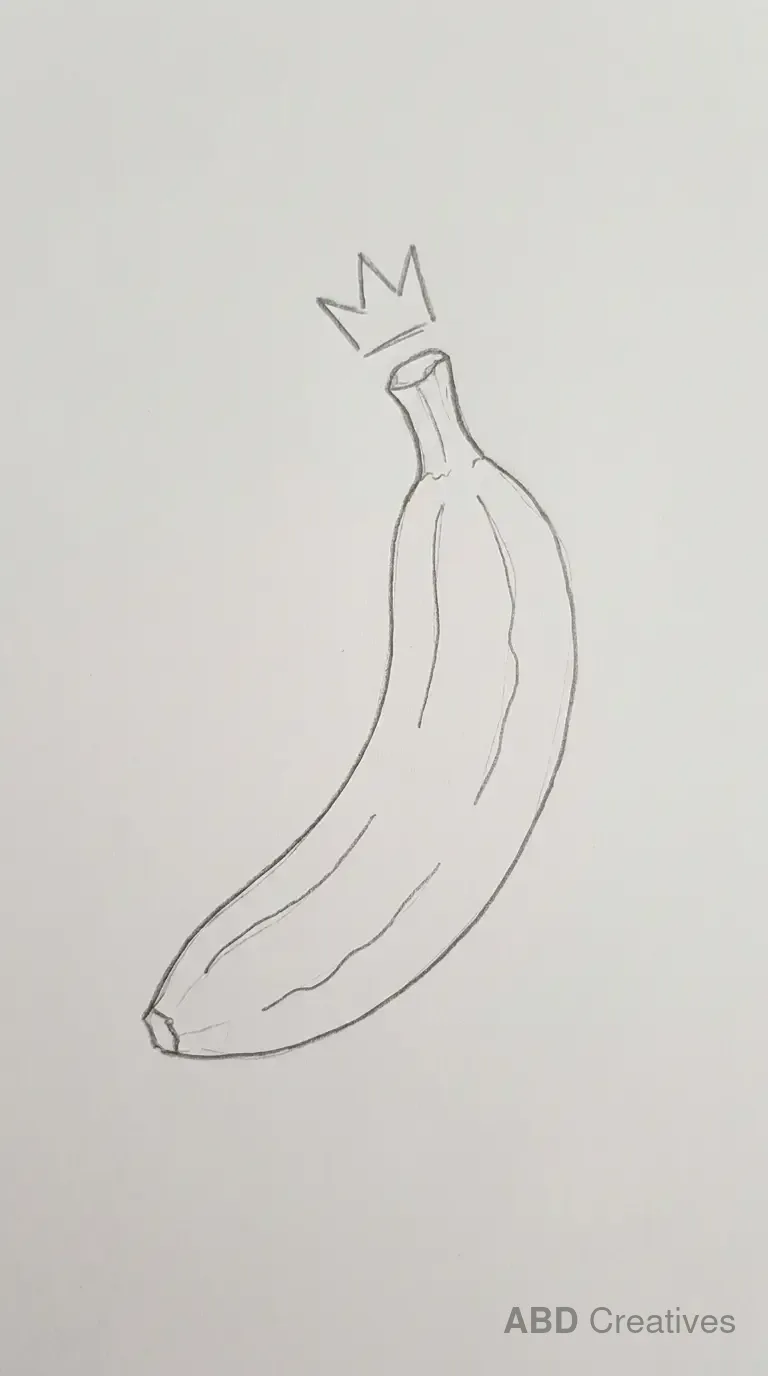
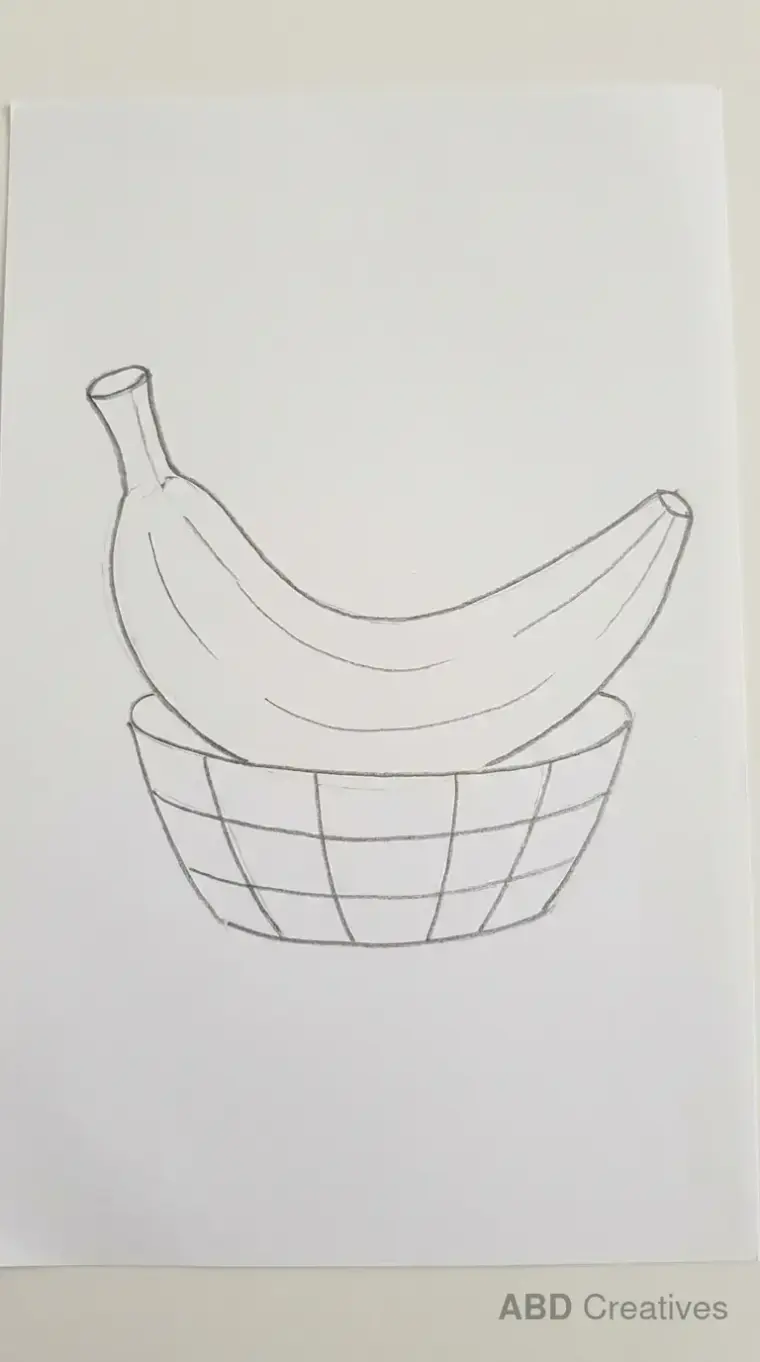
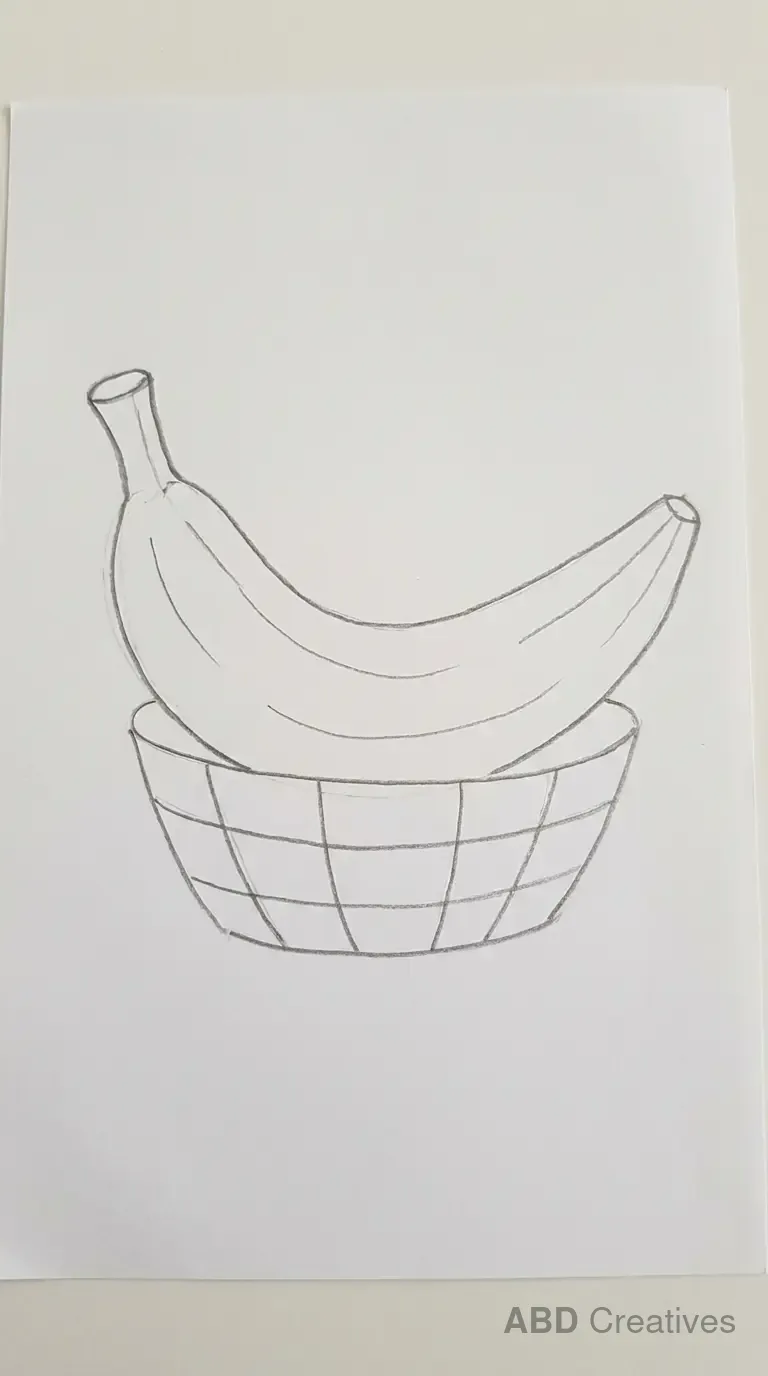
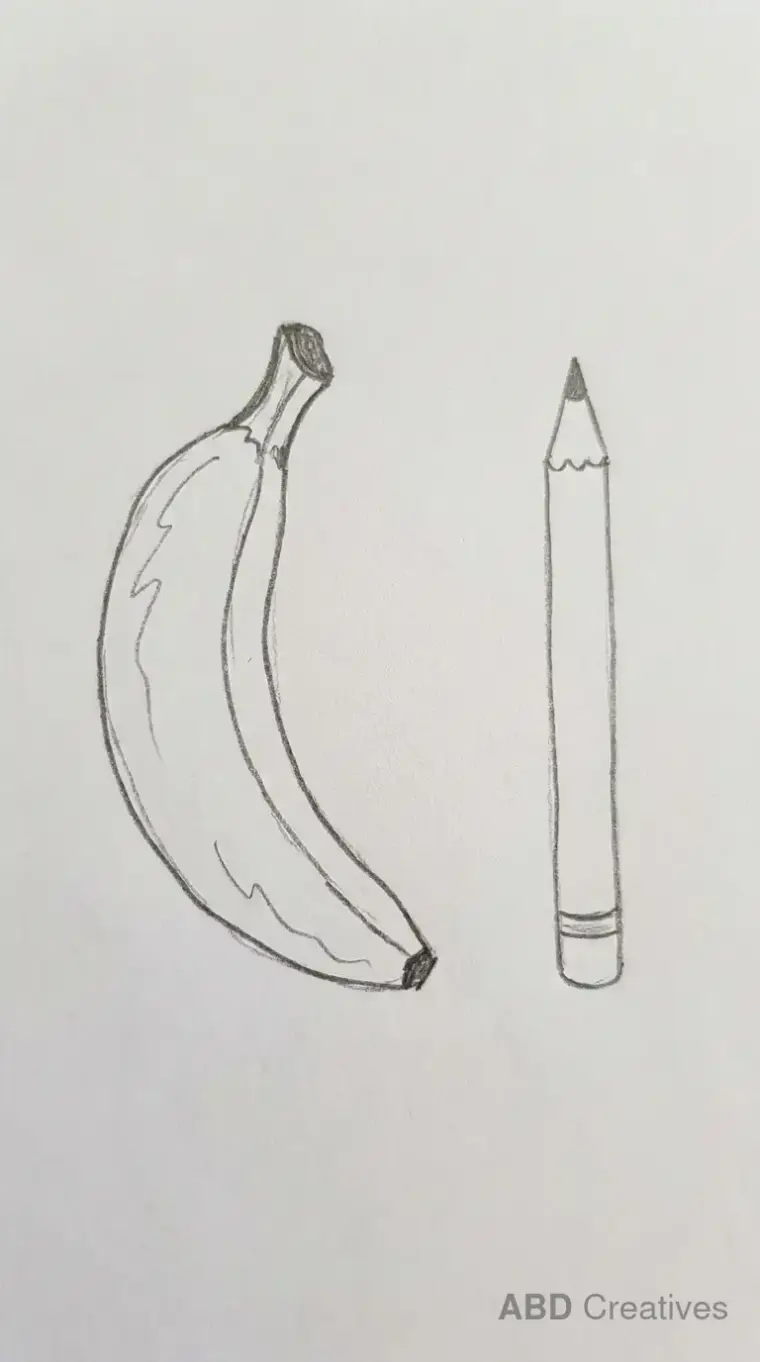
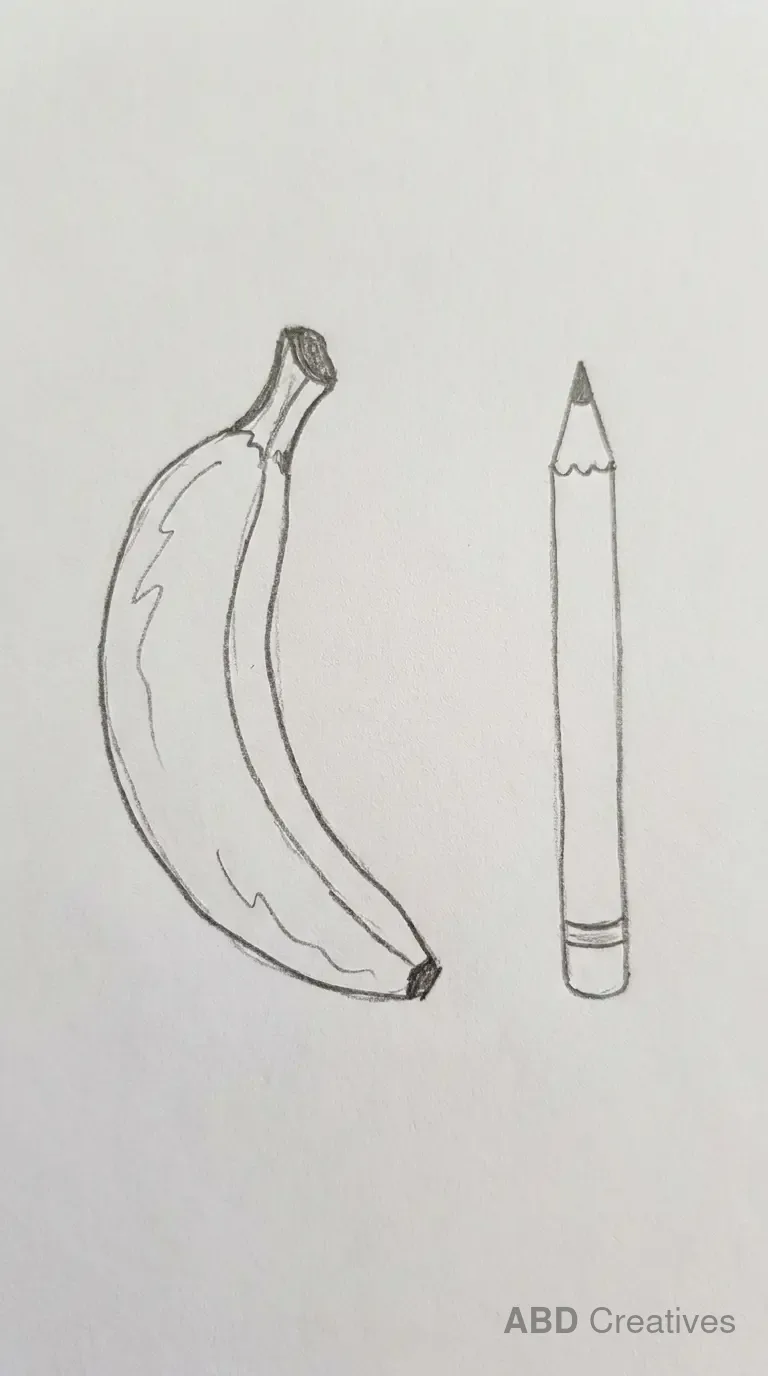
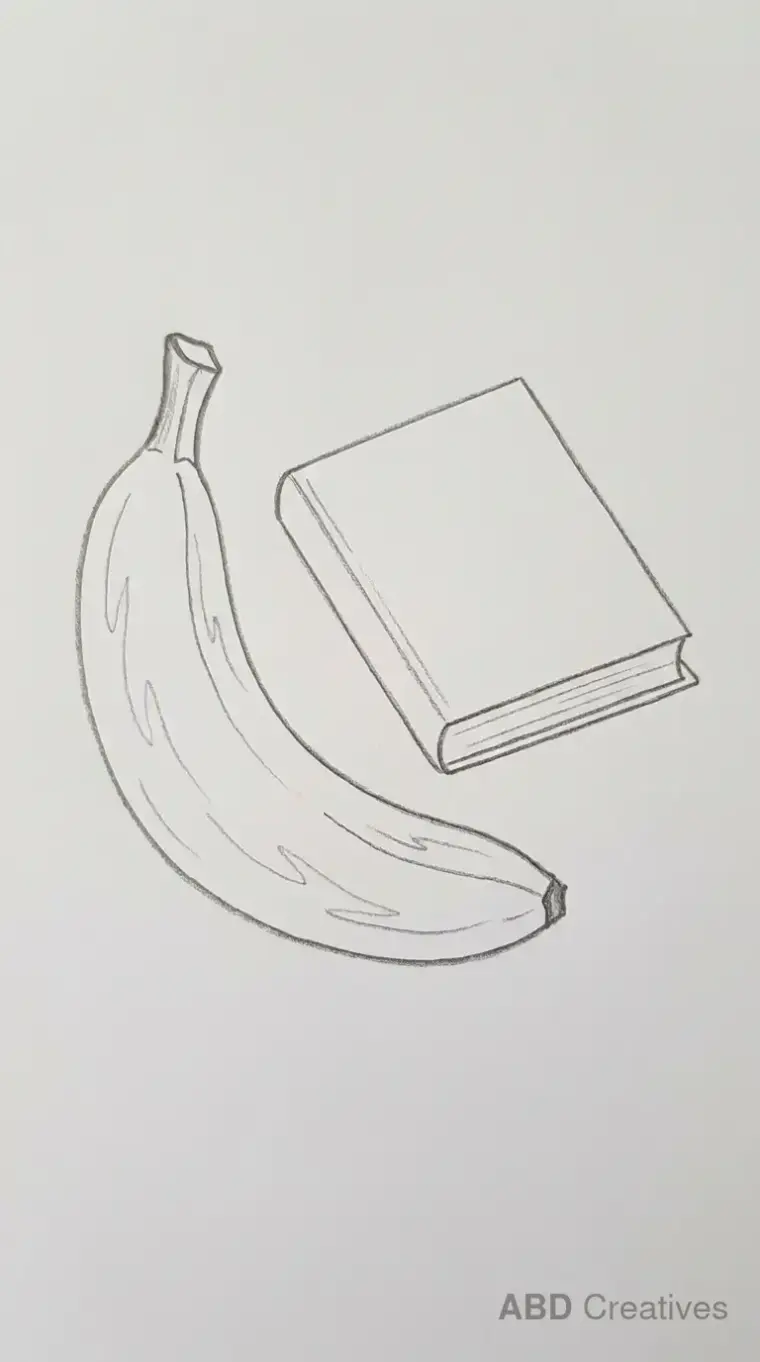
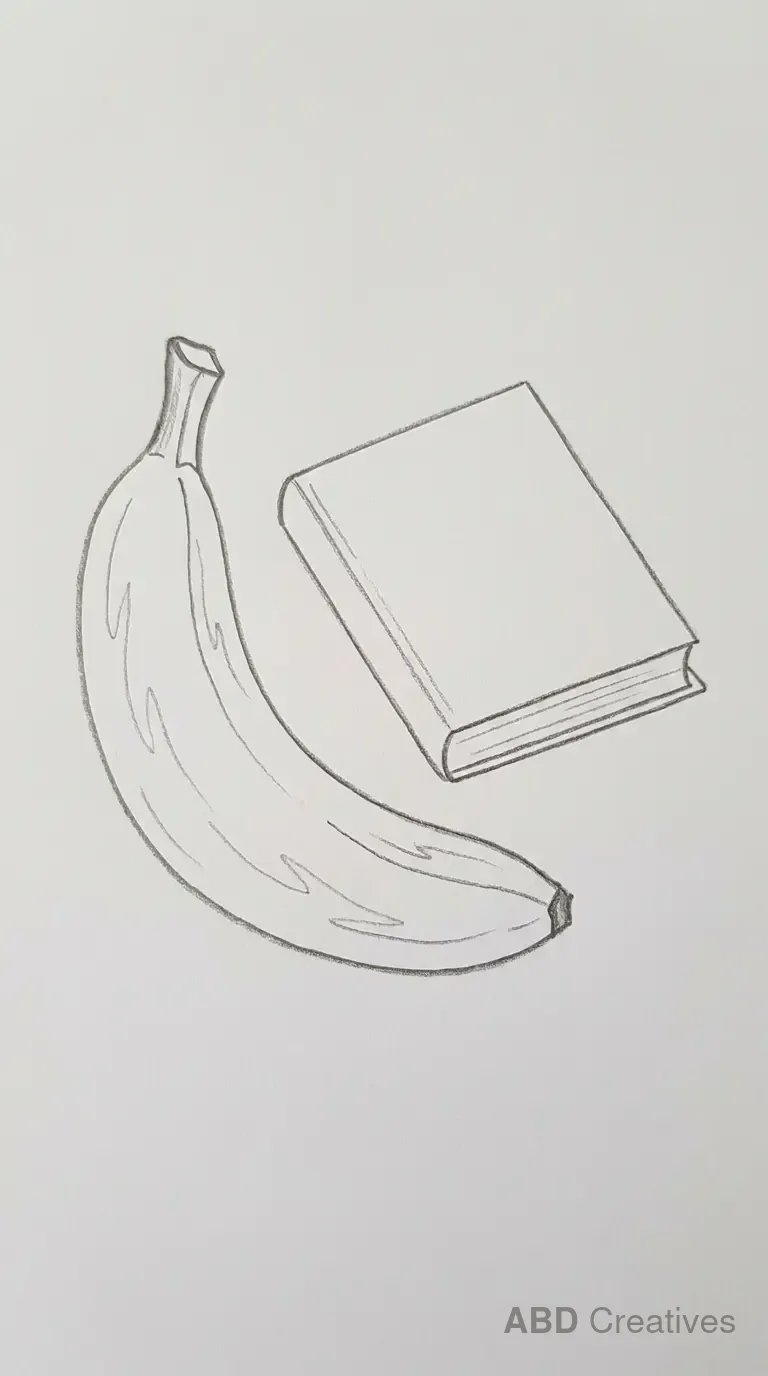
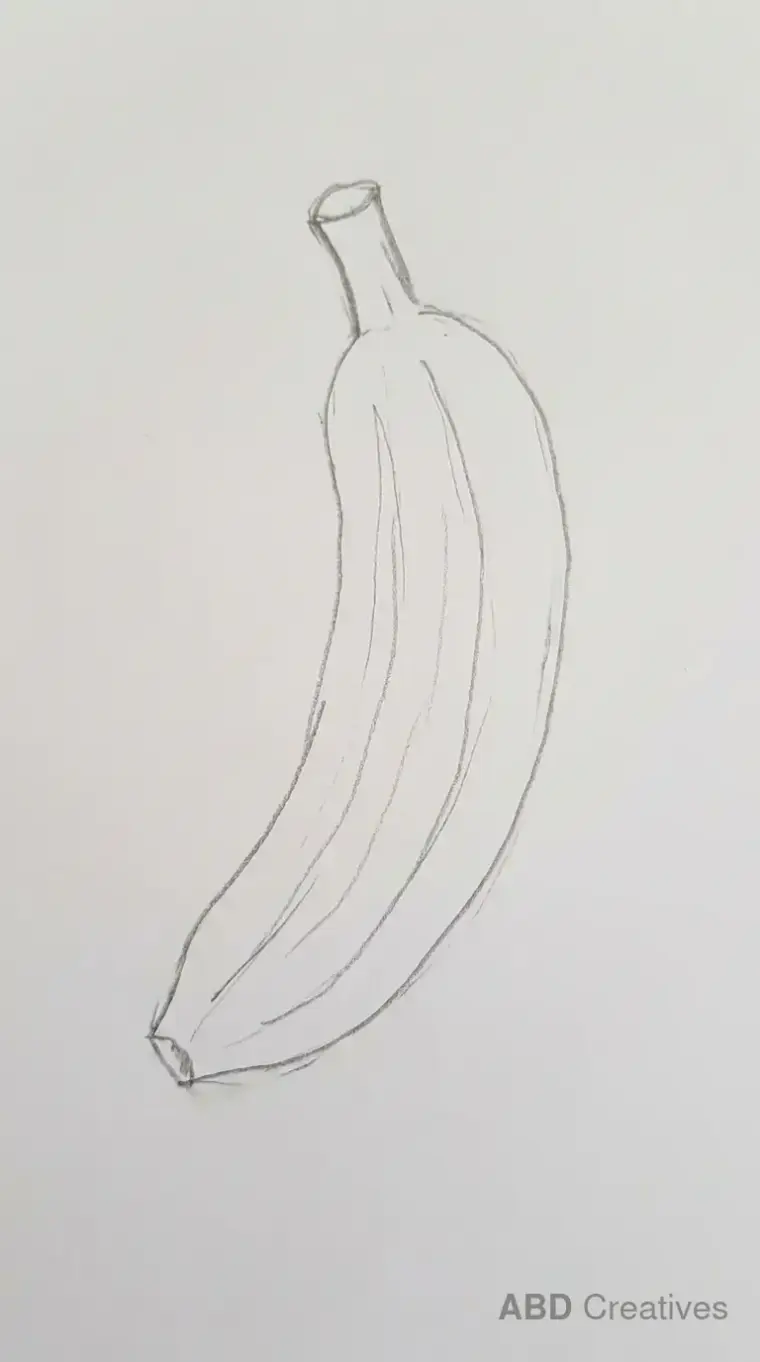
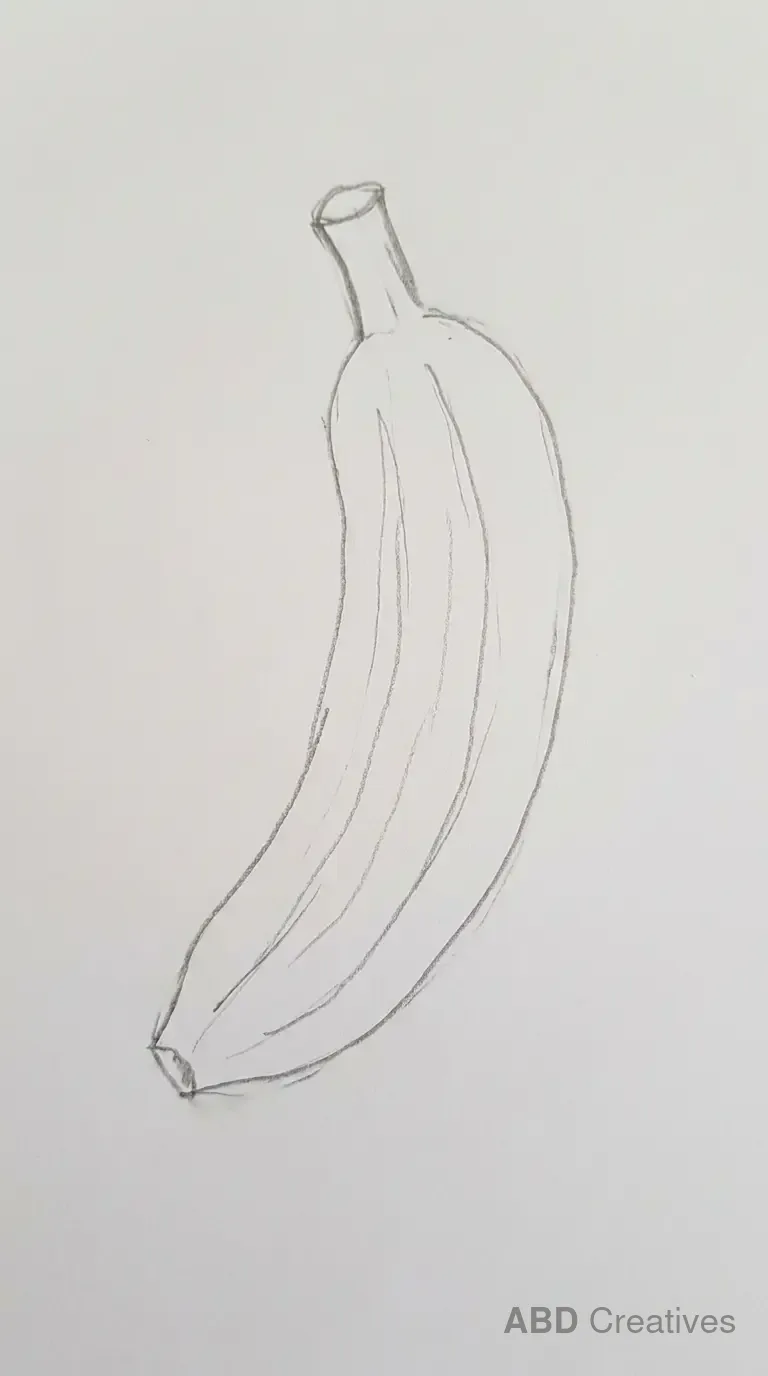
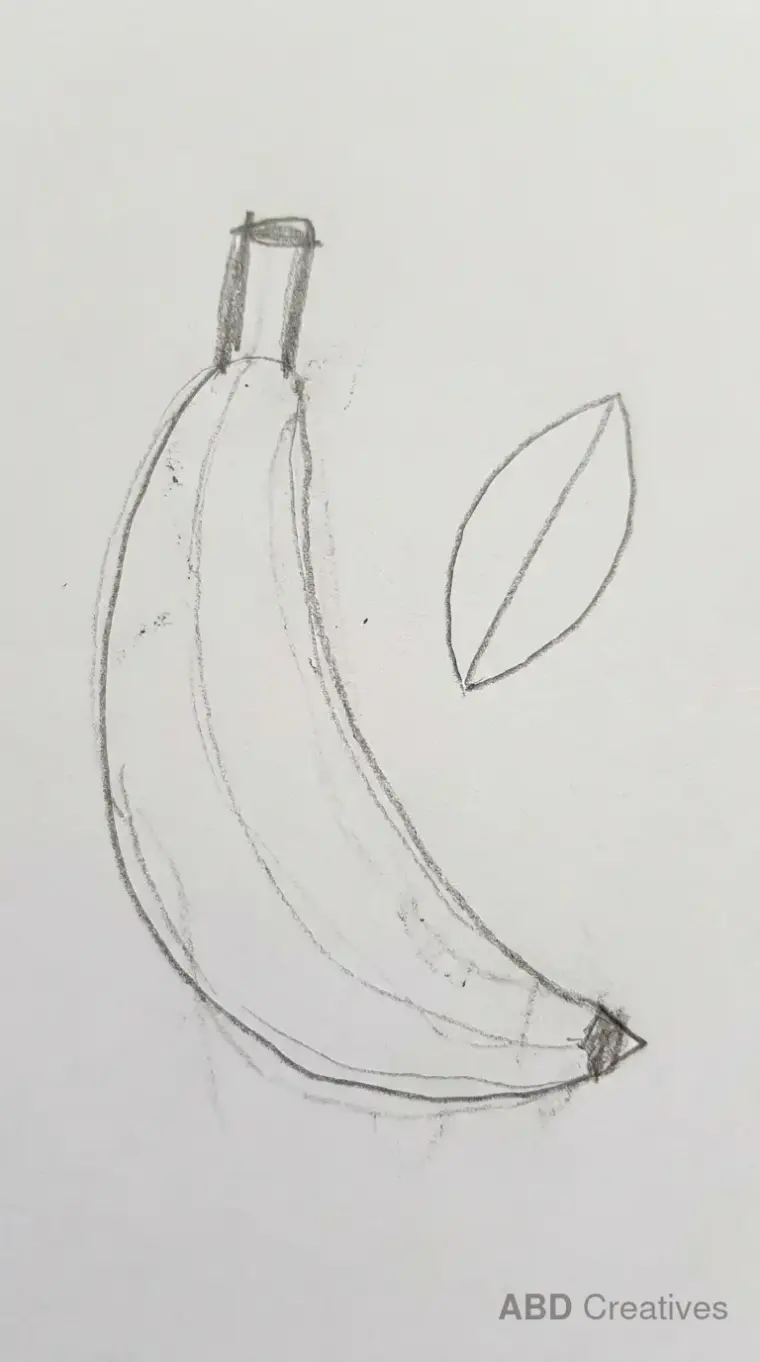
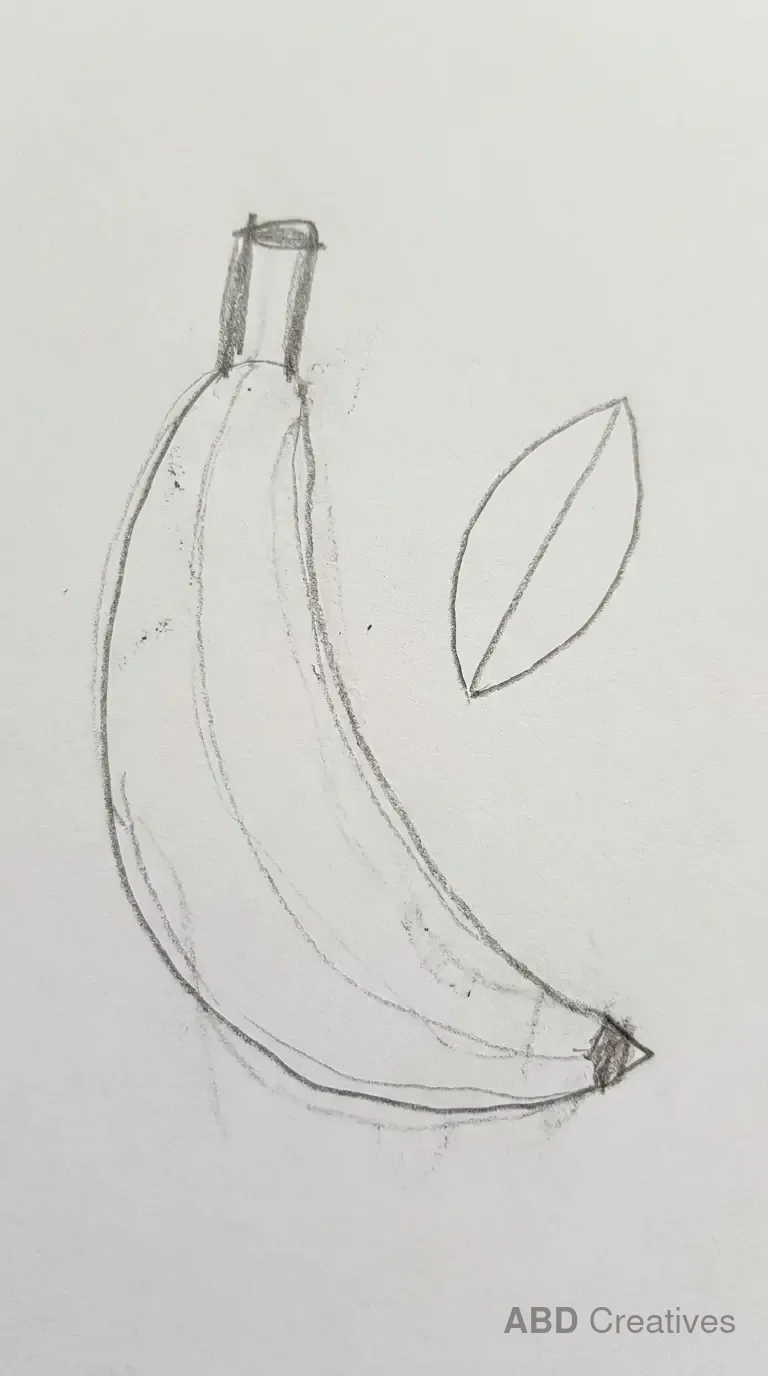
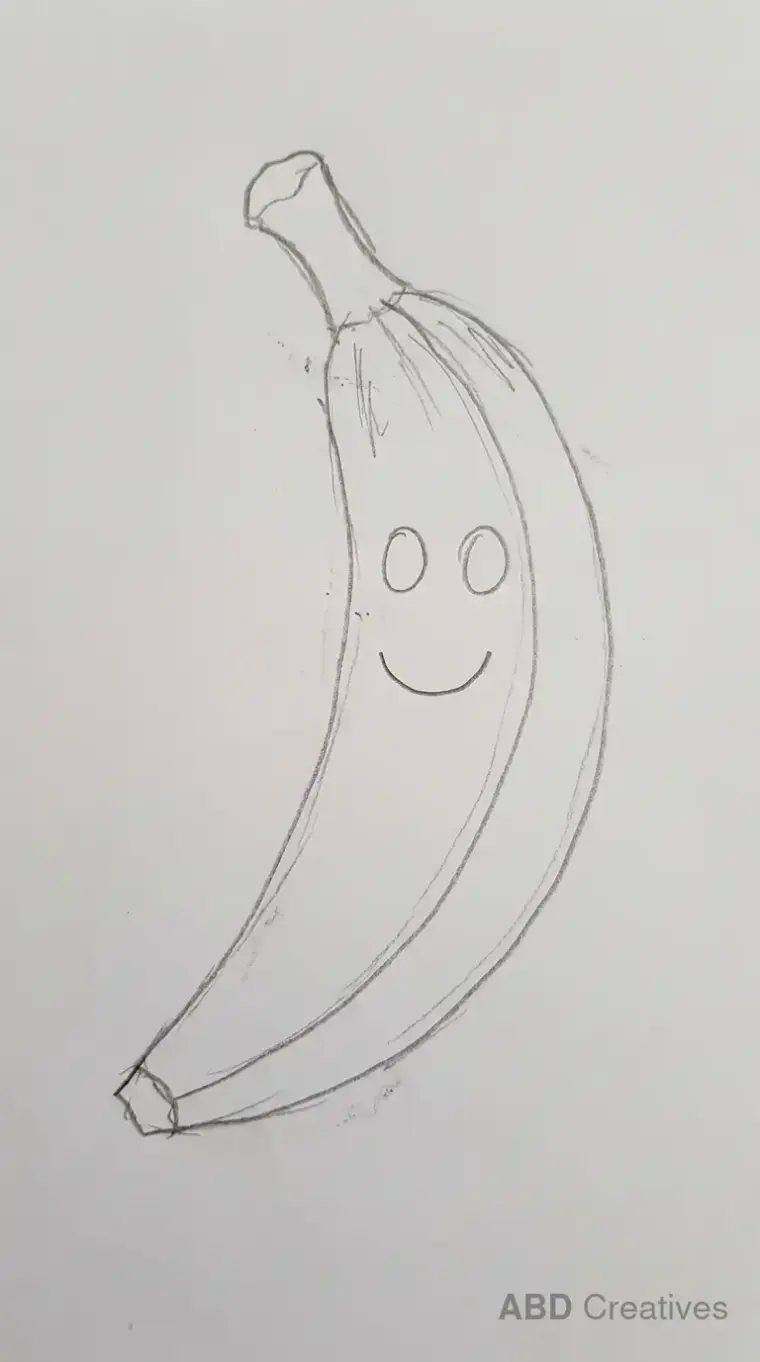
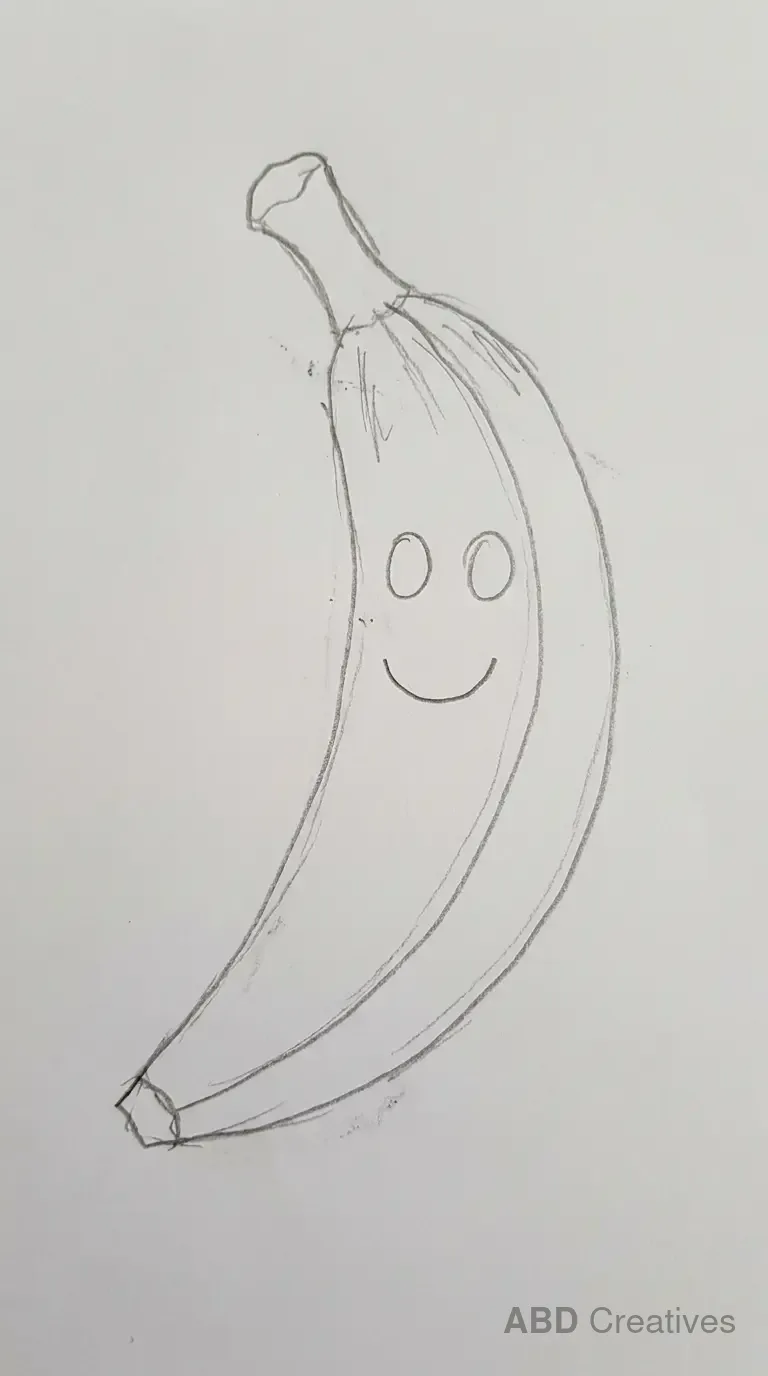
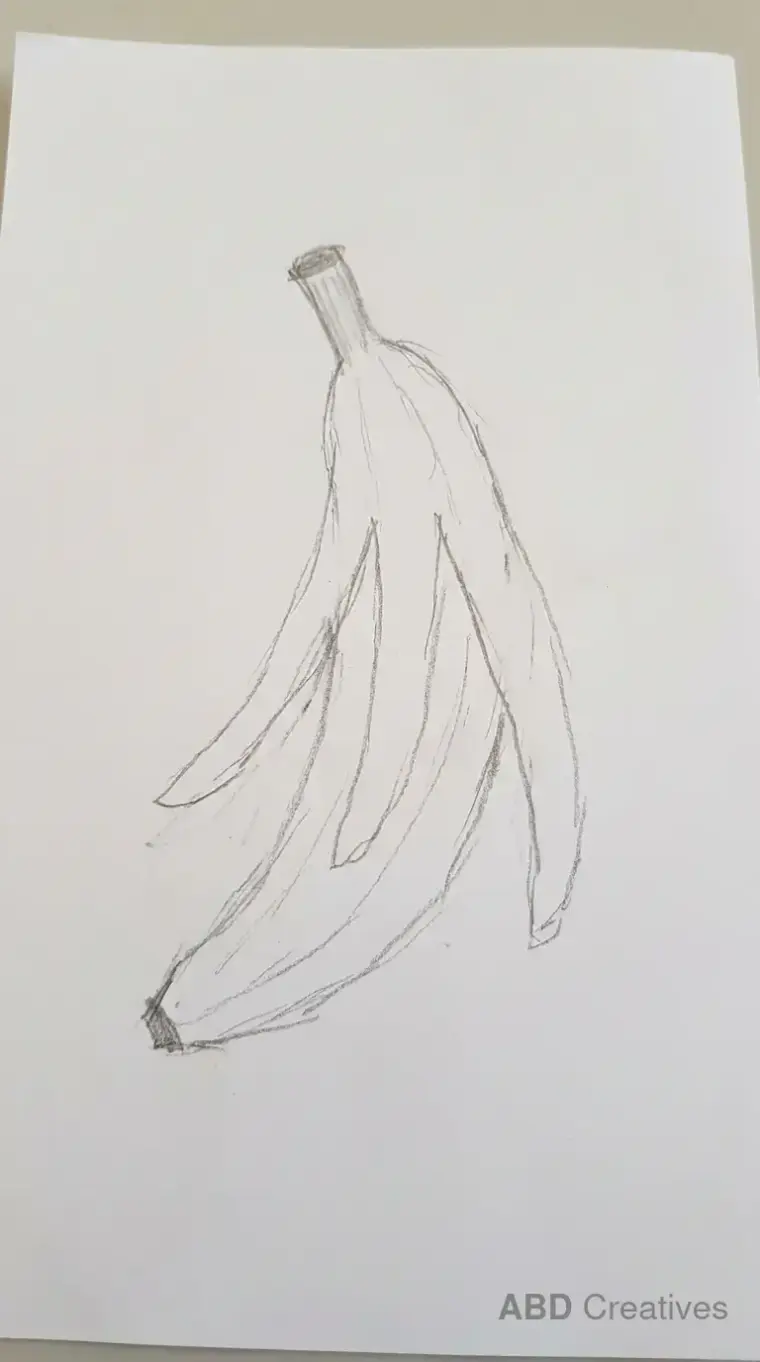
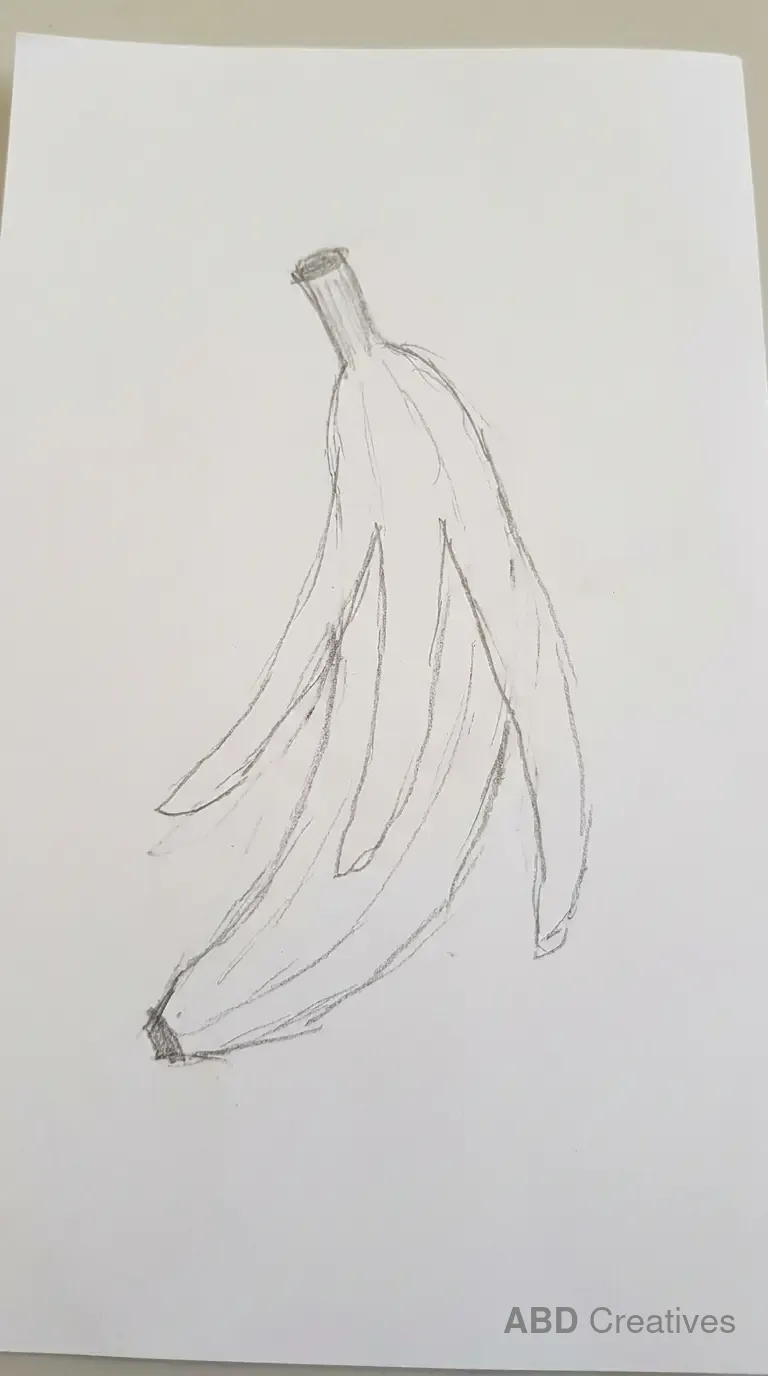
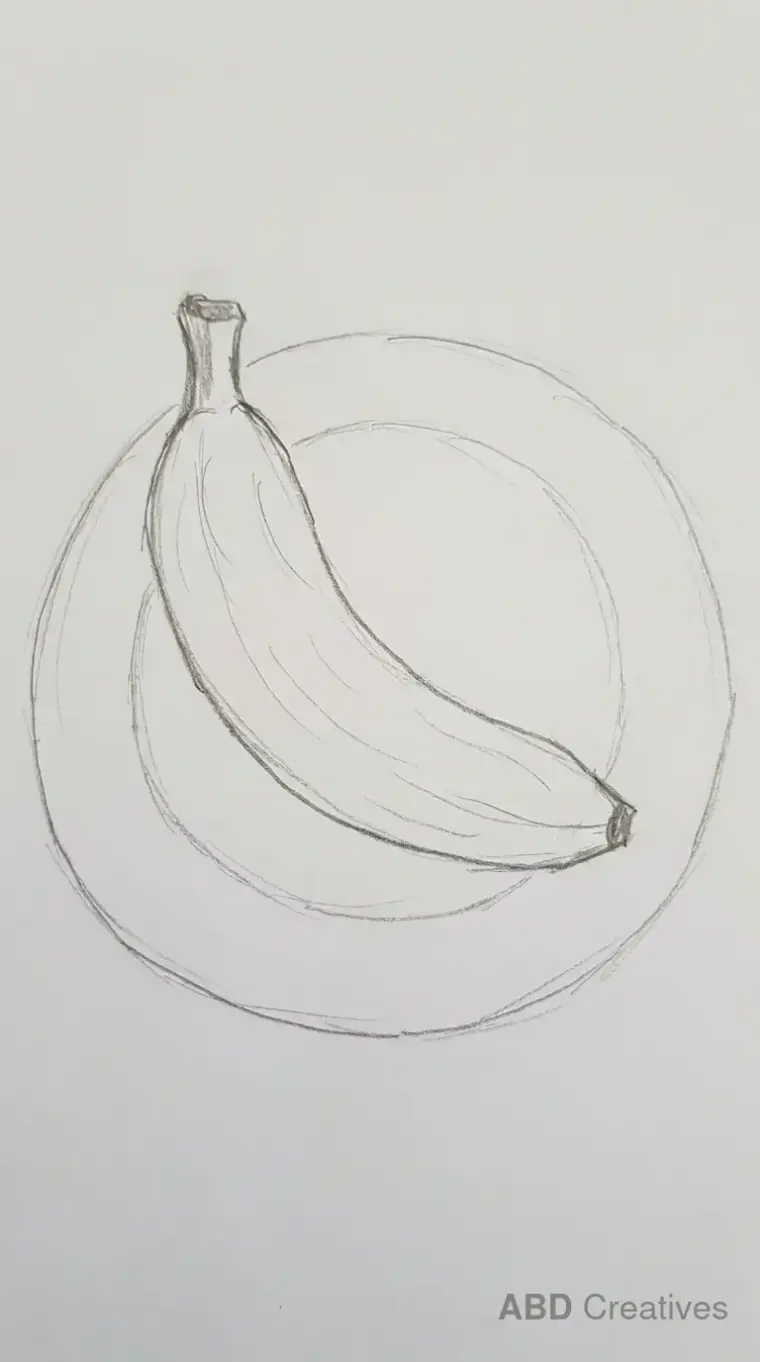
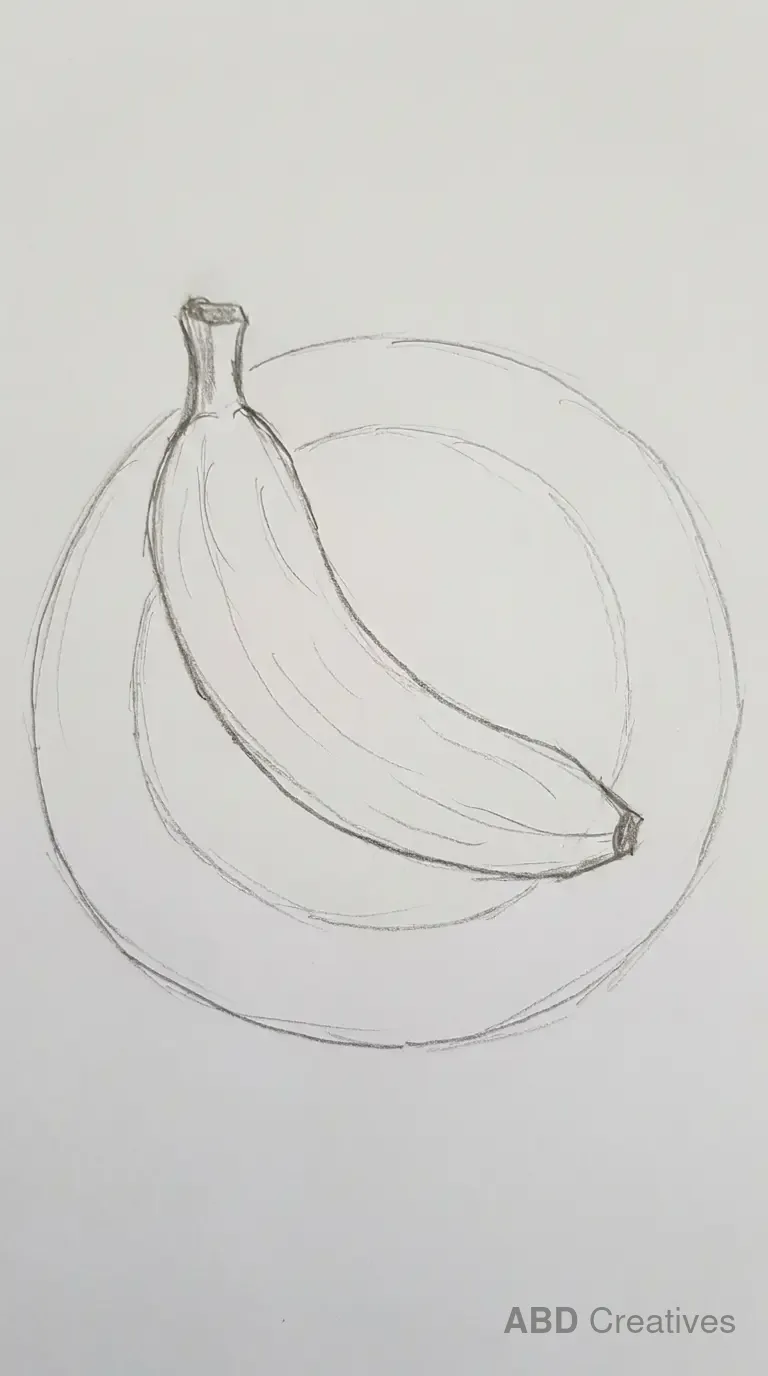
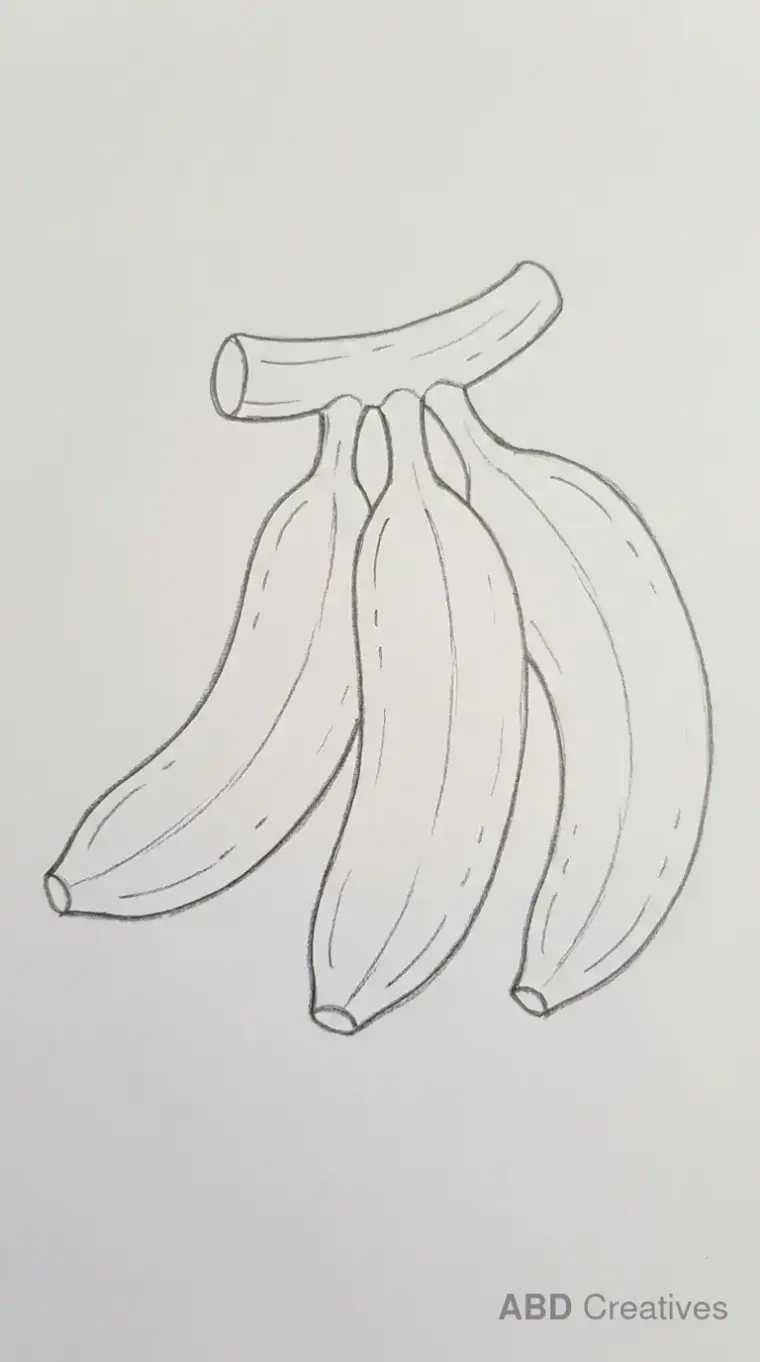
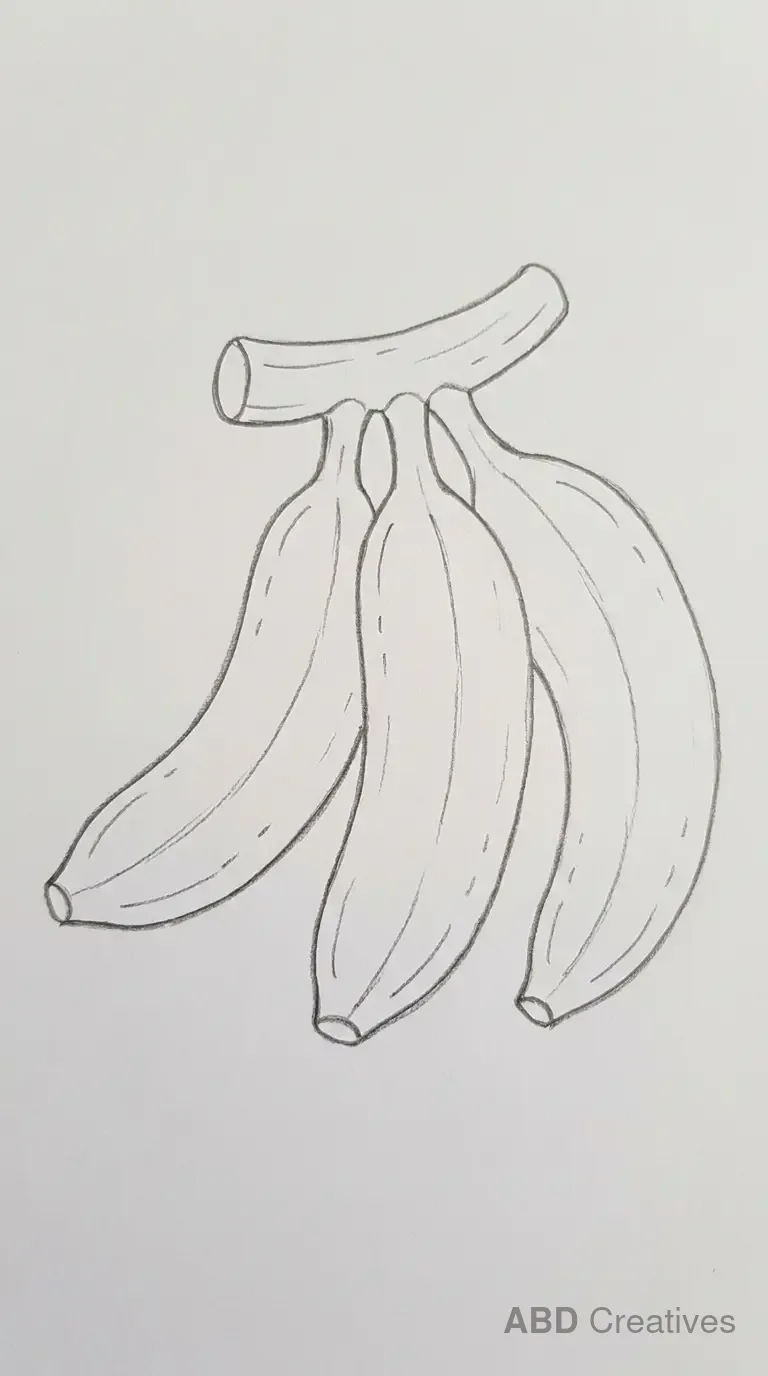
How to draw a banana step by step
A banana is mostly about one long curve, which makes it a great fruit for practising smooth lines. The trick is drawing the curve first and building the rest of the shape around it.
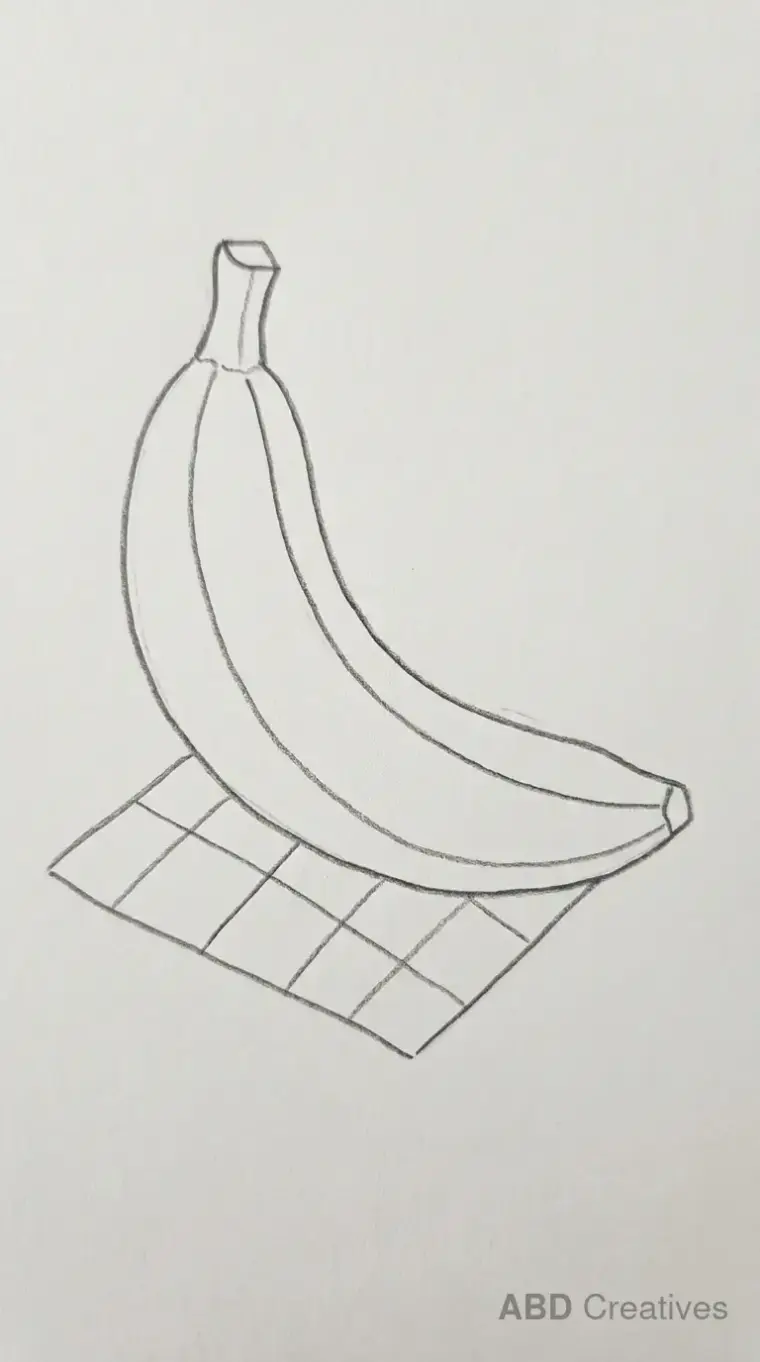
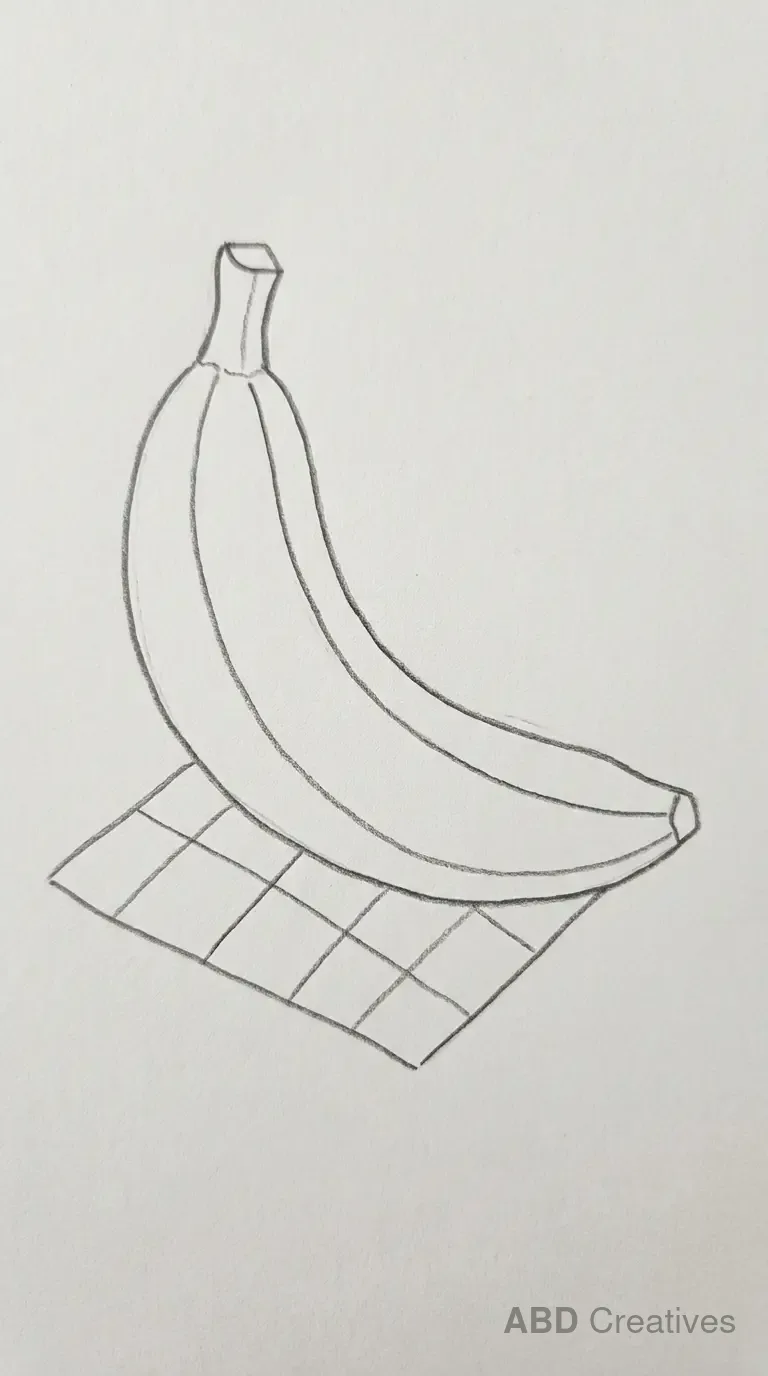
- Draw one long curved line from end to end. Keep it light so you can adjust the bend.
- Add a second curved line below the first, wider in the middle, to give the banana thickness.
- Round off both ends. One end gets a small stem, the other a slightly pointed tip.
- Add a few short curved lines along the length of the banana to suggest the natural ridges in the peel.
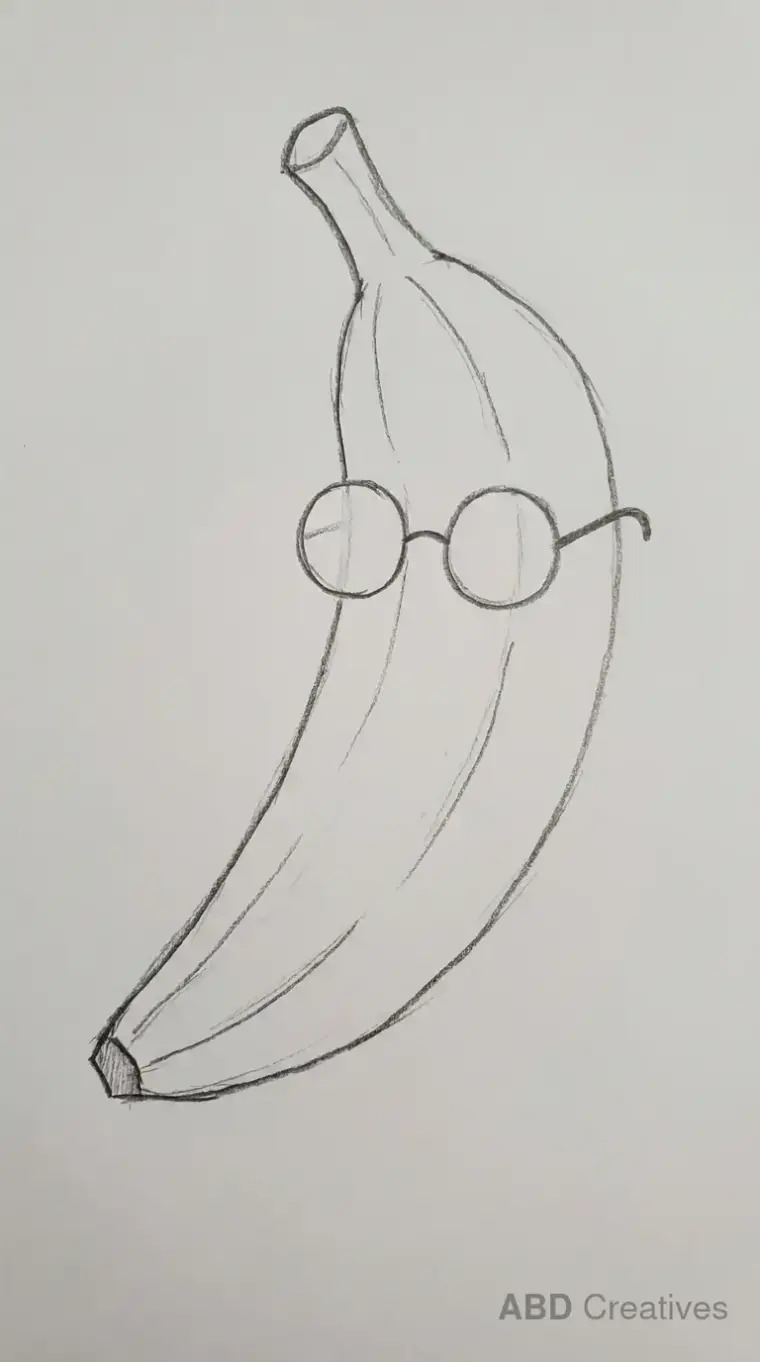
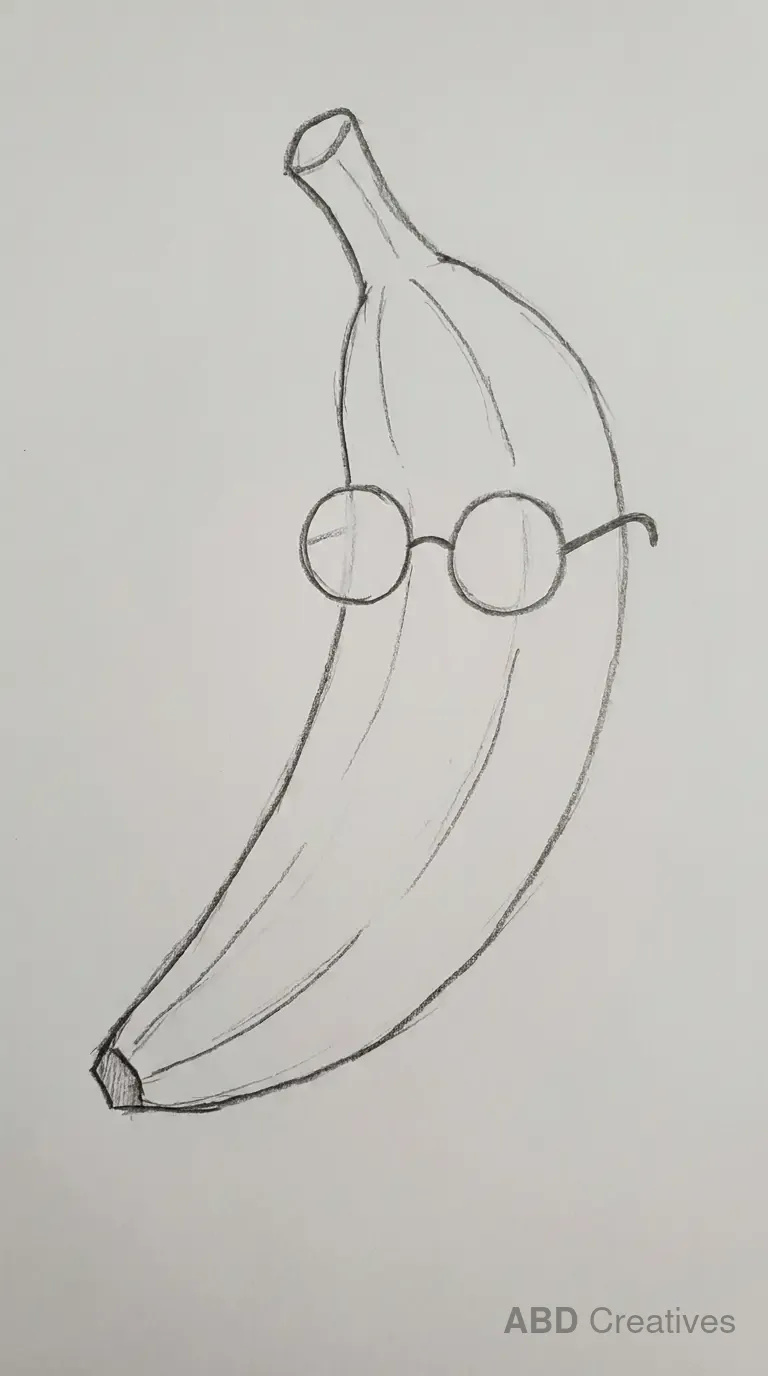
- Add any extras last, like a face, glasses or a small bow near the stem.
Darken your final lines at the end and rub out the guide shapes. That last step is what makes a drawing look finished rather than sketched.
Which banana should you start with
If this is your first banana
Start with the simple banana or the banana with a leaf. Both are just one curved shape with a stem, so you are only thinking about the curve.
If you have drawn fruit before
Try the banana with glasses, the smiling banana or the banana with a small crown. The banana stays simple and you are adding one small character detail, which is a good way to make a drawing feel finished without more difficulty.
If you want a challenge
The peeled banana and the banana bunch are the hardest here, because you have to draw two or more curved shapes working together. Draw the main curve first in both, and the rest follows.
What you need
An HB pencil, plain paper and an eraser. A 2B pencil helps if you want darker final lines. Nothing on this page needs a tablet, a light box or special paper, and none of these were drawn with any.
Three things that make a banana look like a banana
- The curve is too straight. A banana needs a clear bend along its length. A straight shape reads as a stick rather than a fruit.
- Both ends look the same. One end should be slightly pointed where the stem was, and the other should taper to a soft tip. Matching ends look less realistic.
- No ridge lines. A few short curved lines along the peel suggest the natural ridges and stop the shape from looking too smooth and plastic.
Ways to use these drawings
Copy any of these by hand, or download and print them for yourself, for your children or for your classroom. They work as colouring sheets, tracing practice, a warm up before a bigger drawing, or line art for a card. The banana with a heart and the banana with a bow both suit greeting cards. If you want to use one in something you sell, write to us first.
Questions people ask
What is the easiest banana drawing on this page?
The simple banana for beginners. It is one curved shape with a stem and no extra details, and the banana with a leaf is just as quick.
Are these banana drawings free to download?
Yes. Every drawing here can be downloaded and printed for personal use, school use or classroom use at no cost. For commercial use, please contact us first.
Can young children draw these?
Most of them. The simple banana, the smiling banana, the banana with a face and the banana with a heart all suit children around five and up. The peeled banana and the banana bunch suit older children and adults.
Why does my banana look like a stick?
Almost always the curve. A banana needs a clear, gentle bend from end to end rather than a straight line. Add more curve and let the middle bulge out slightly.
How do I draw a peeled banana?
Draw the whole banana outline first, then add a second, narrower shape inside it for the peeled fruit. Curl the peel pieces outward or downward at the stem end.
How do I make my banana look less flat?
Add a few short curved lines along the length to suggest the natural ridges in the peel, and make sure the two ends of the banana look different from each other.
What pencil should I use?
An HB for the light guide shapes and a 2B for the final lines. If you only have one pencil, an HB is fine. Press lightly at the start so the guides rub out cleanly.
Are these drawings made by hand?
Yes. Each one was drawn in pencil on plain paper and photographed. They are not computer generated or traced from photographs.