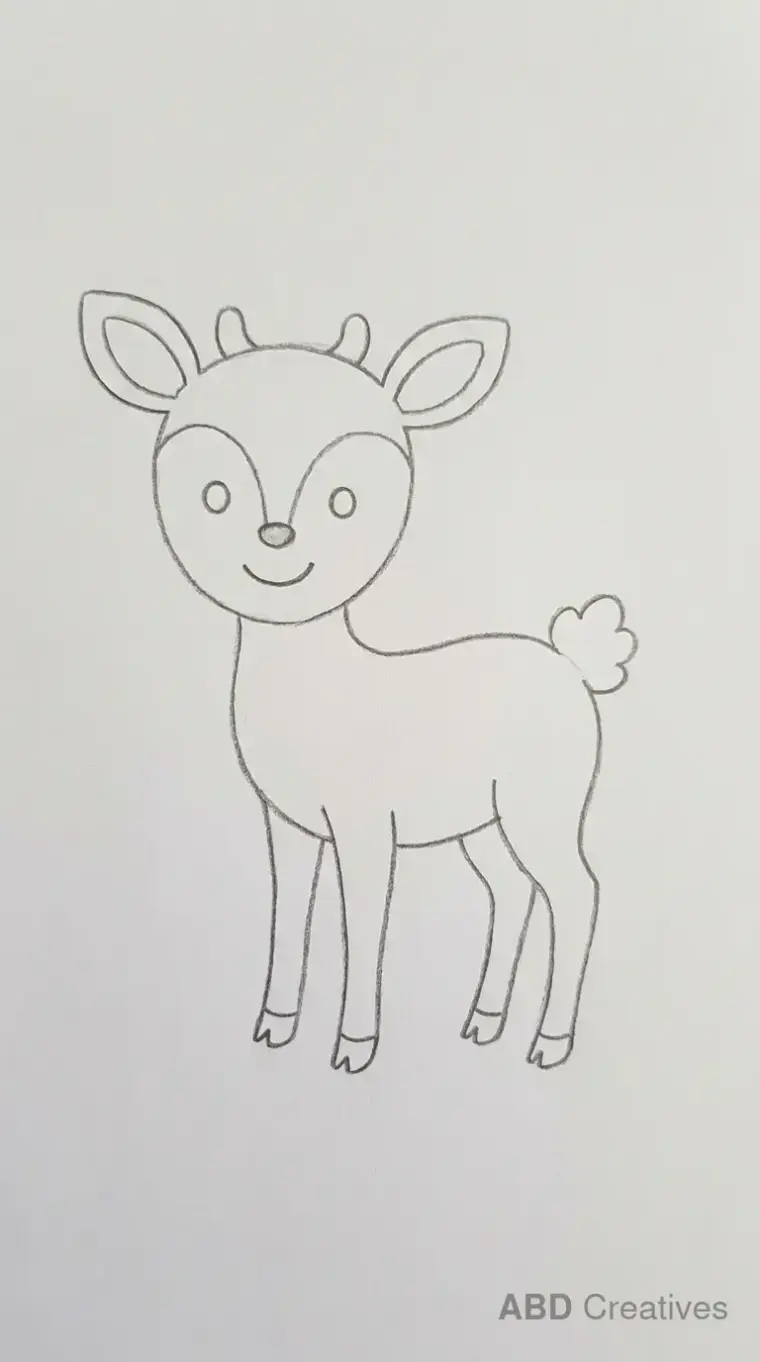
Deer Drawing Ideas
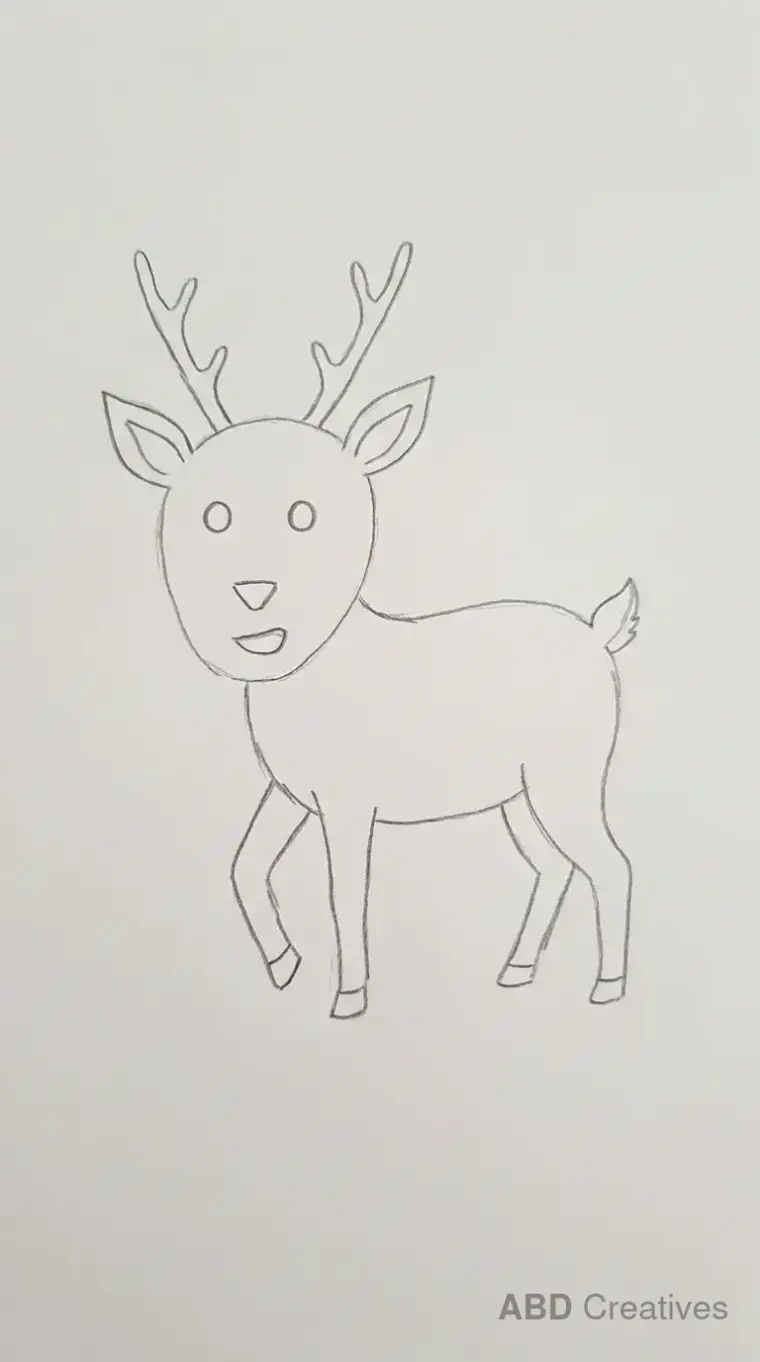
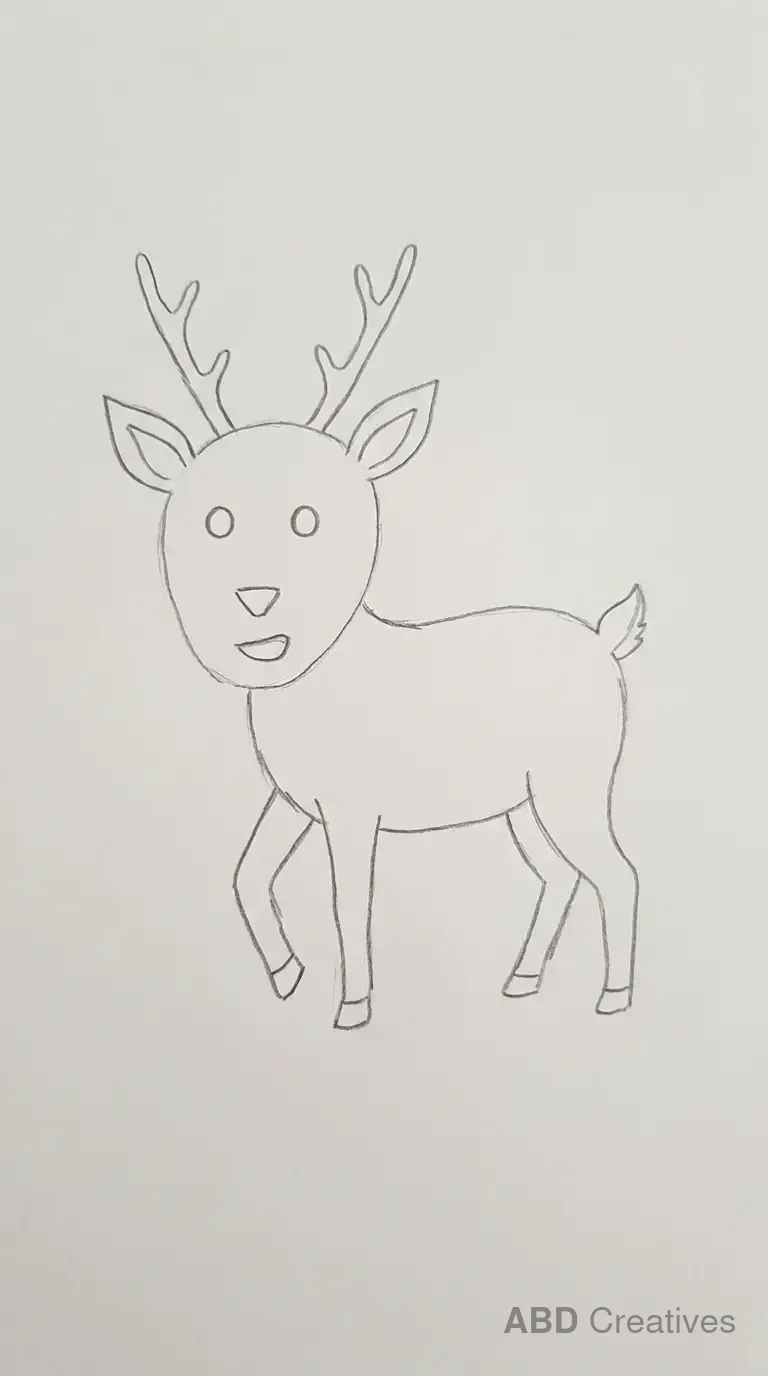
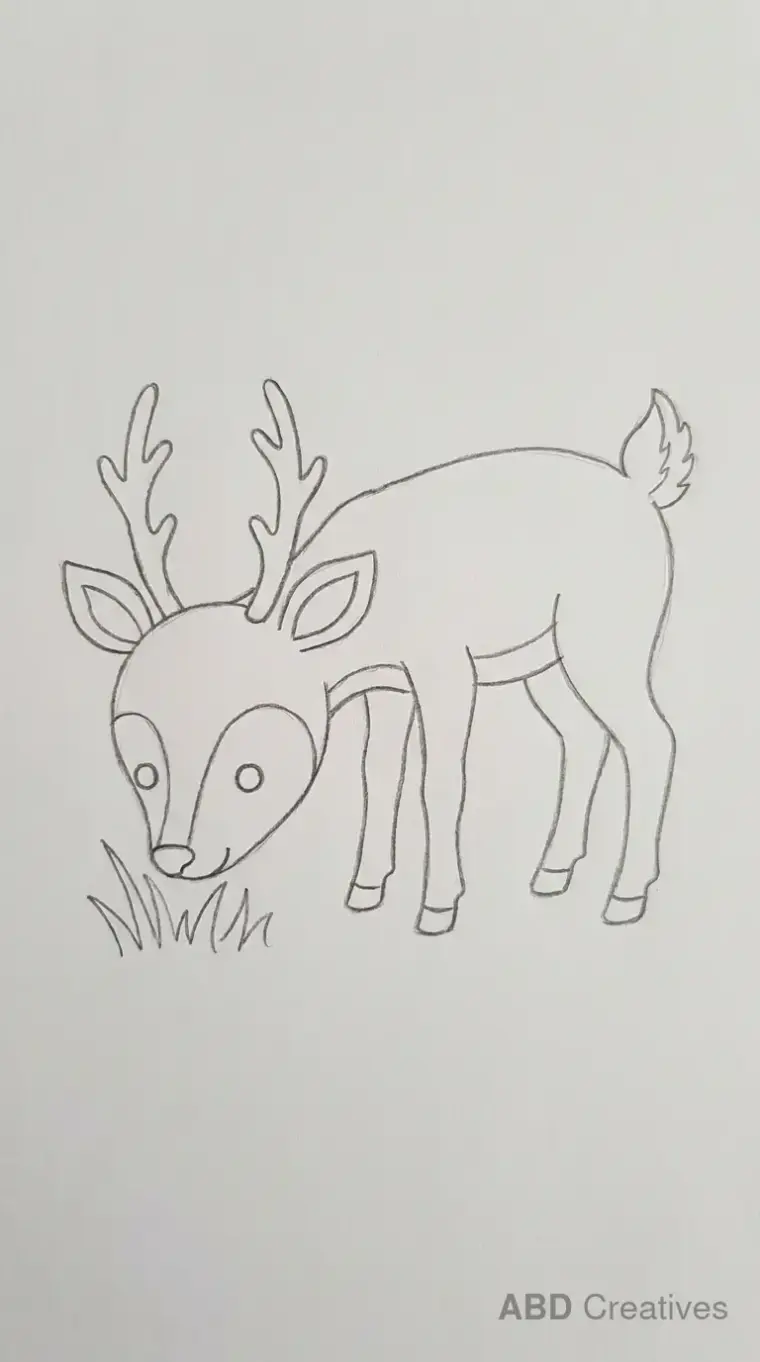
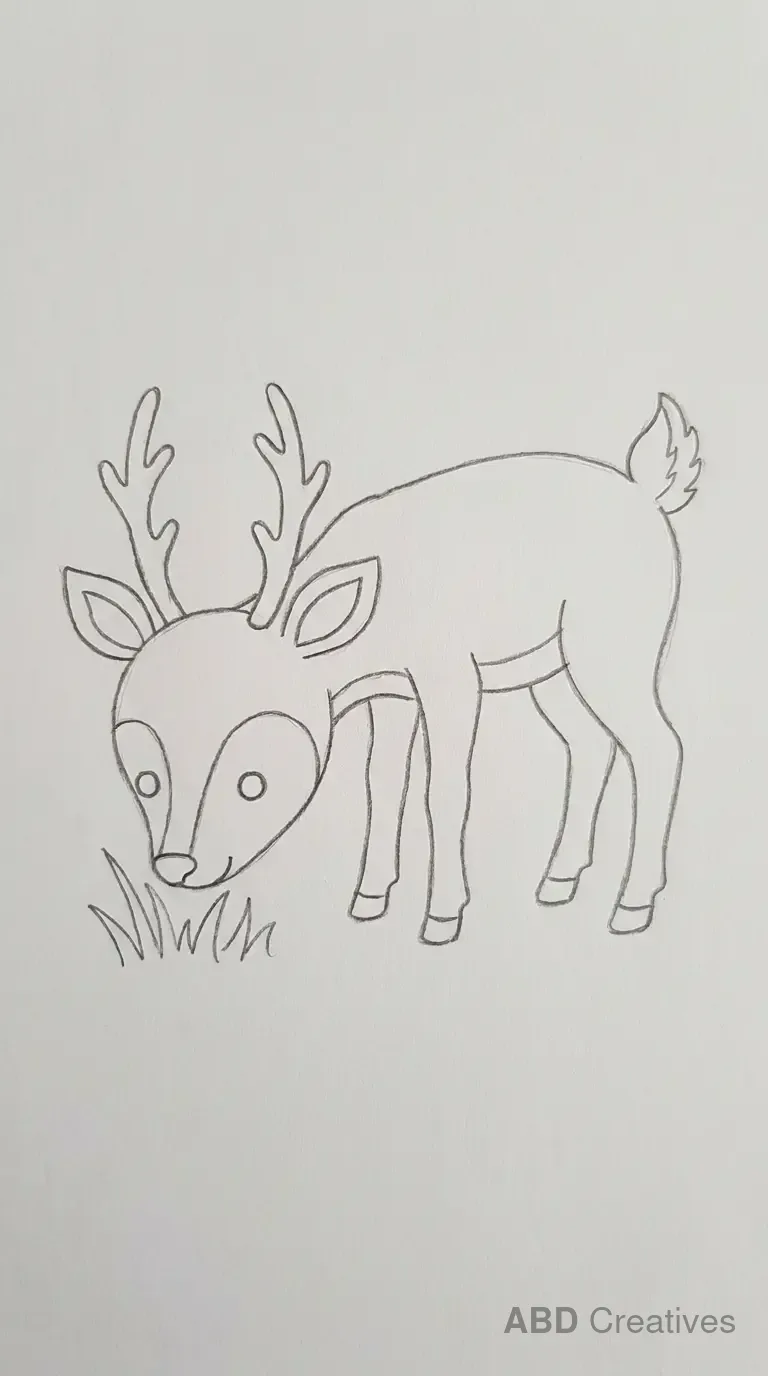
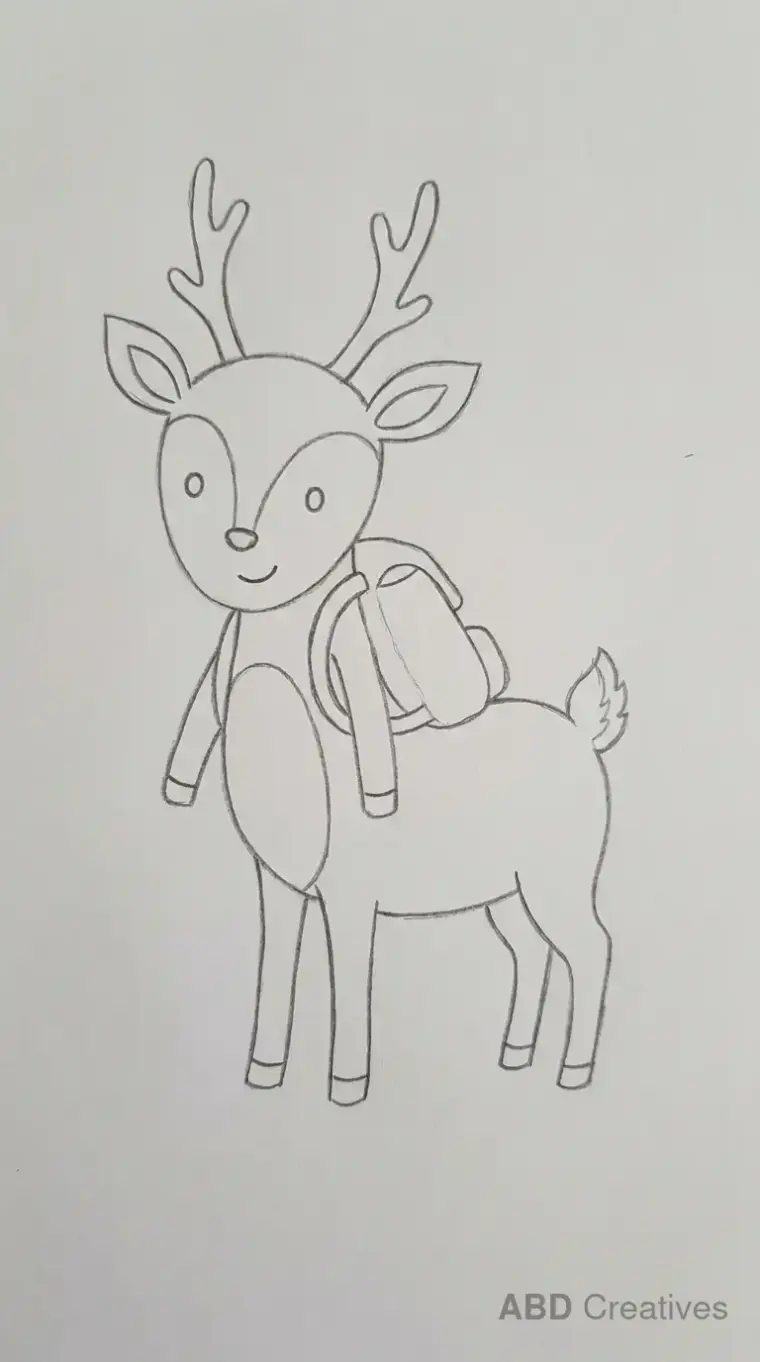
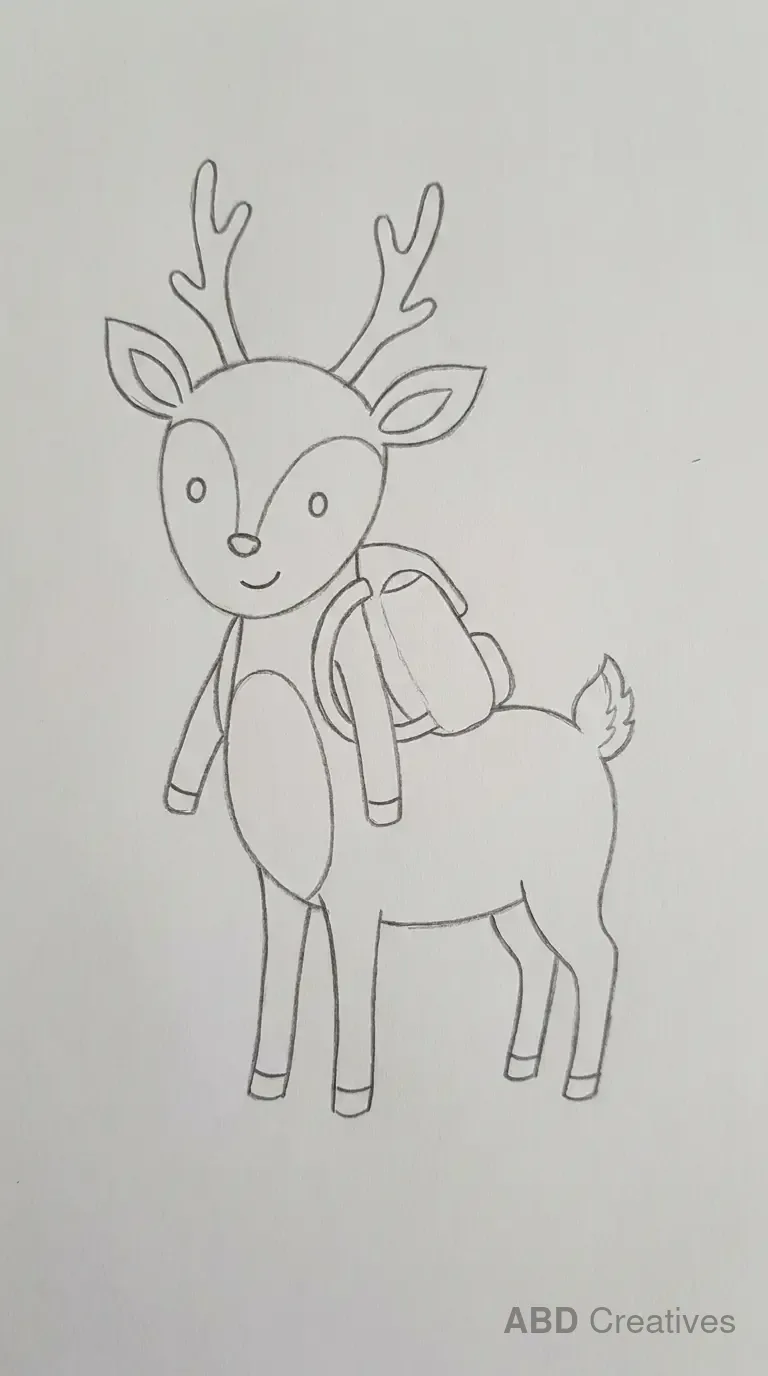
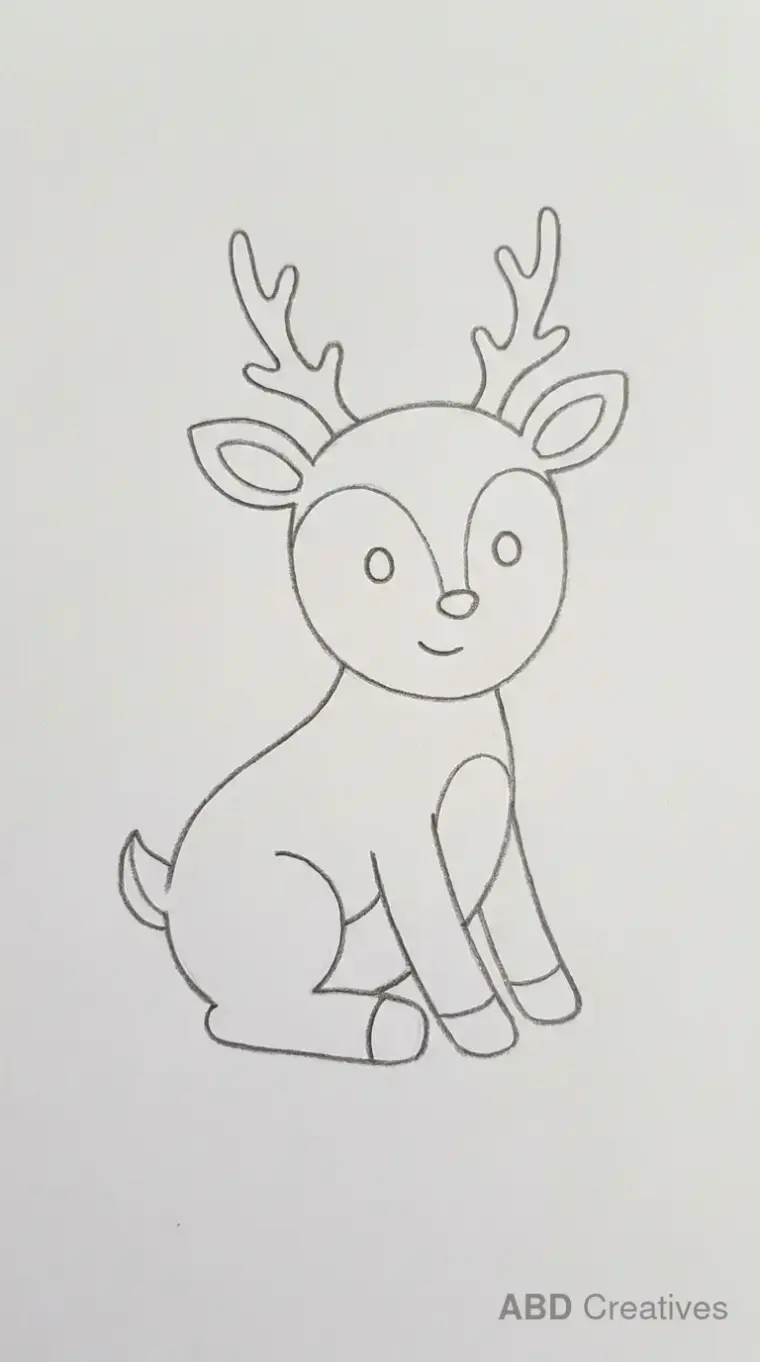
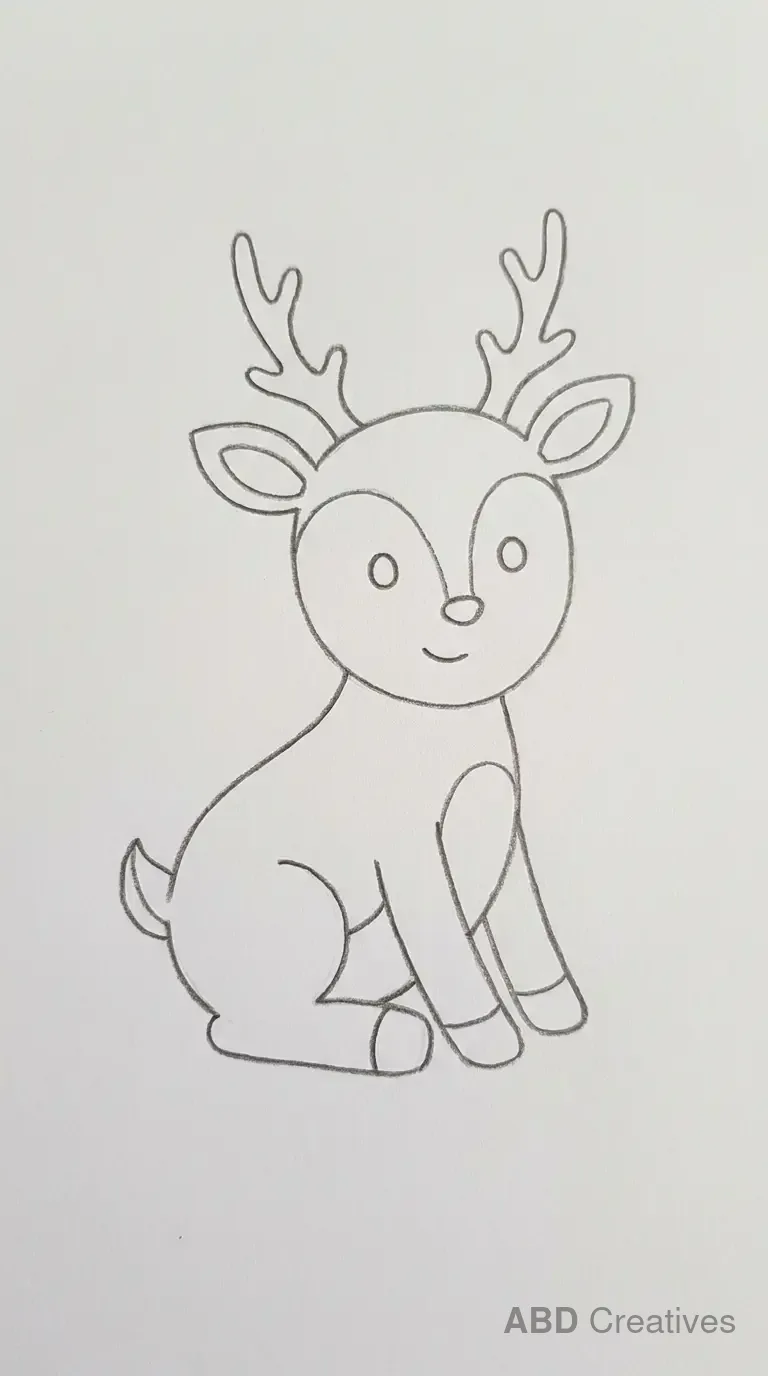
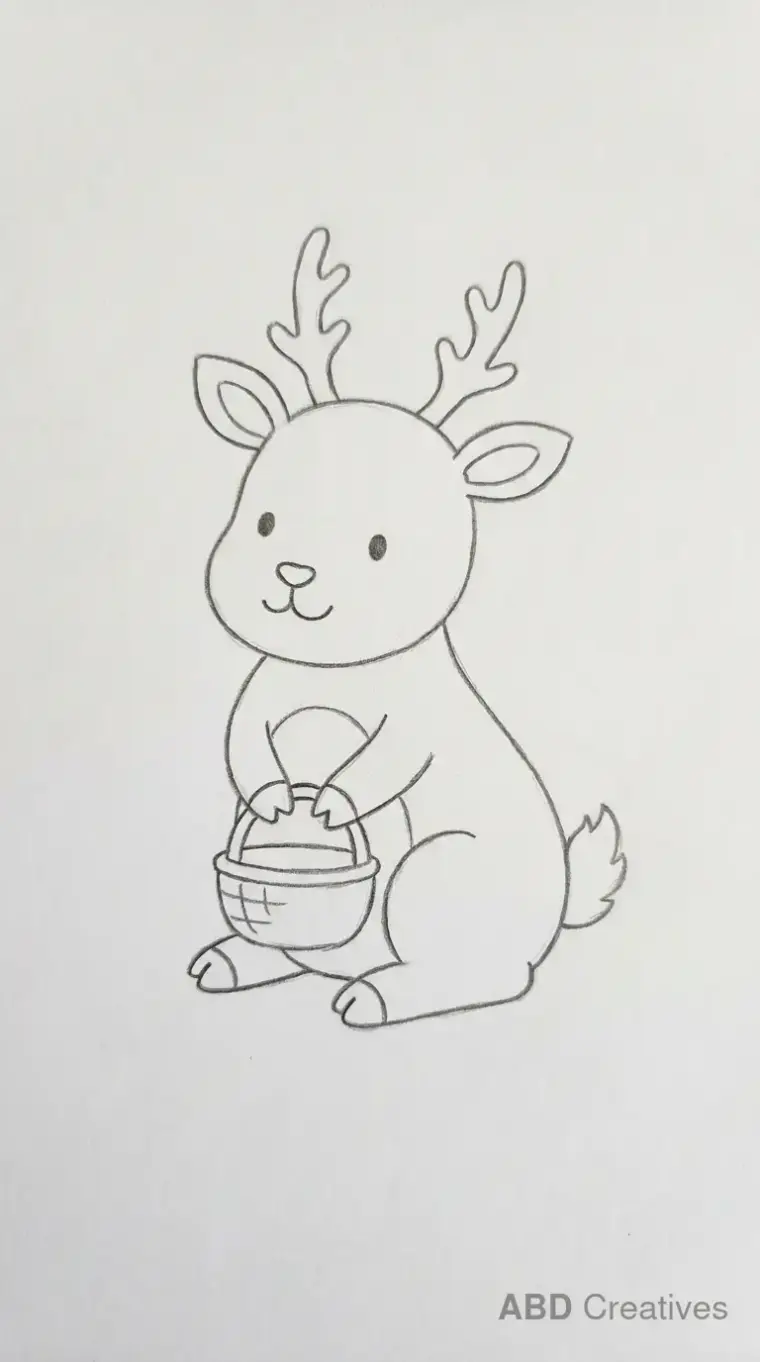
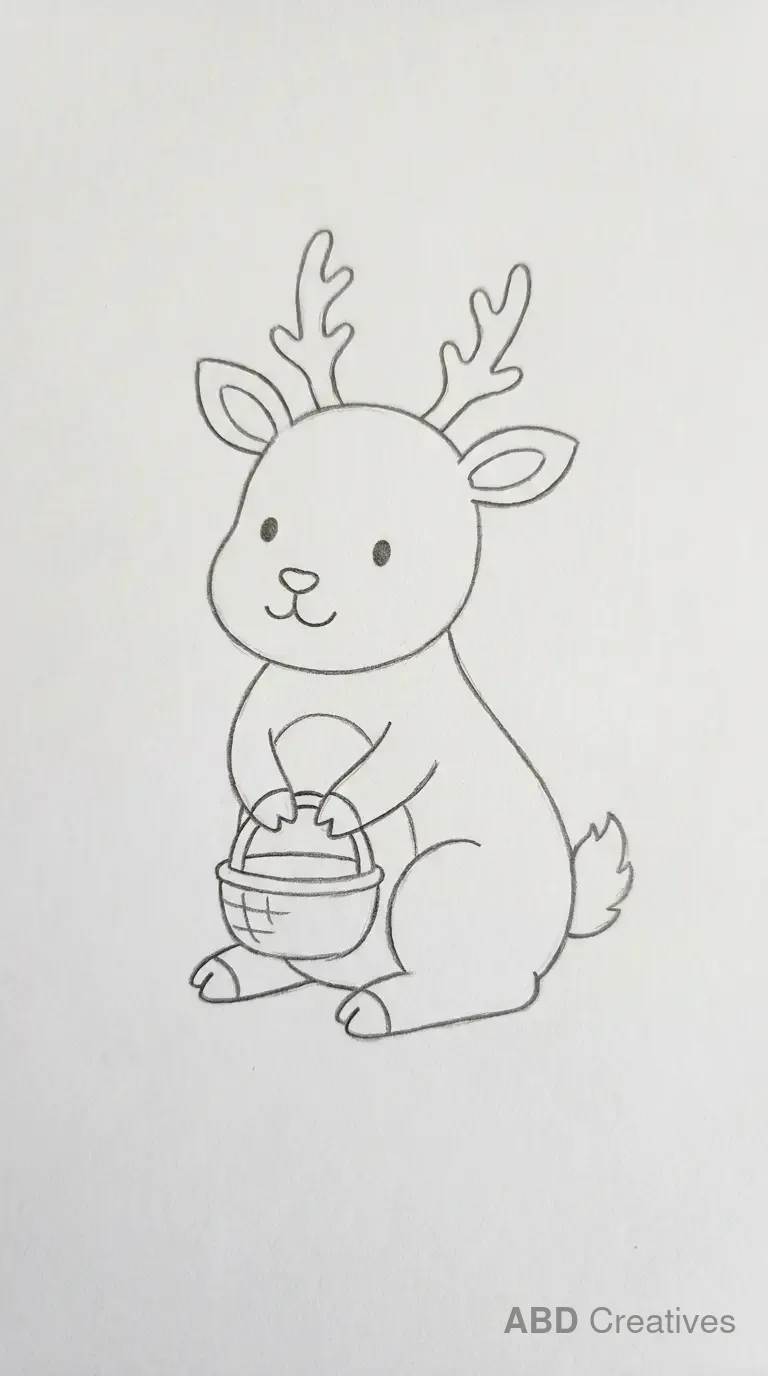
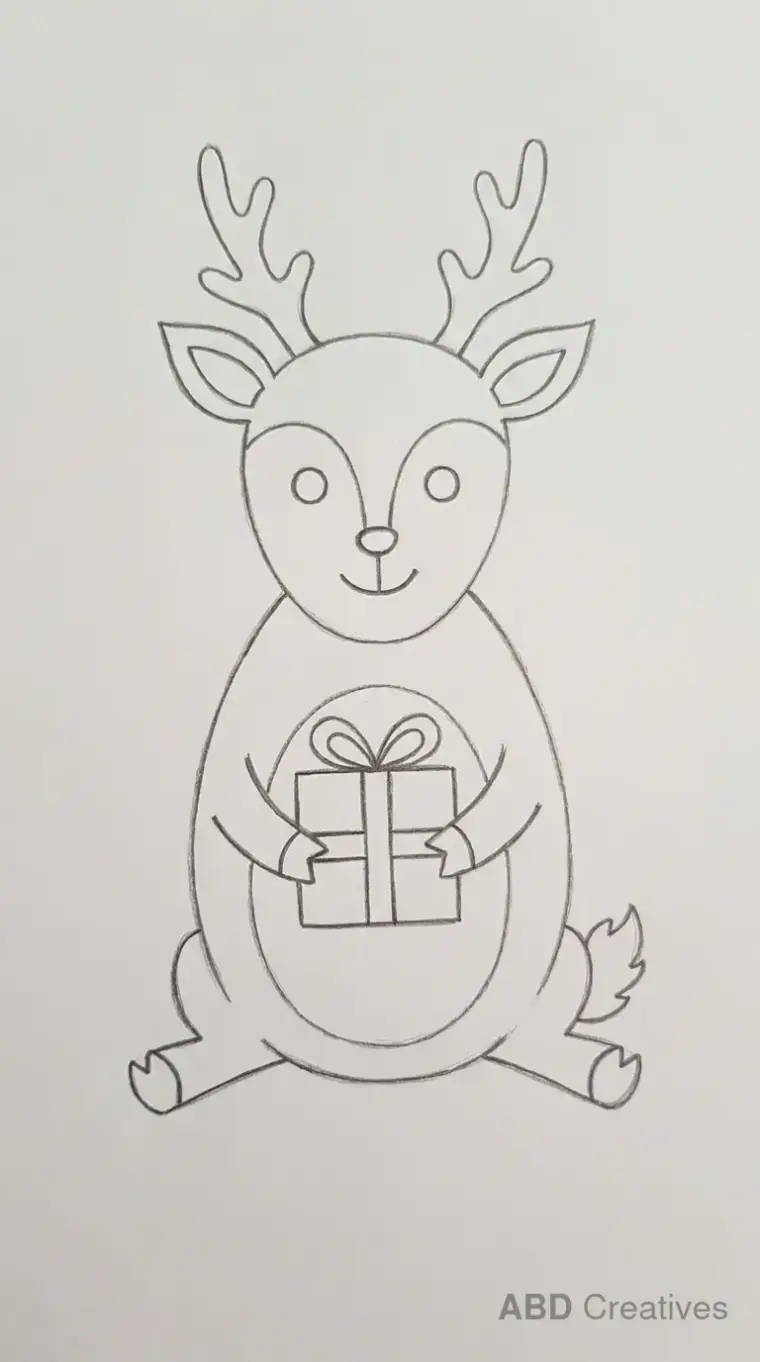
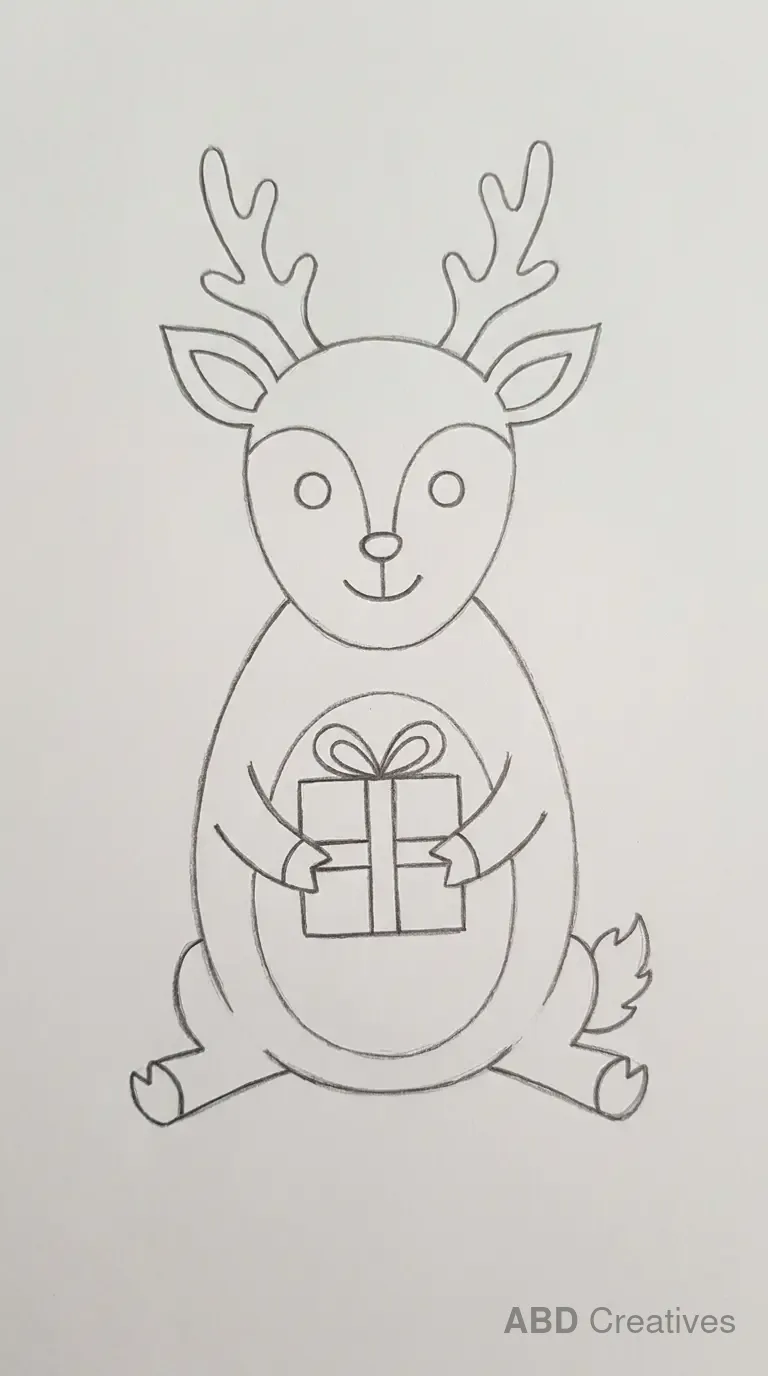
Twenty-four deer drawings you can copy straight onto paper, from a plain standing deer to a deer eating grass by a pond. Every one is a clean pencil outline drawn by hand, with no shading and no colour. Pick one, keep it next to you, and copy it line by line.
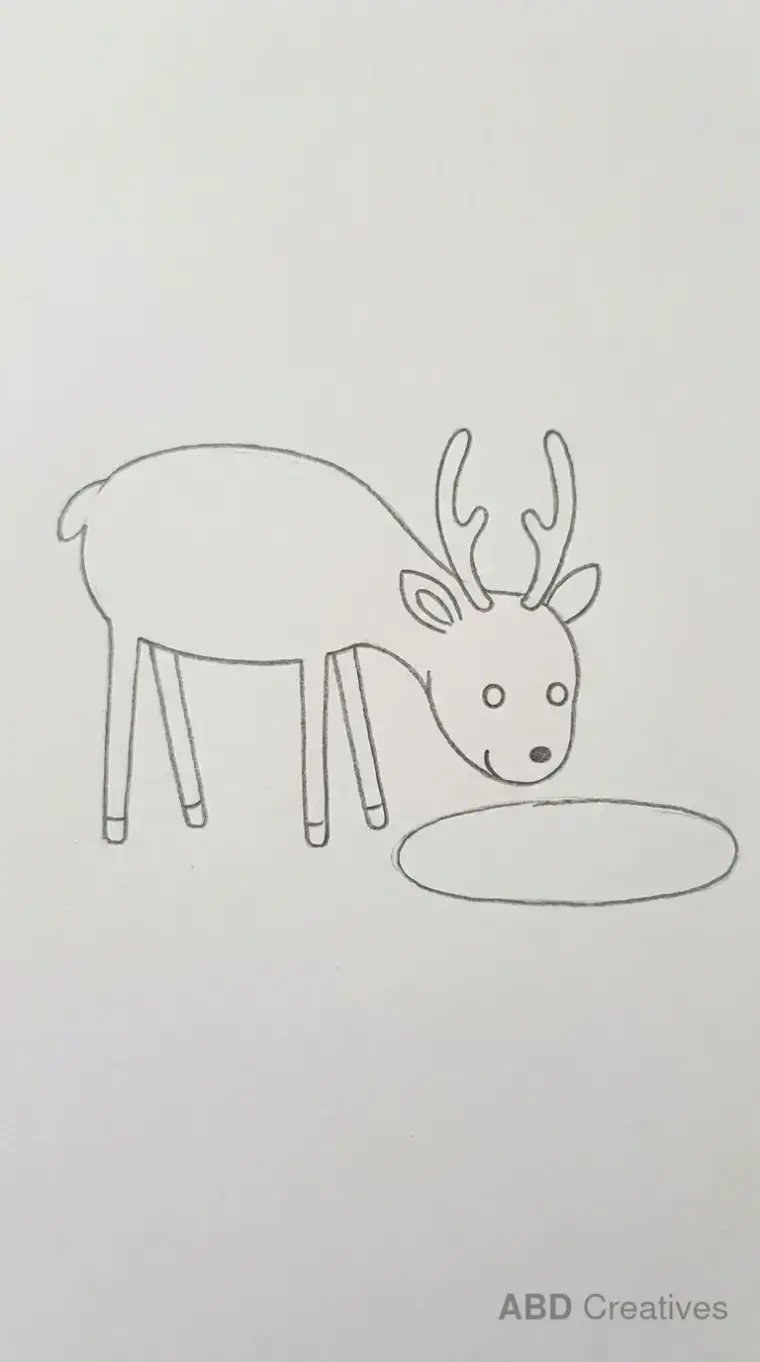
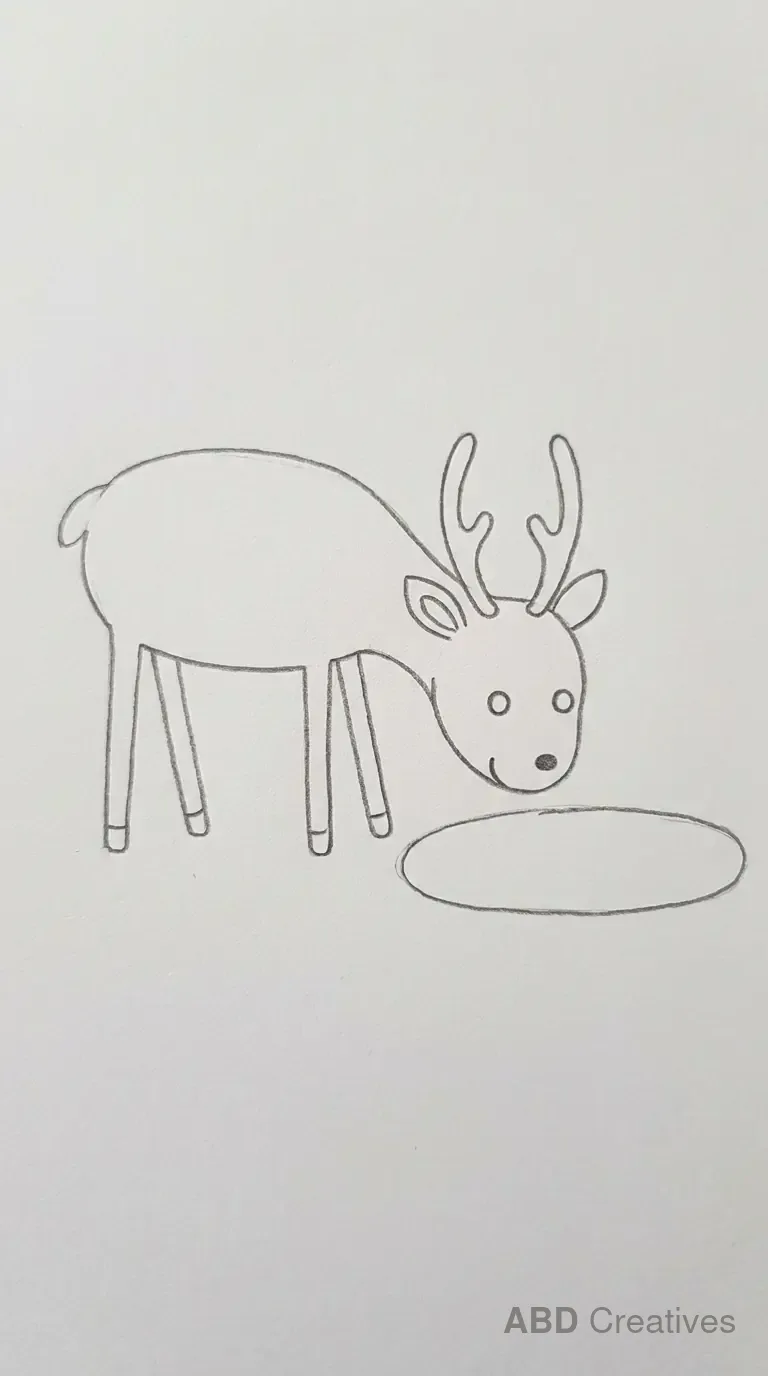
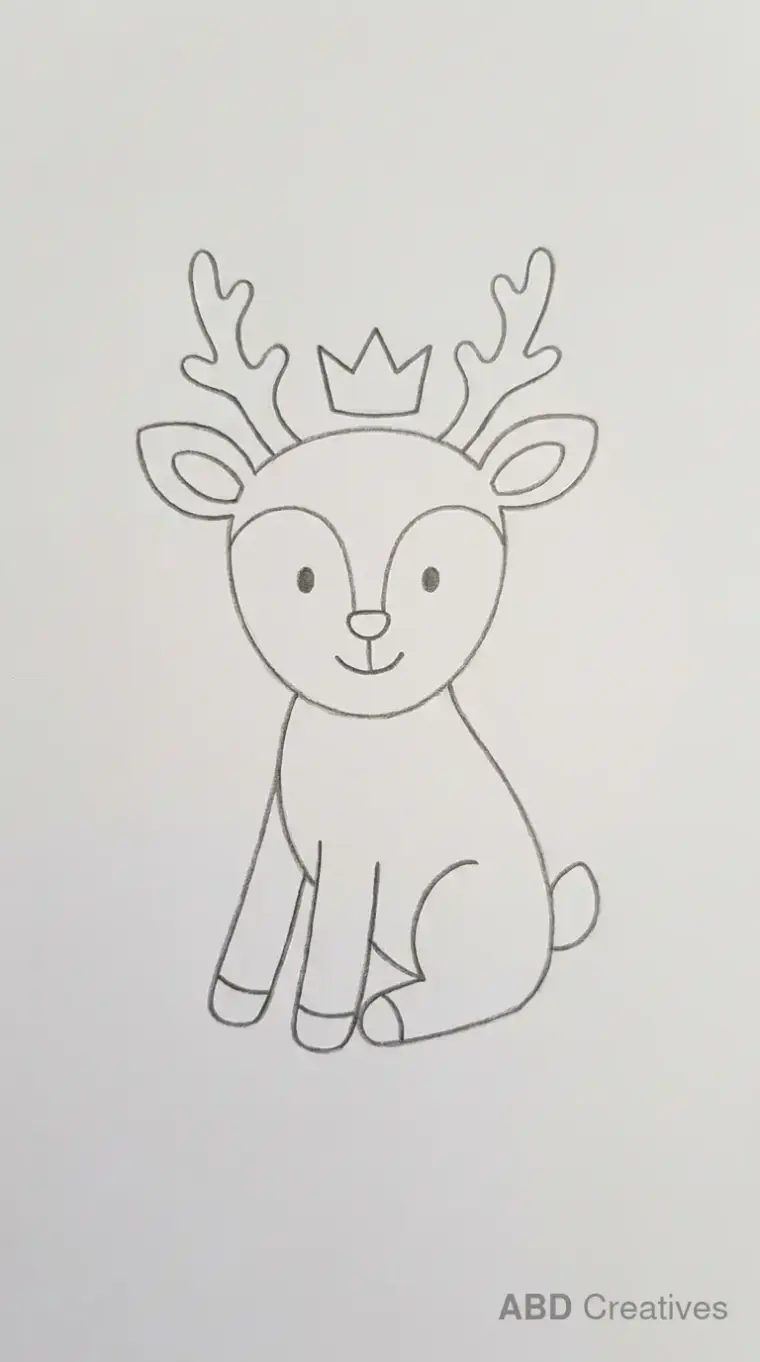
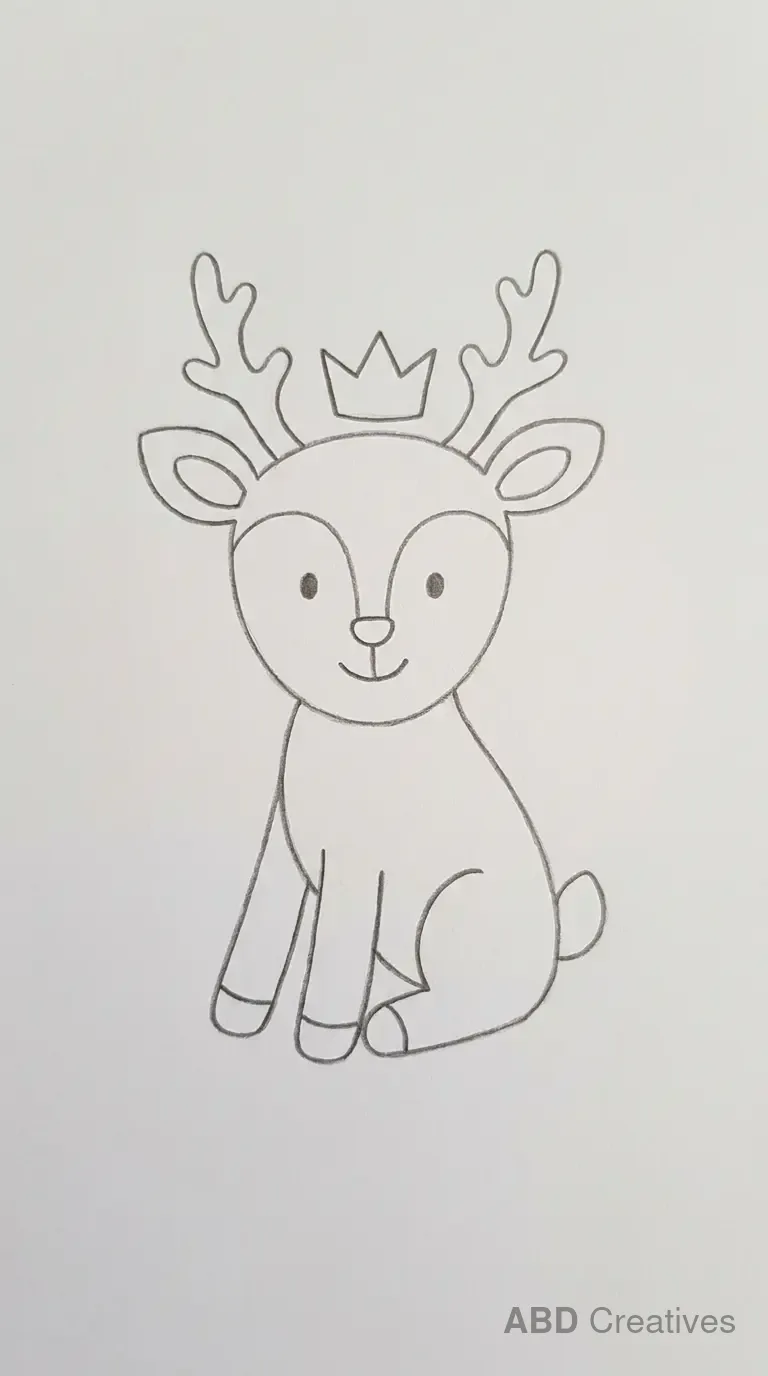
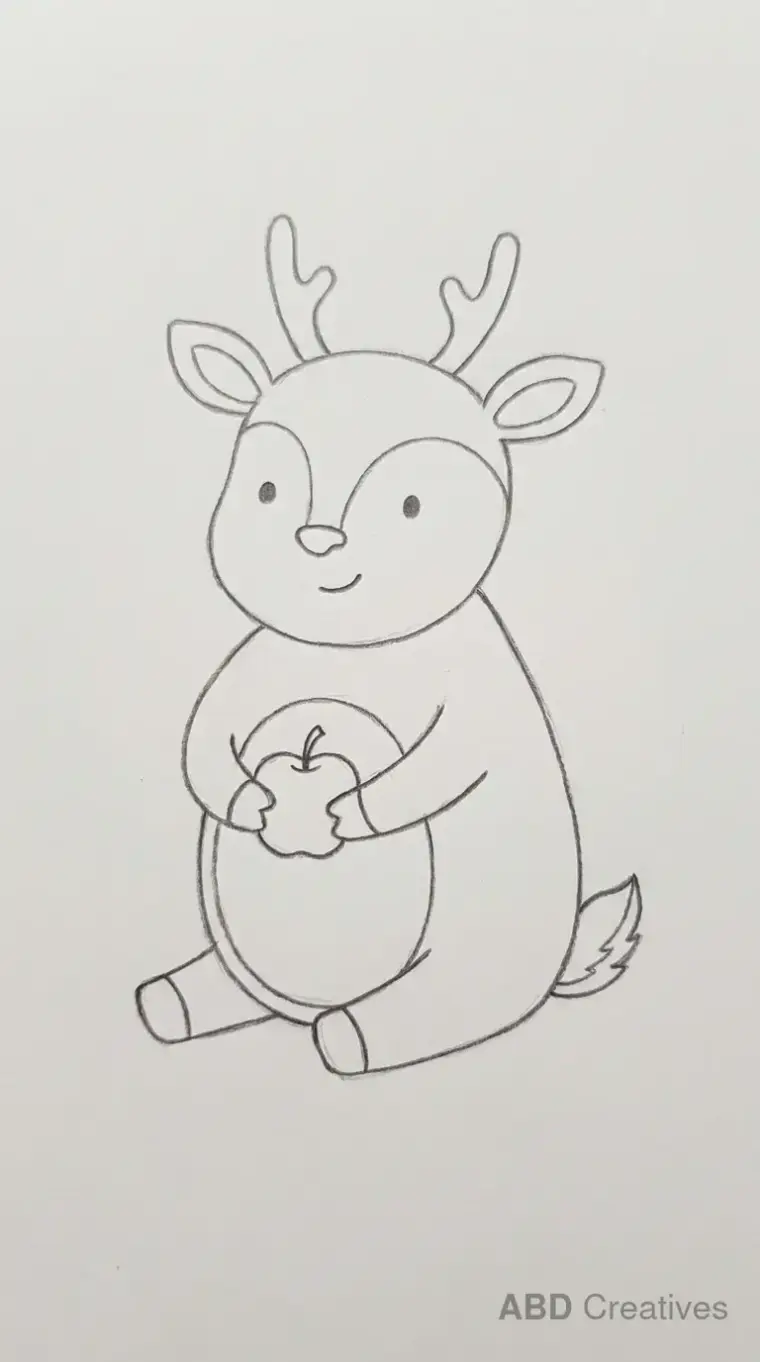
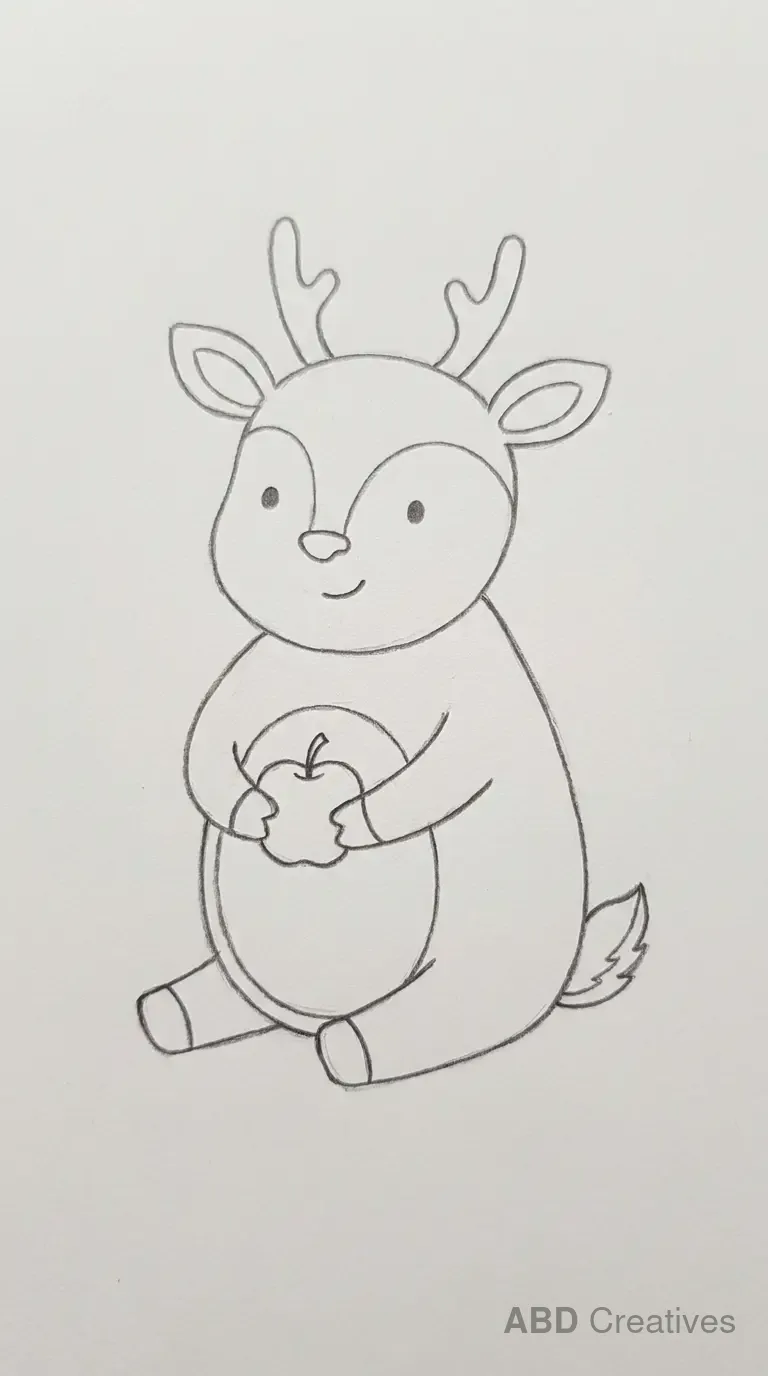
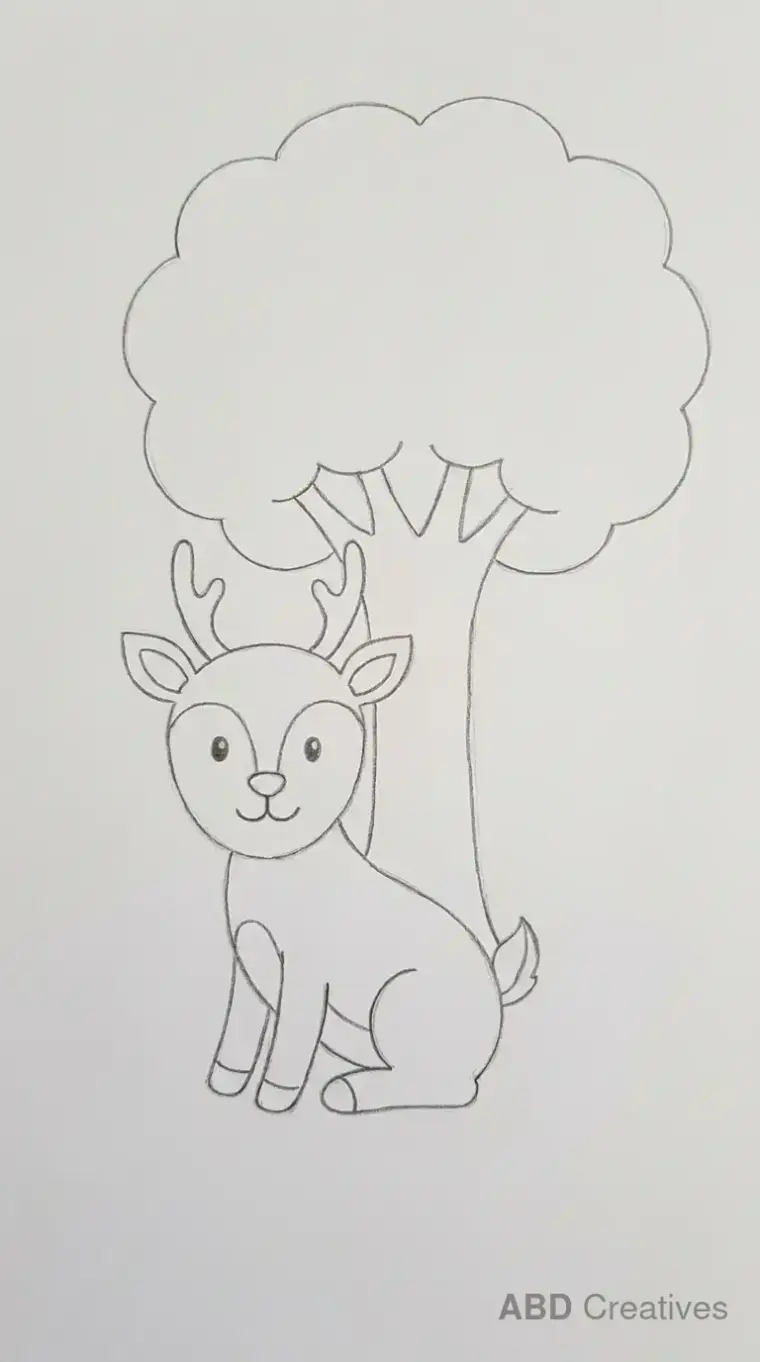
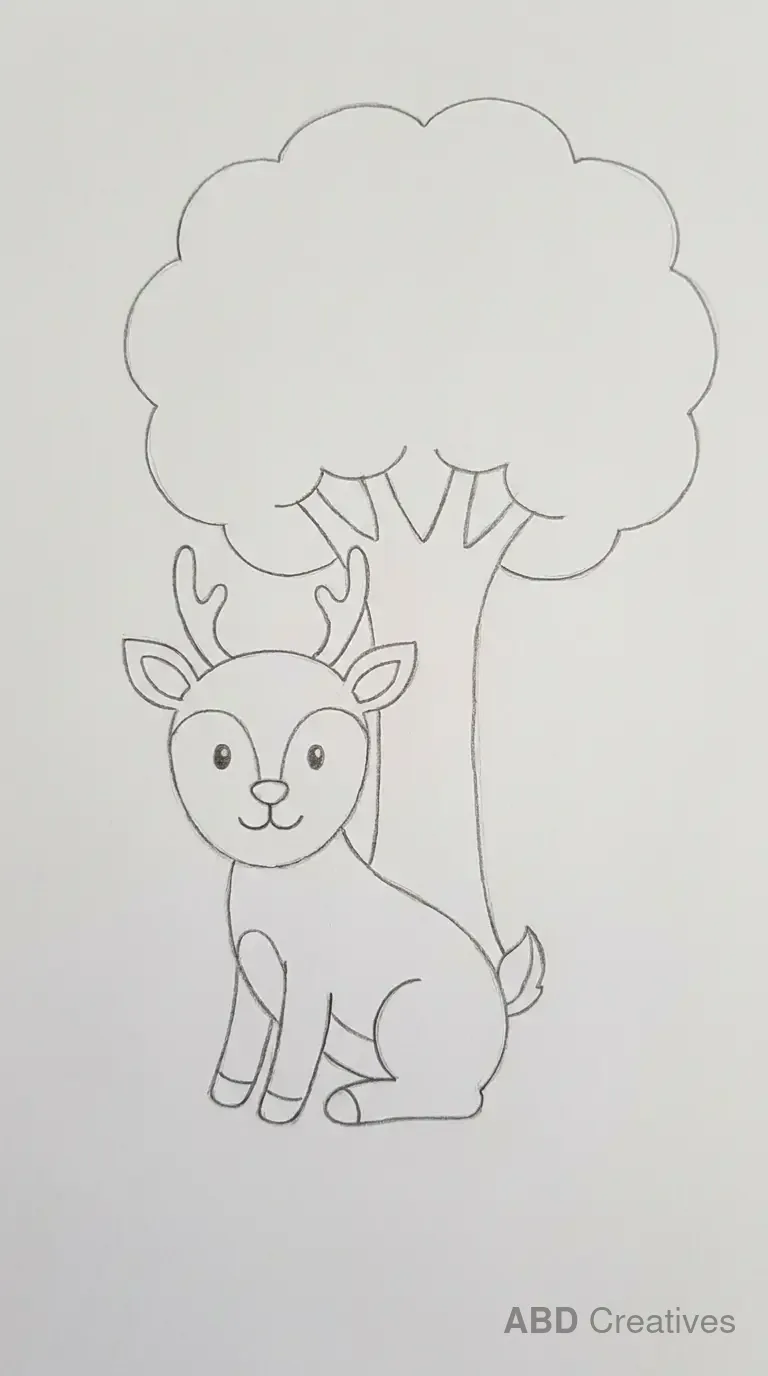
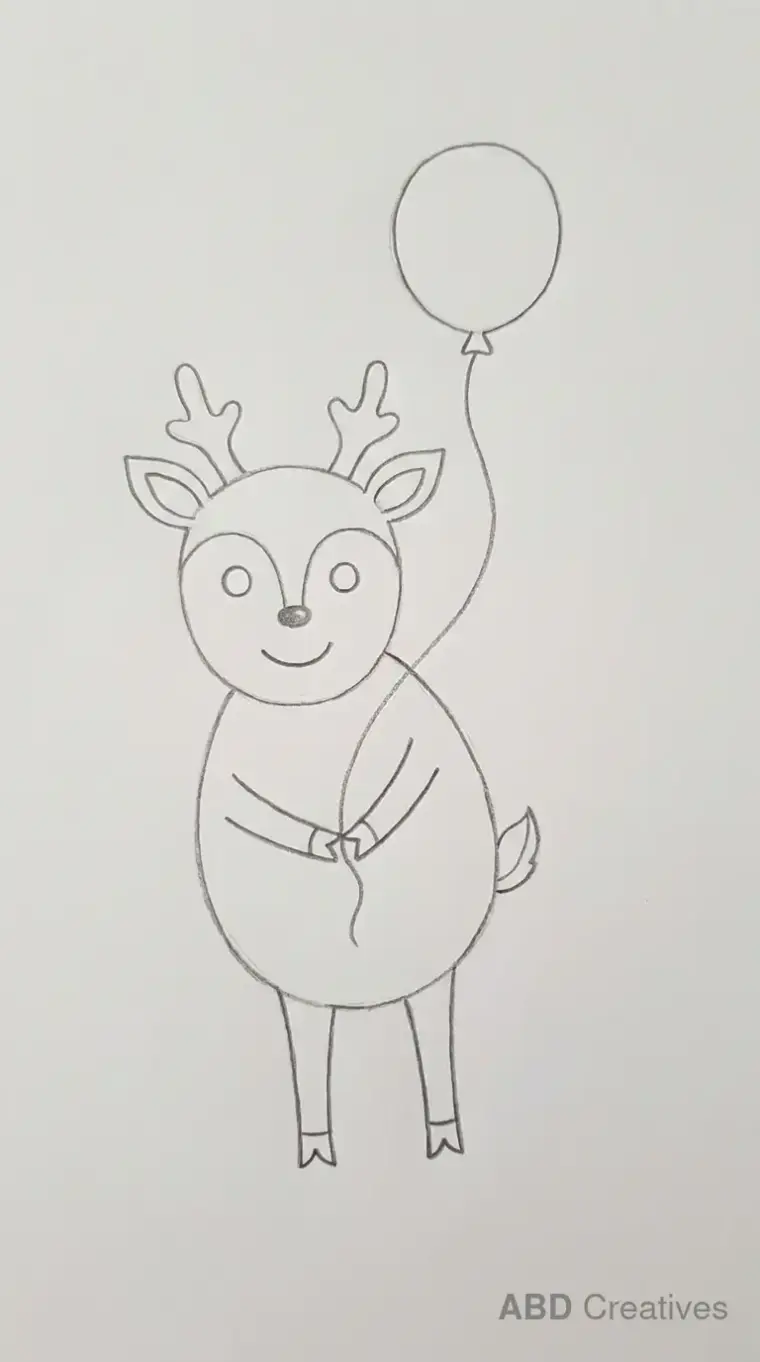
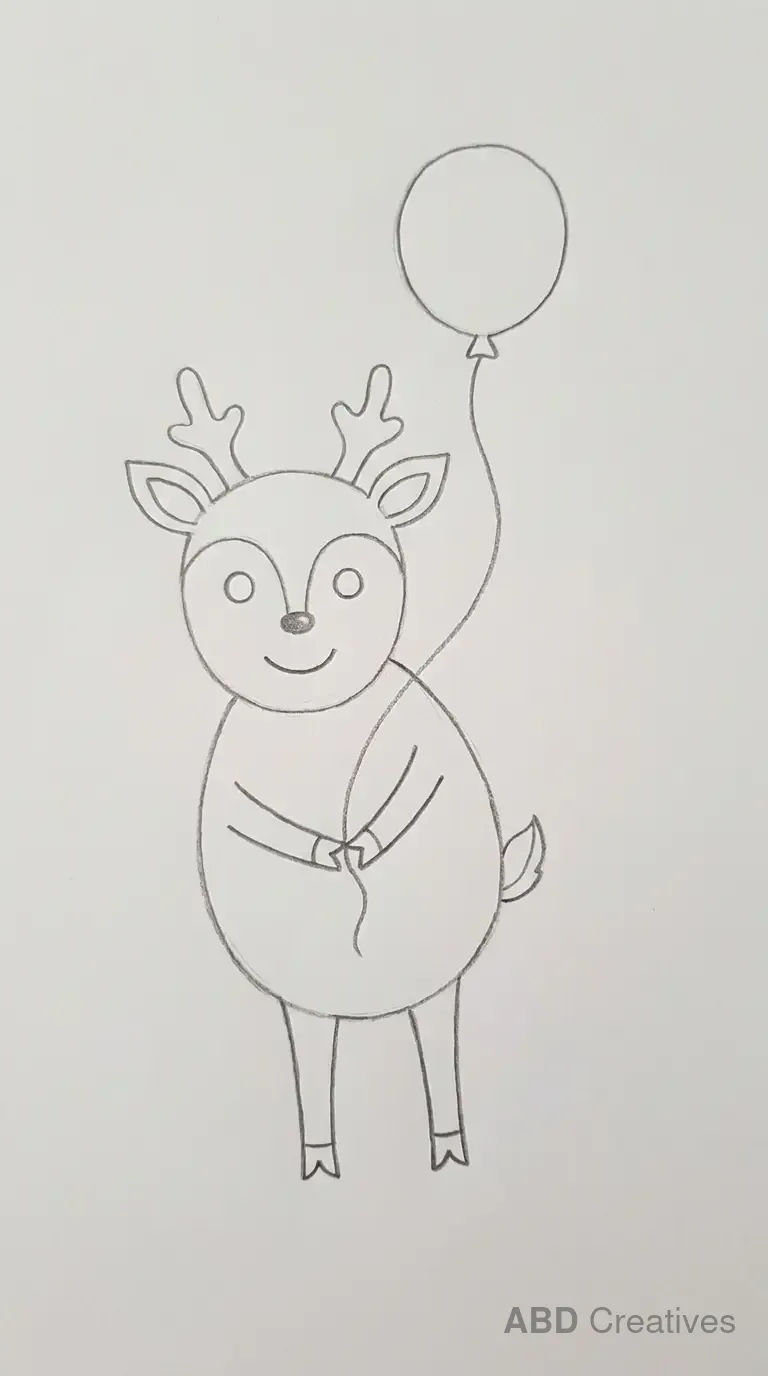
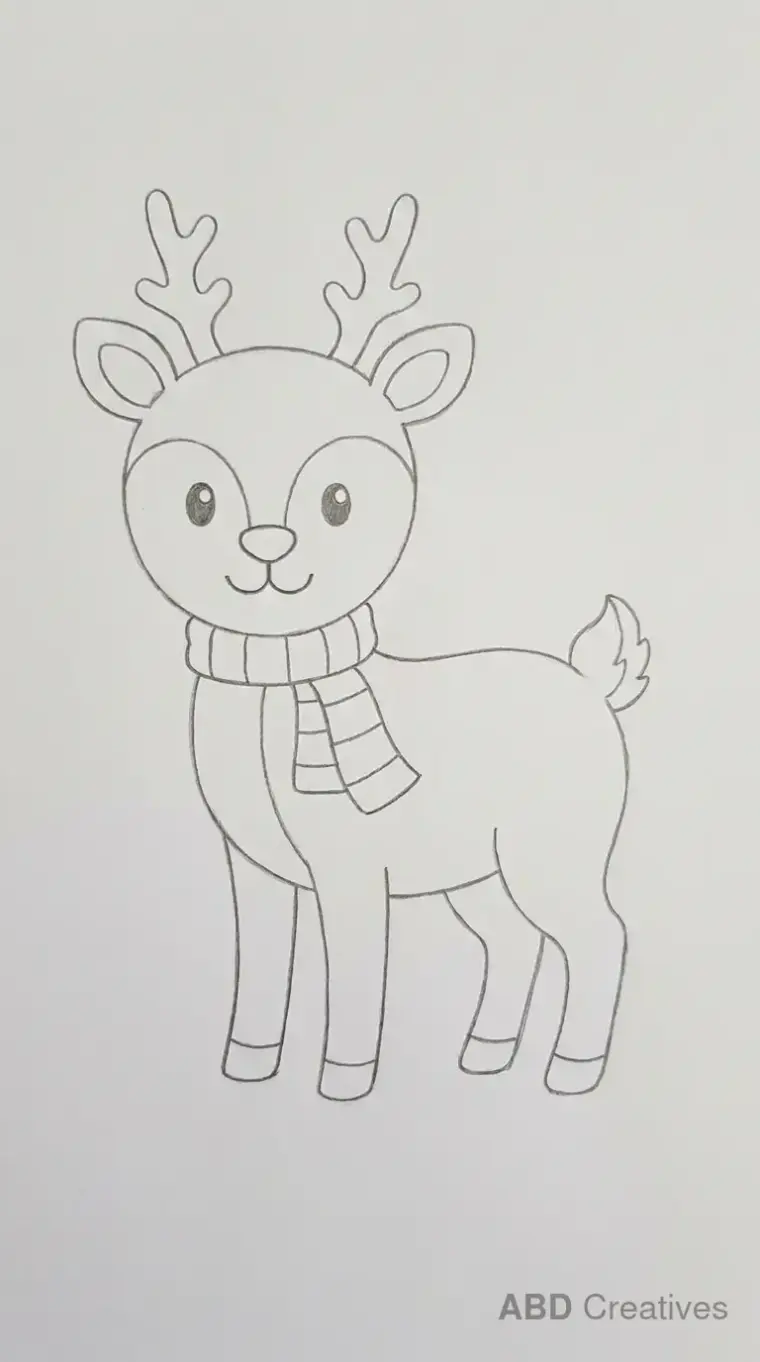
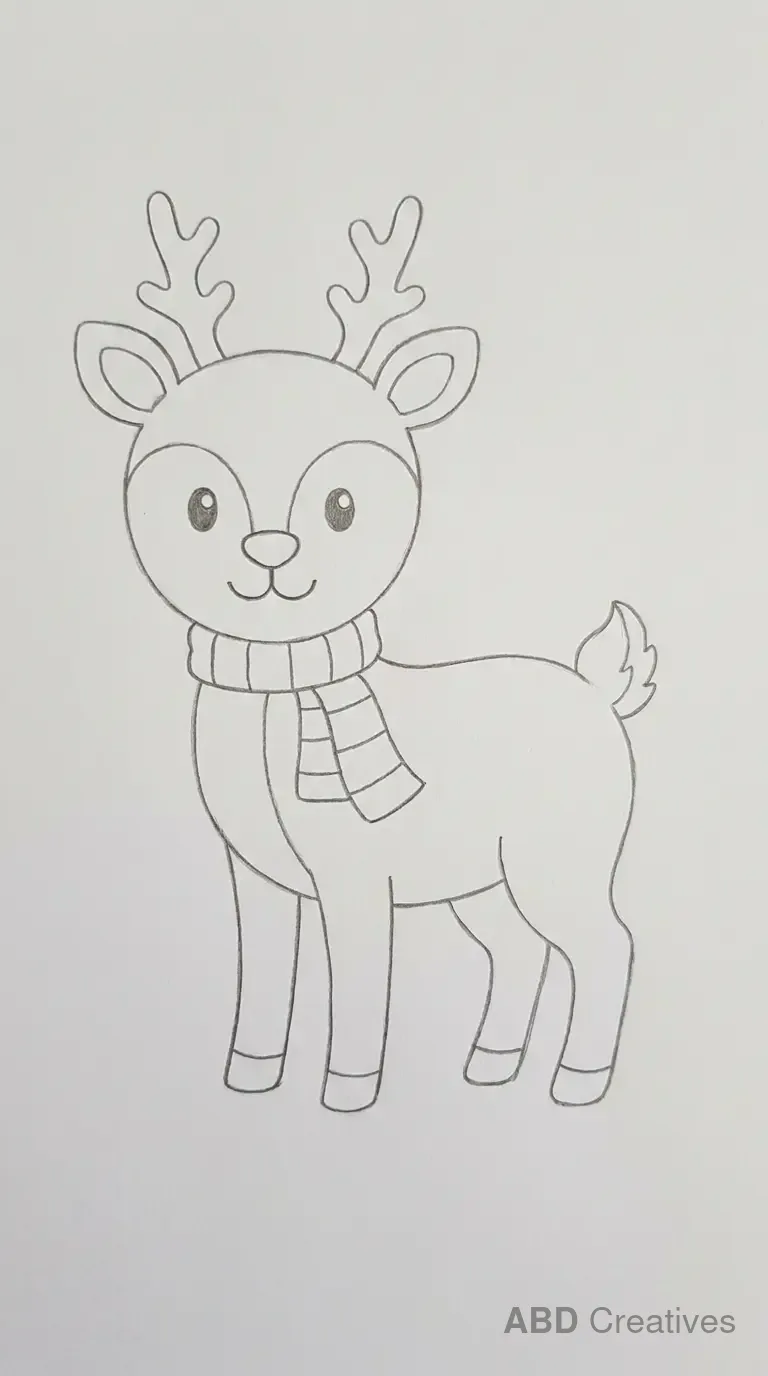
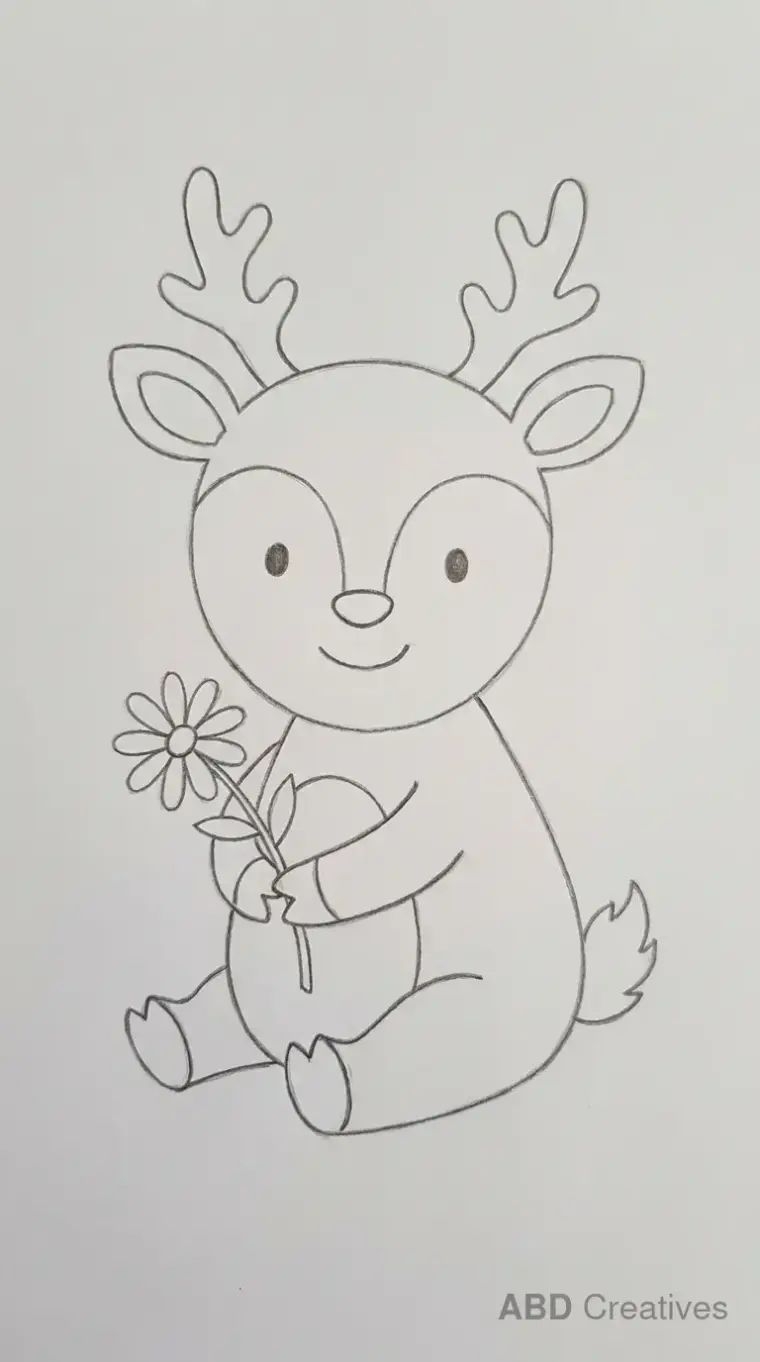
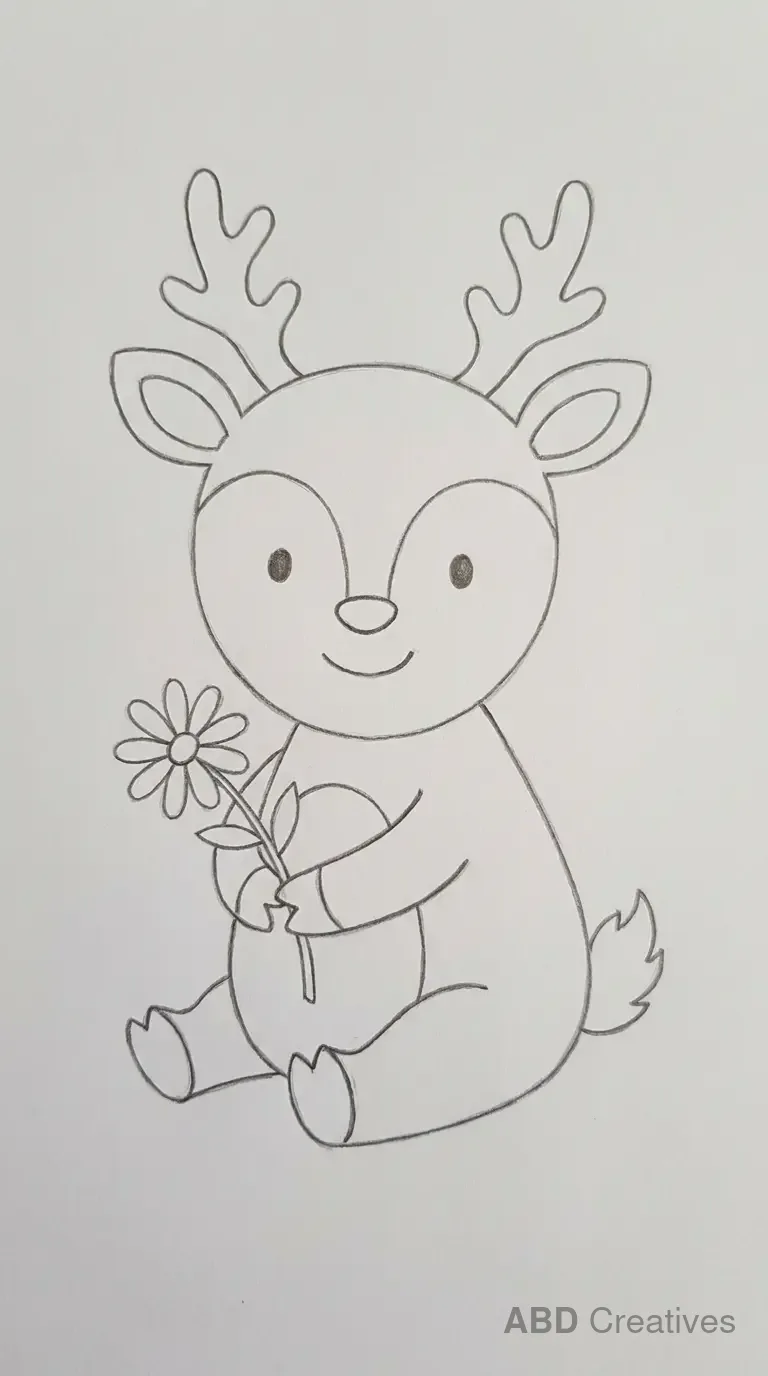
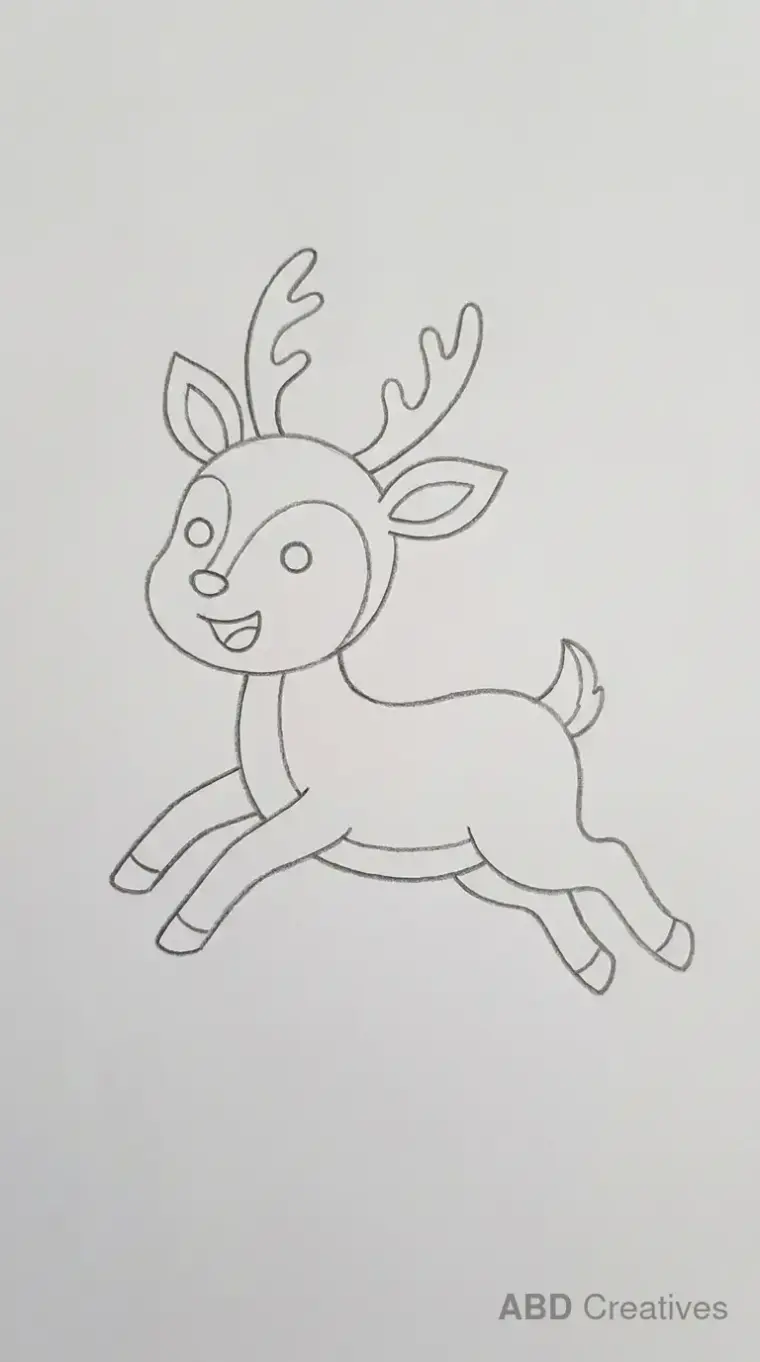
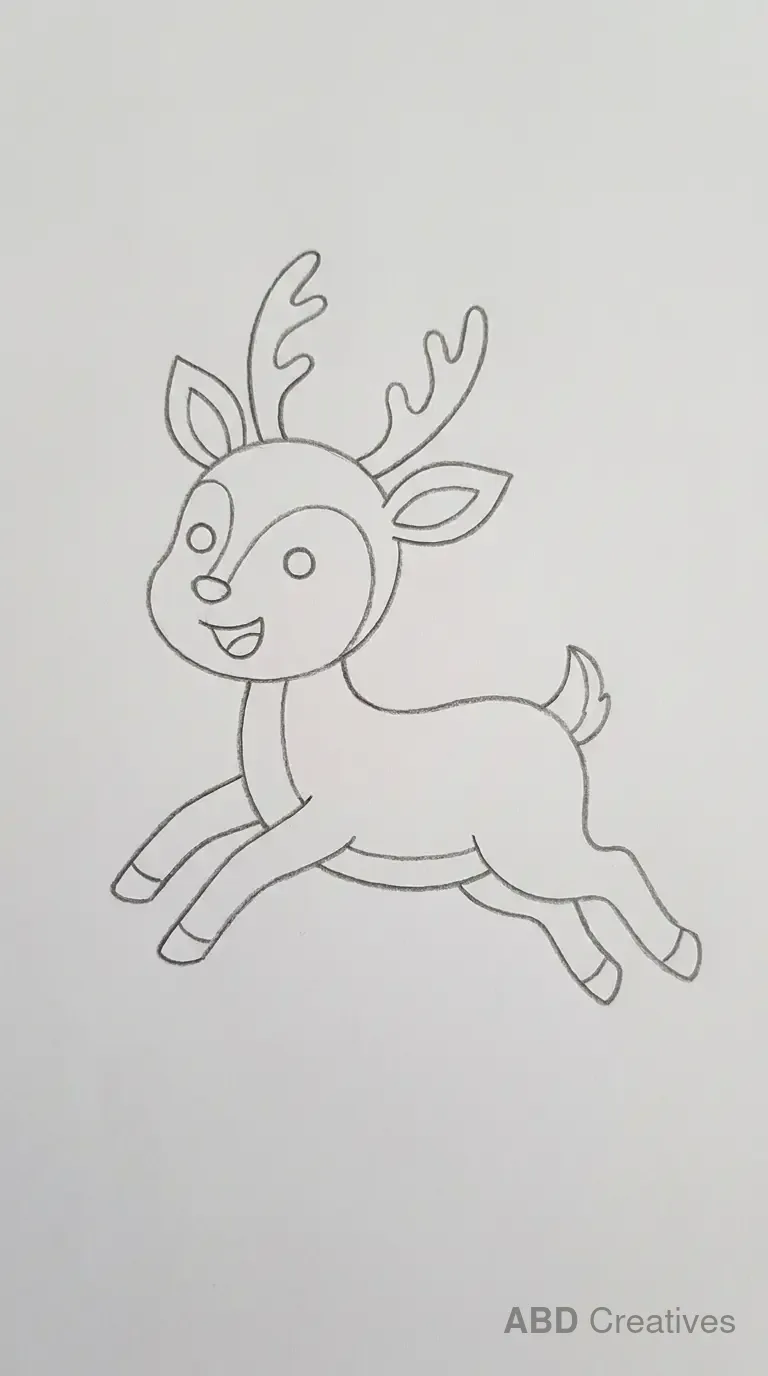
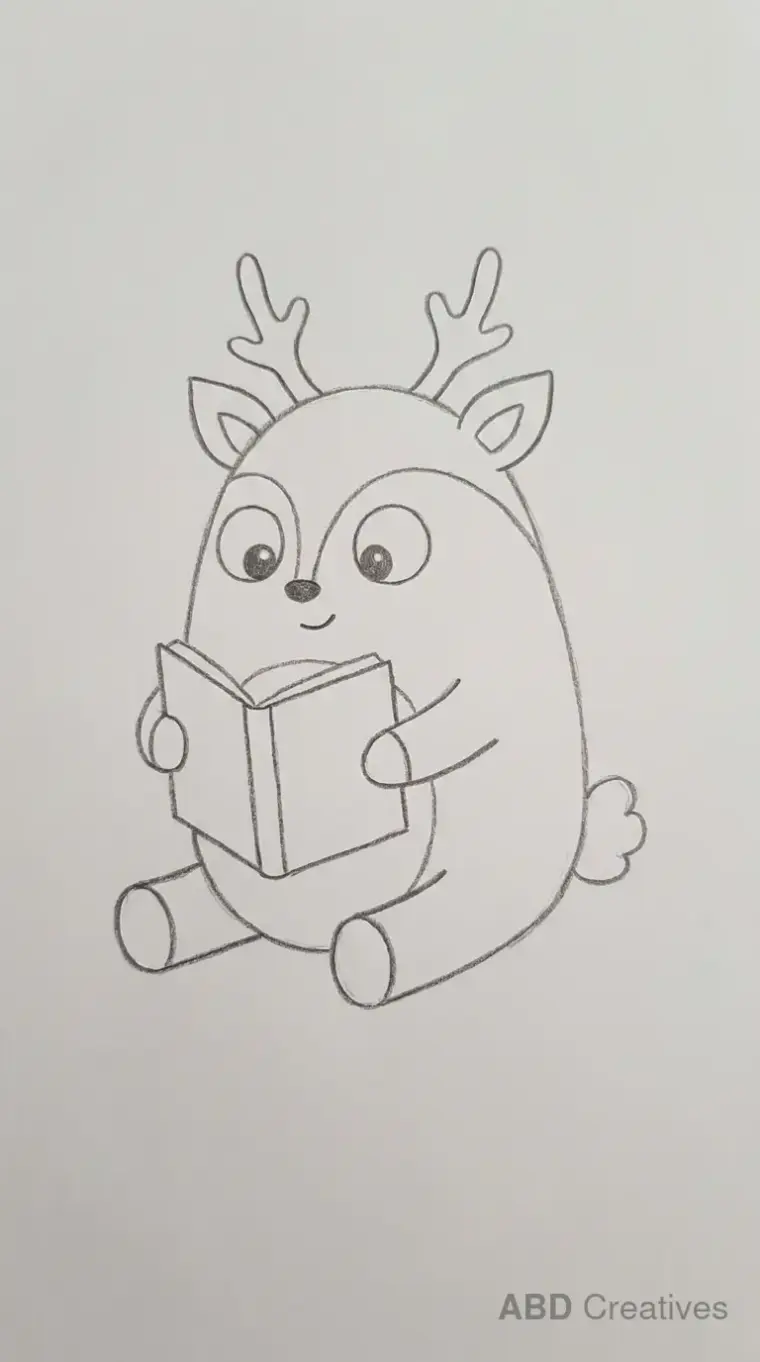
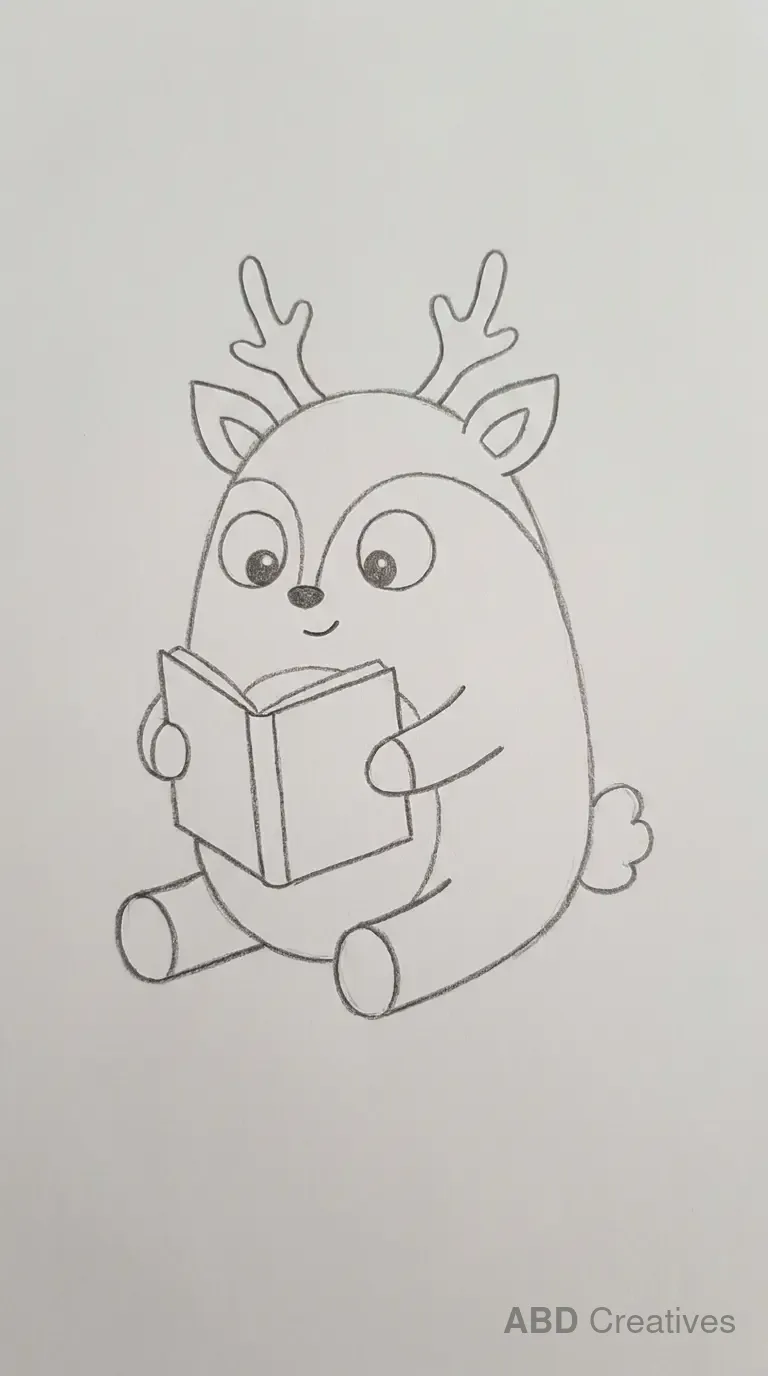
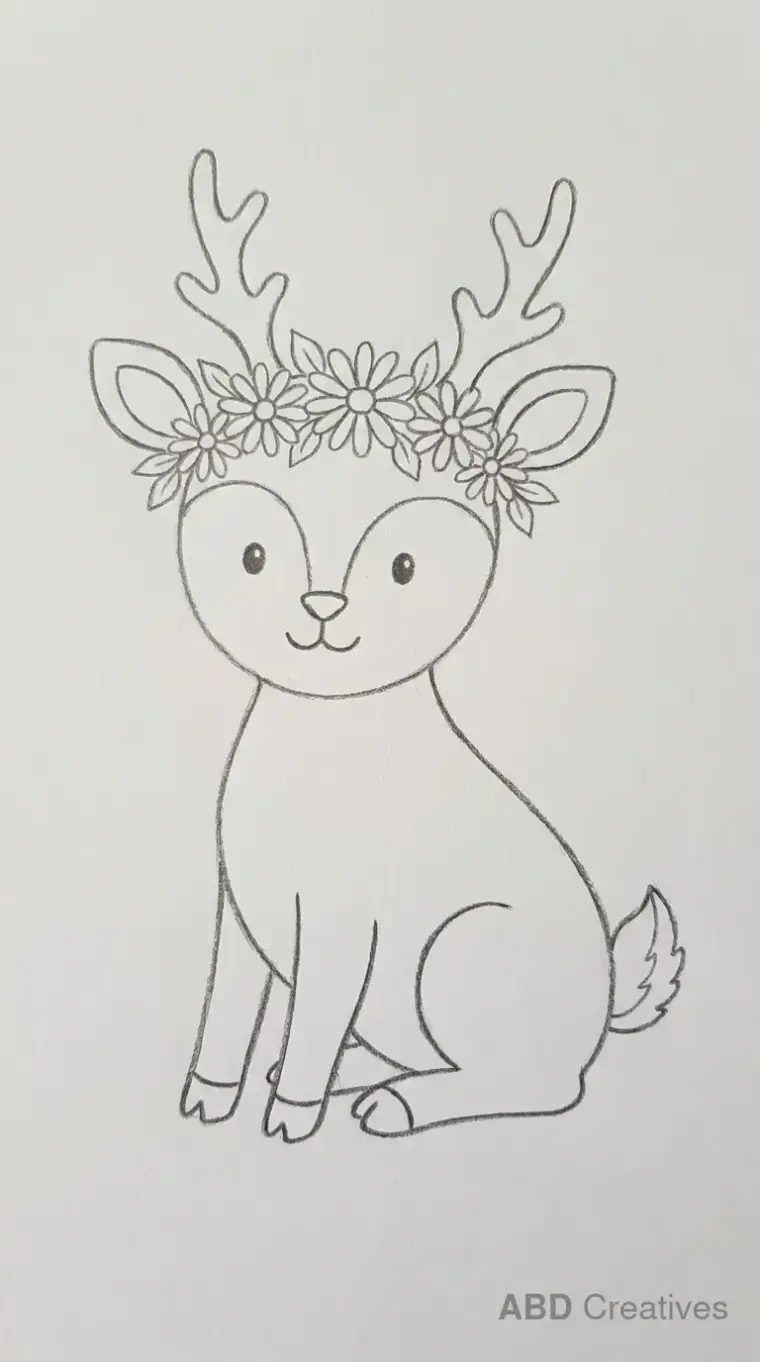
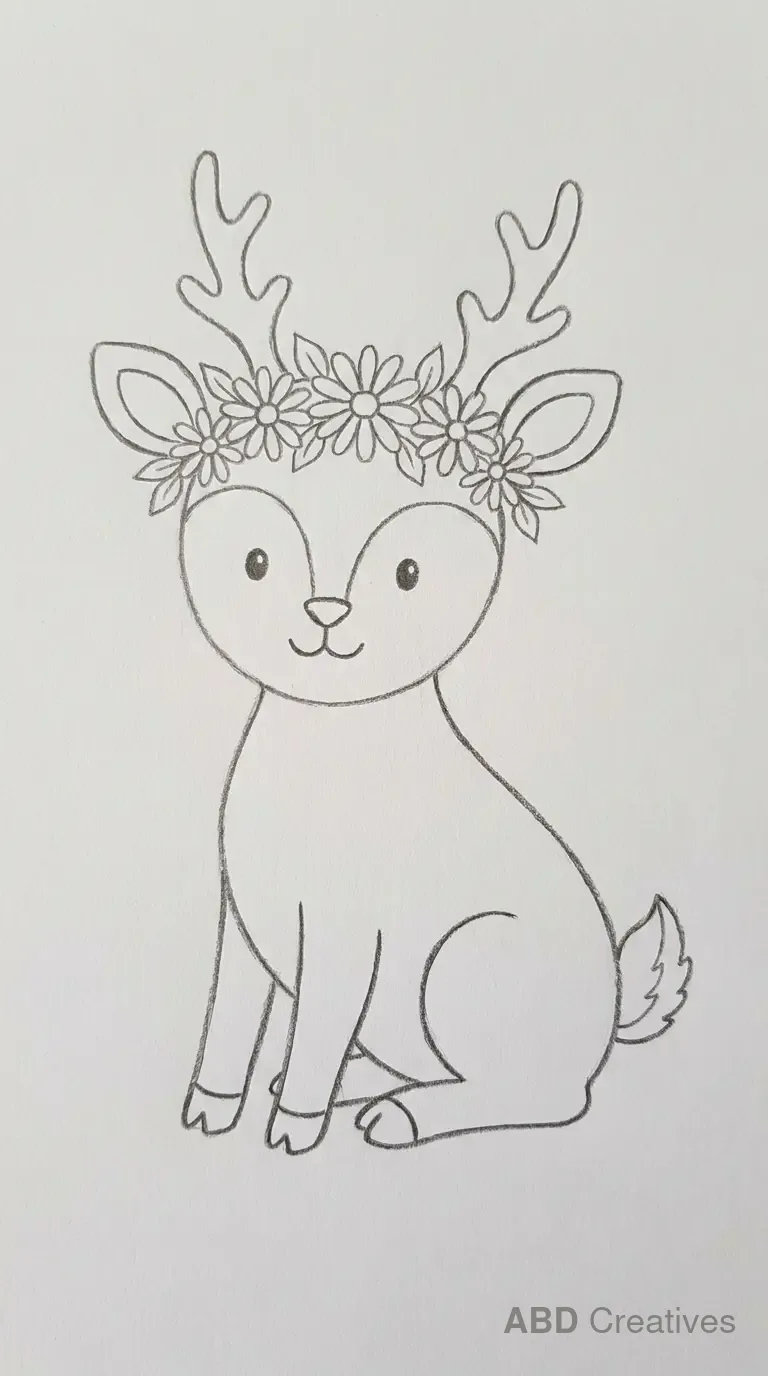
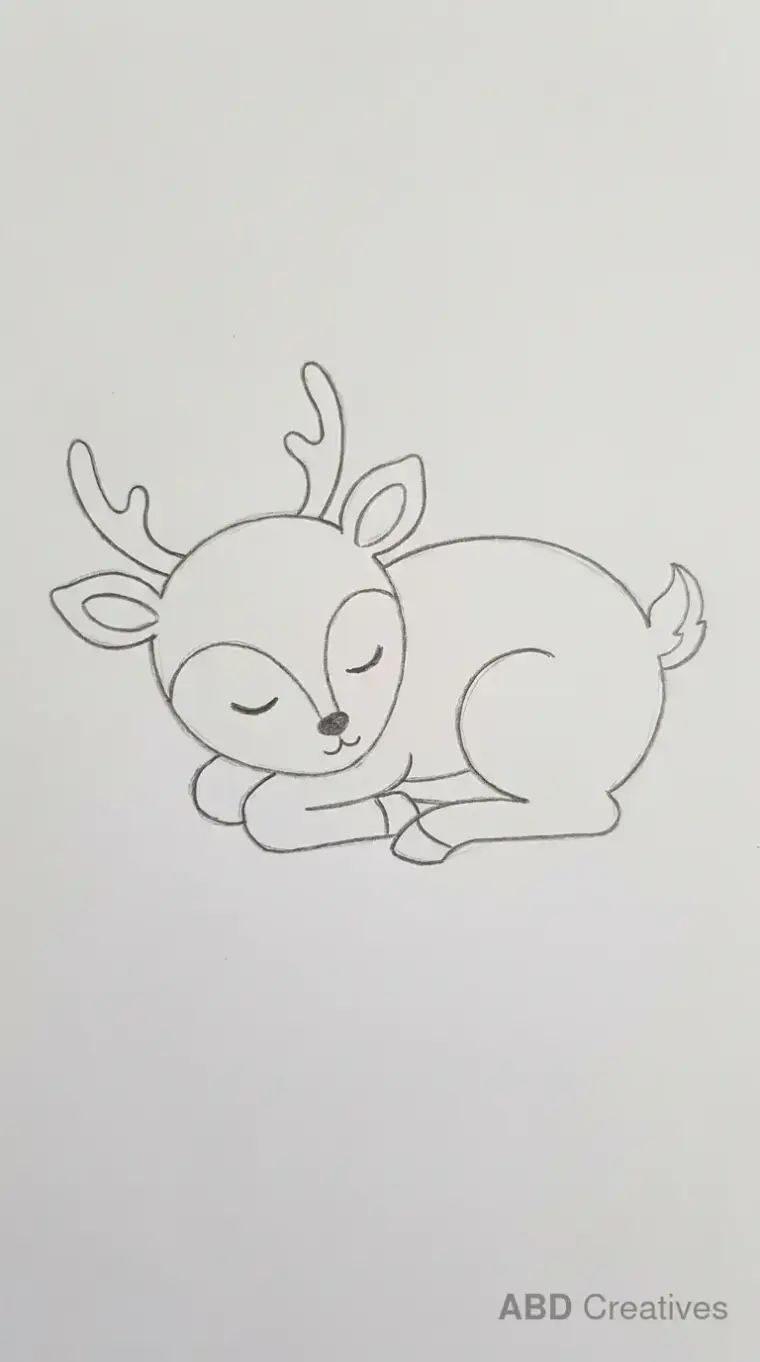
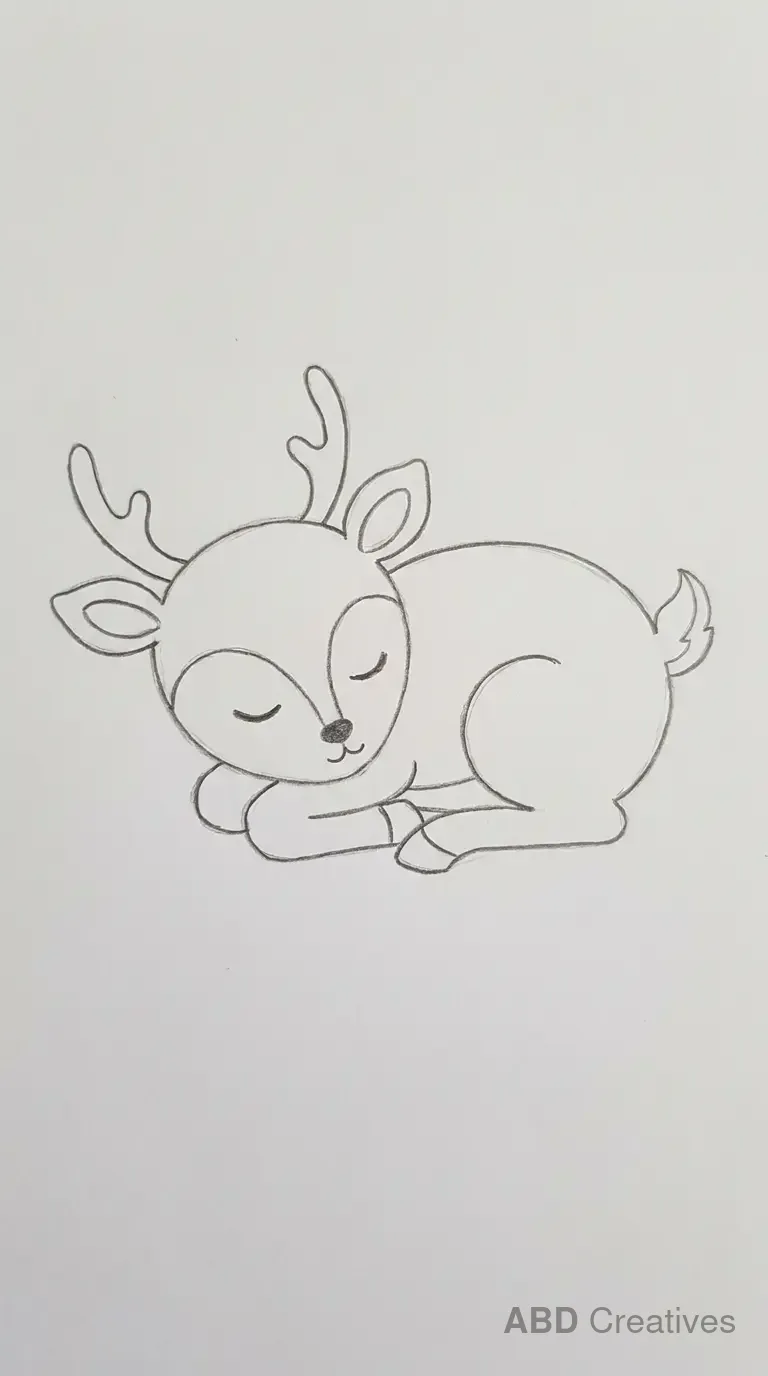
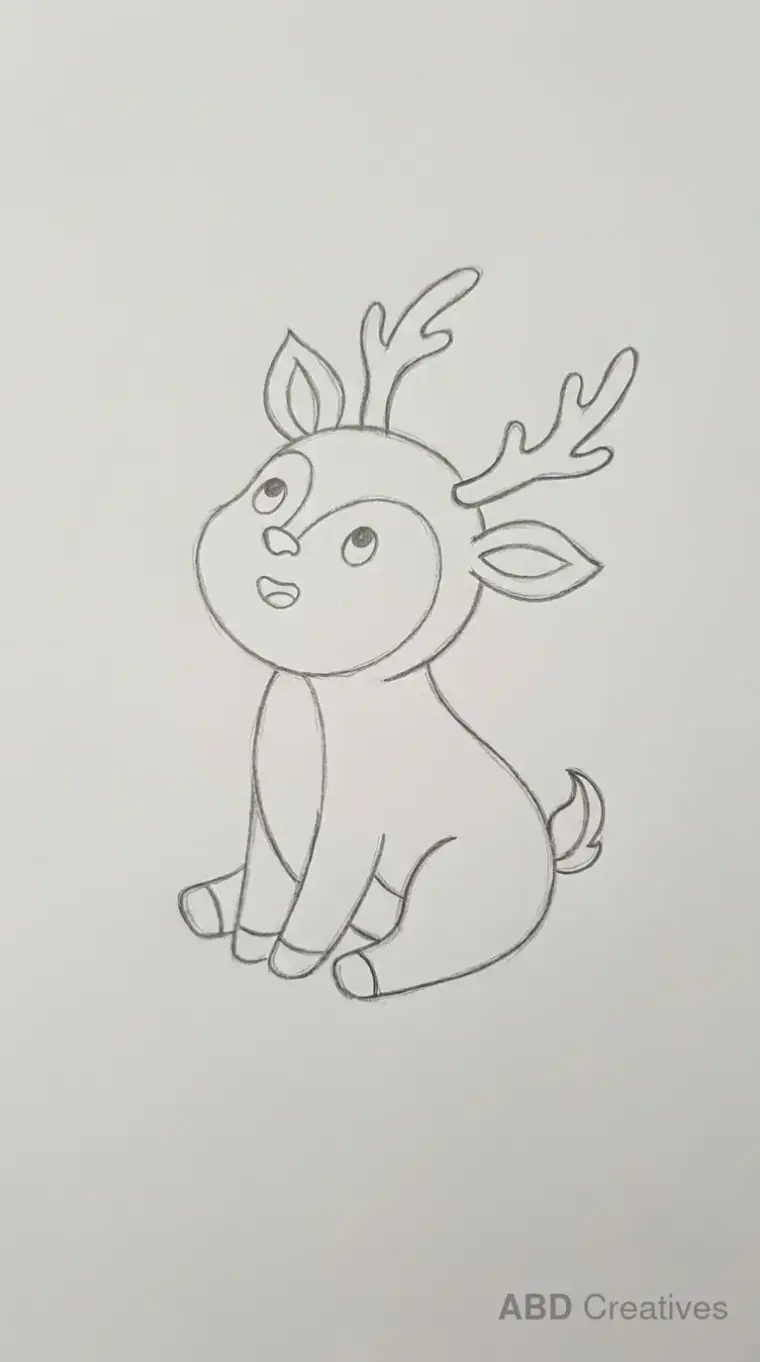
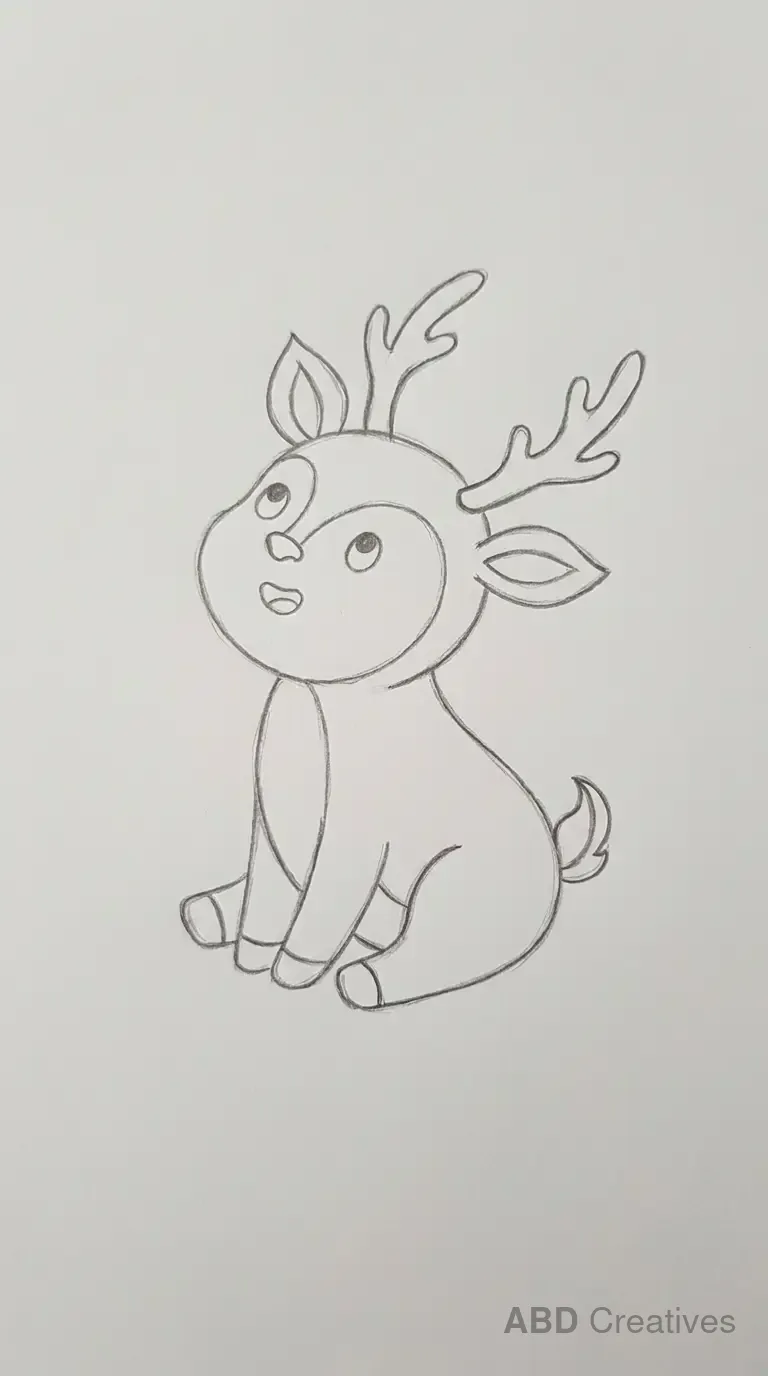
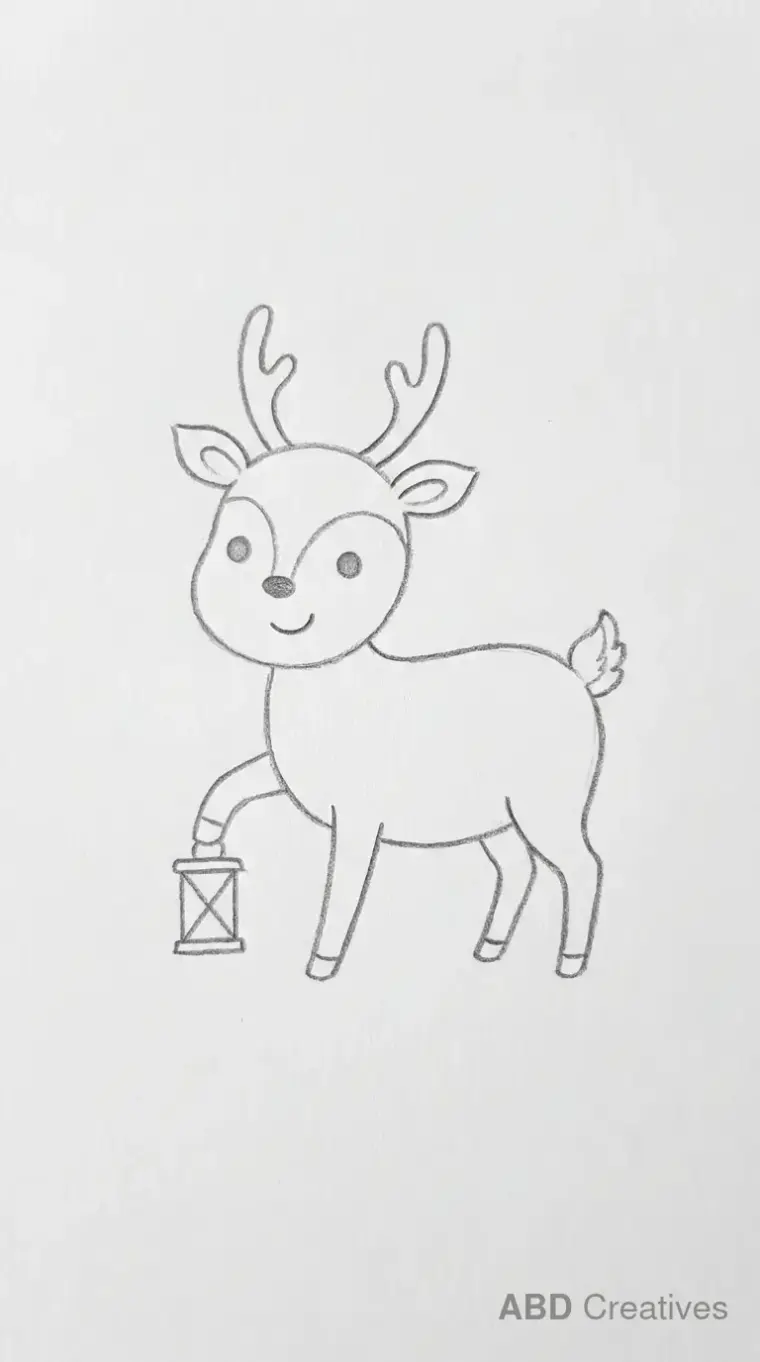
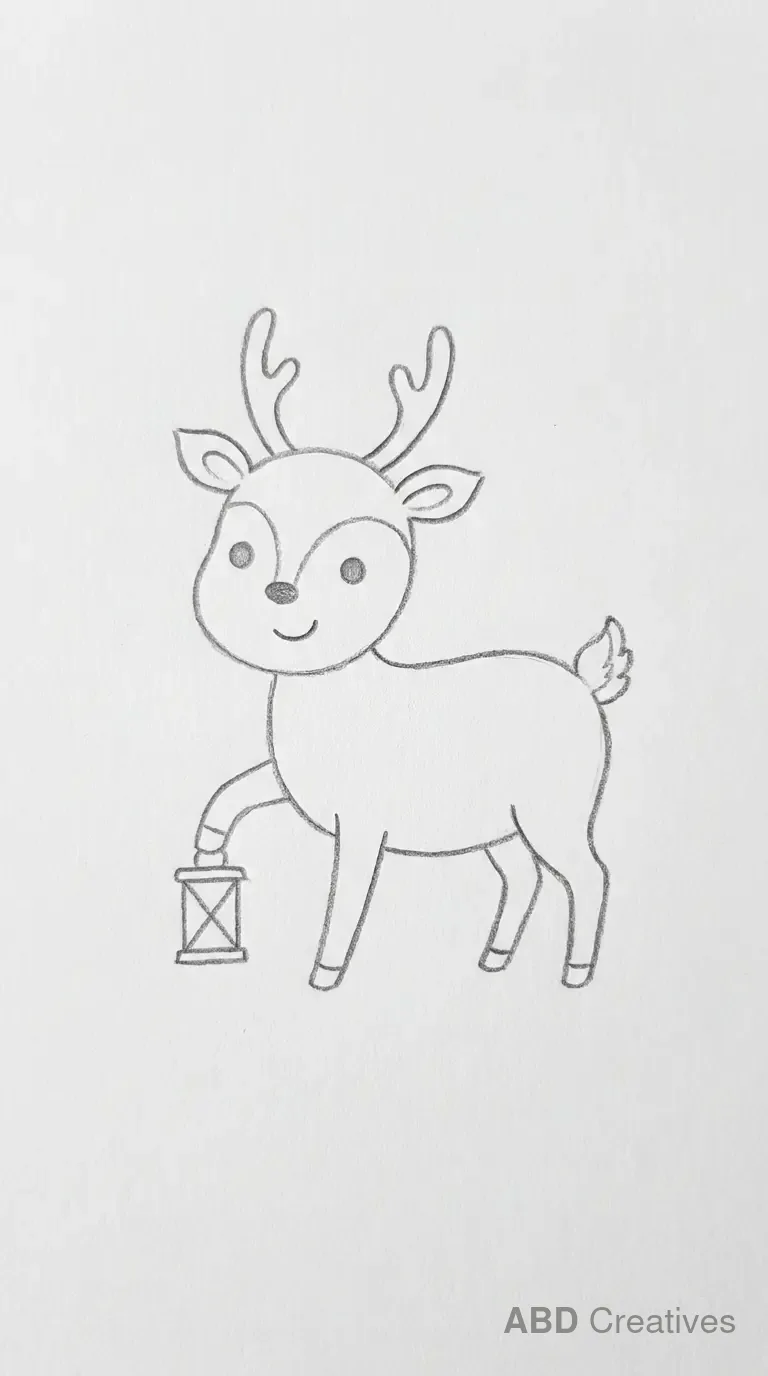
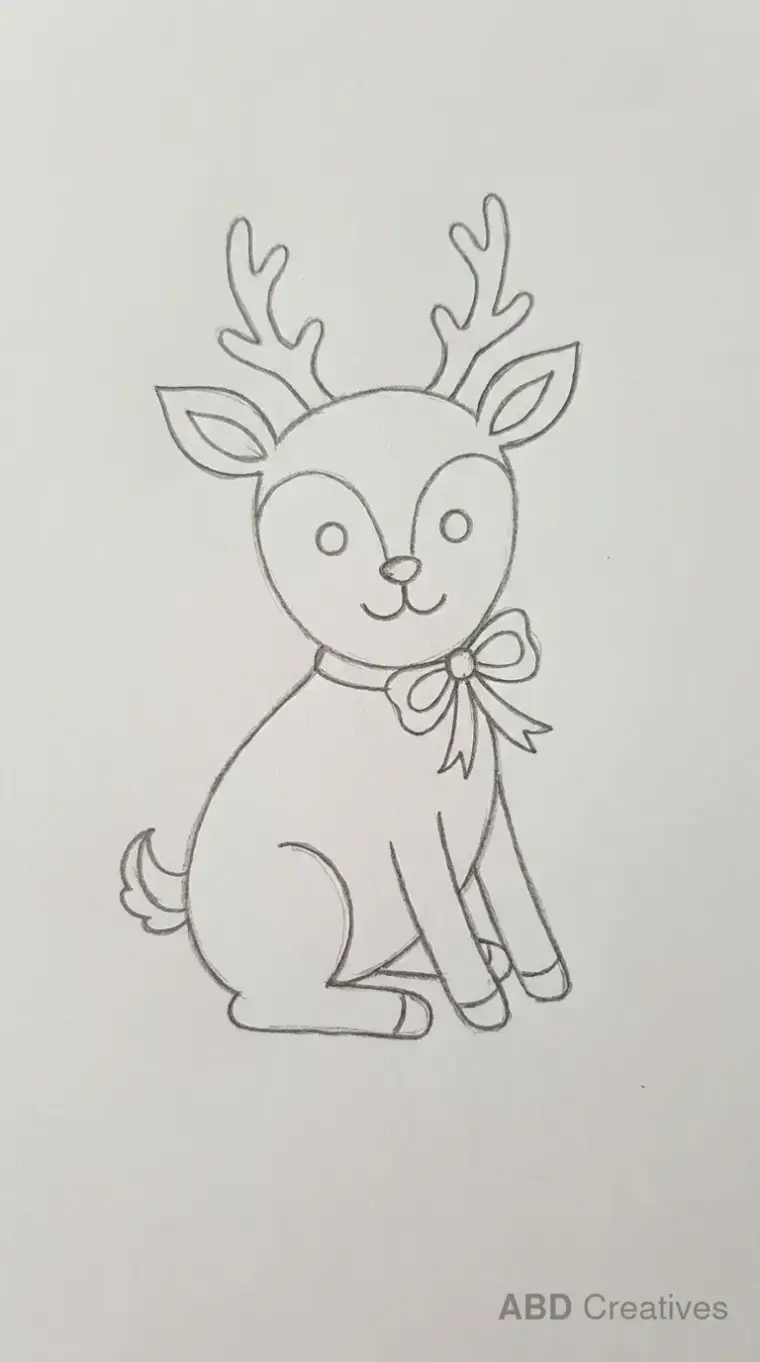
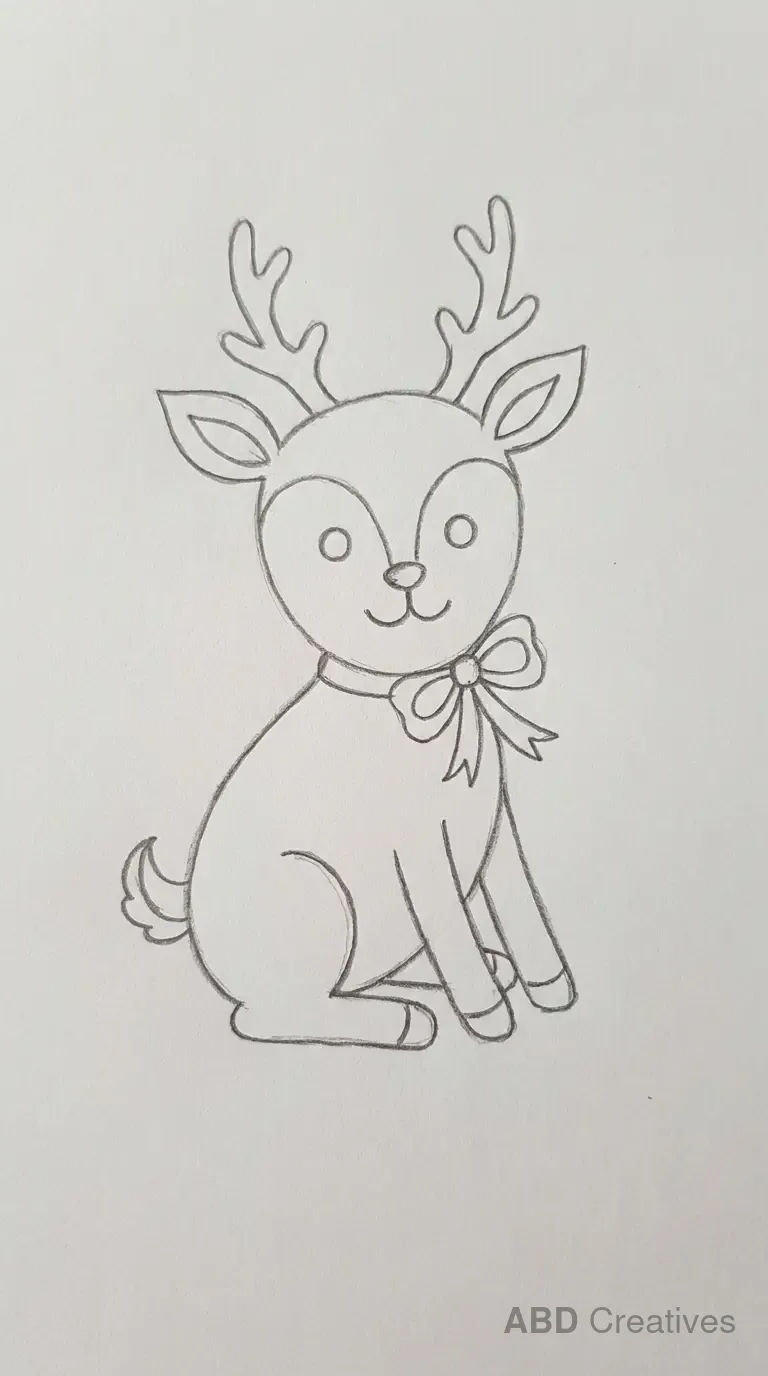
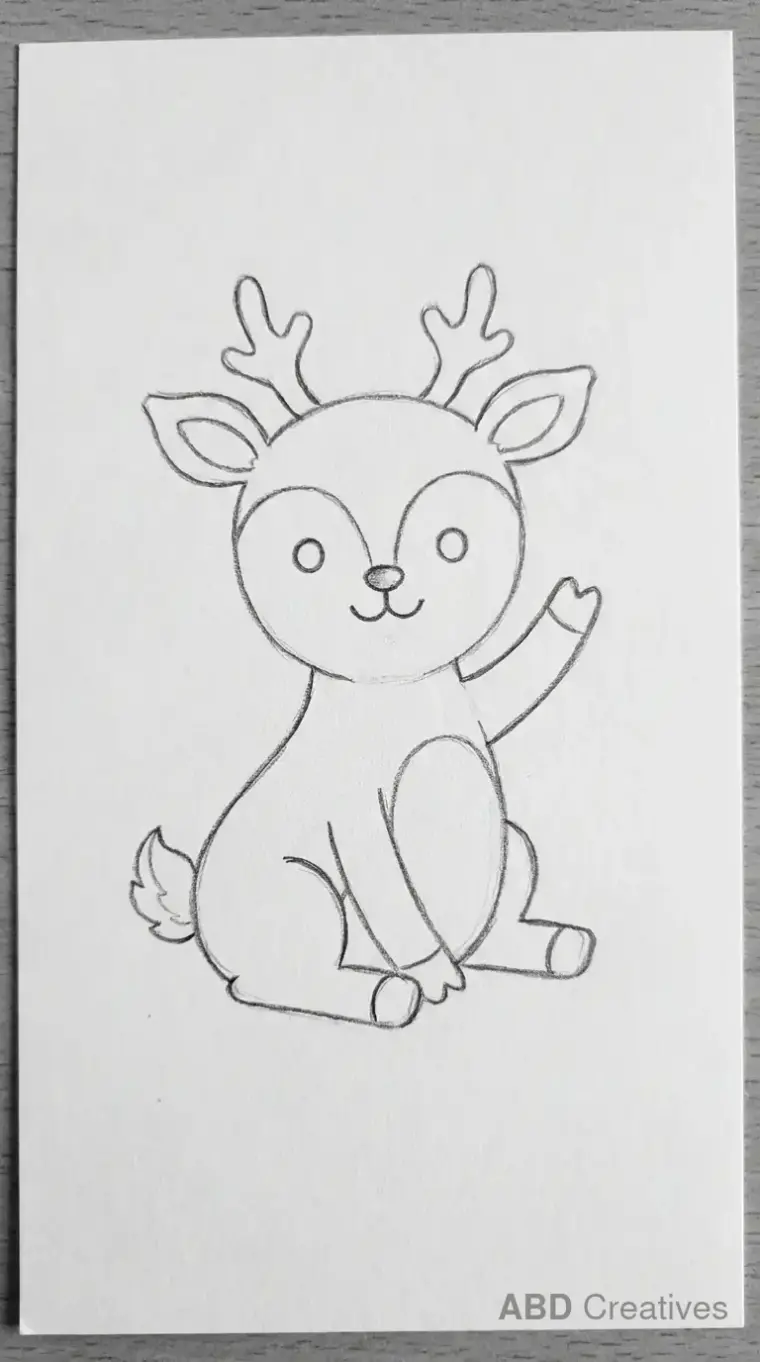
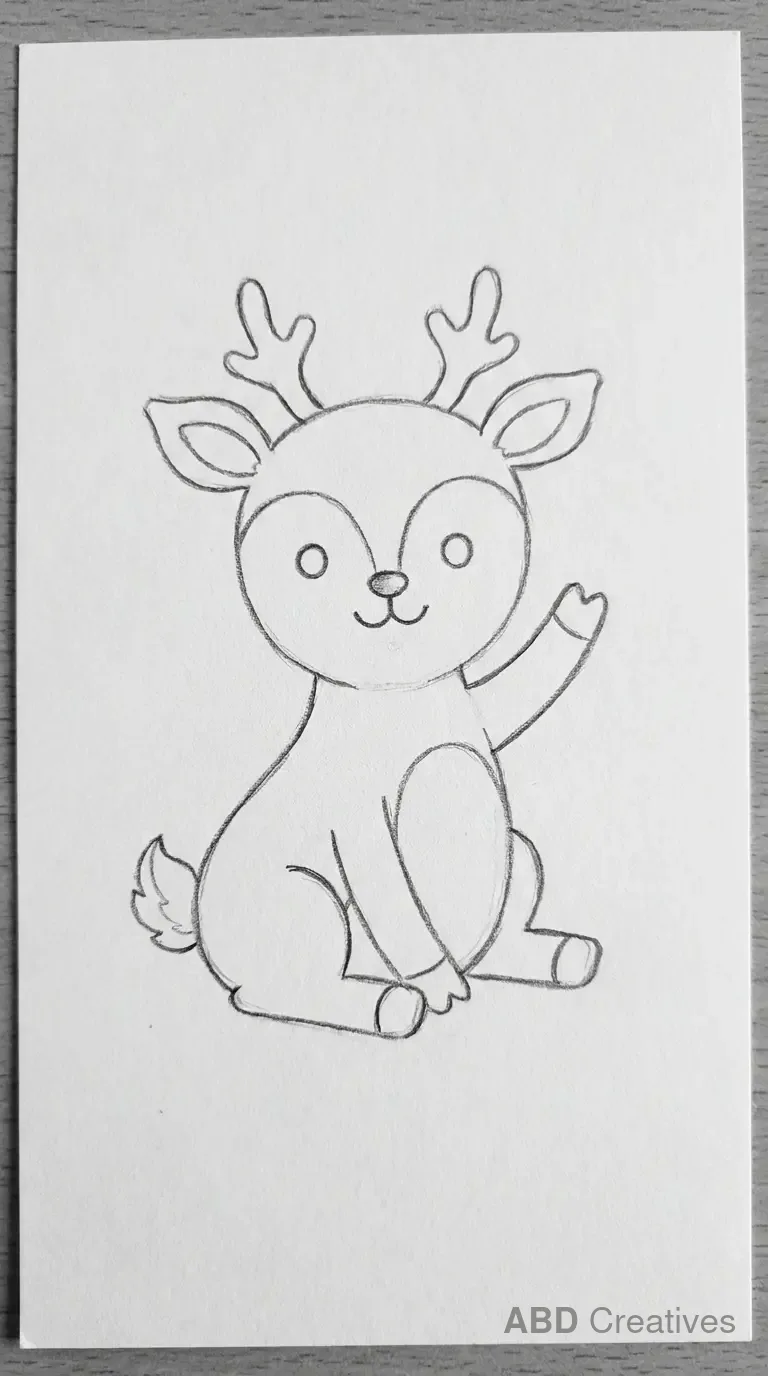
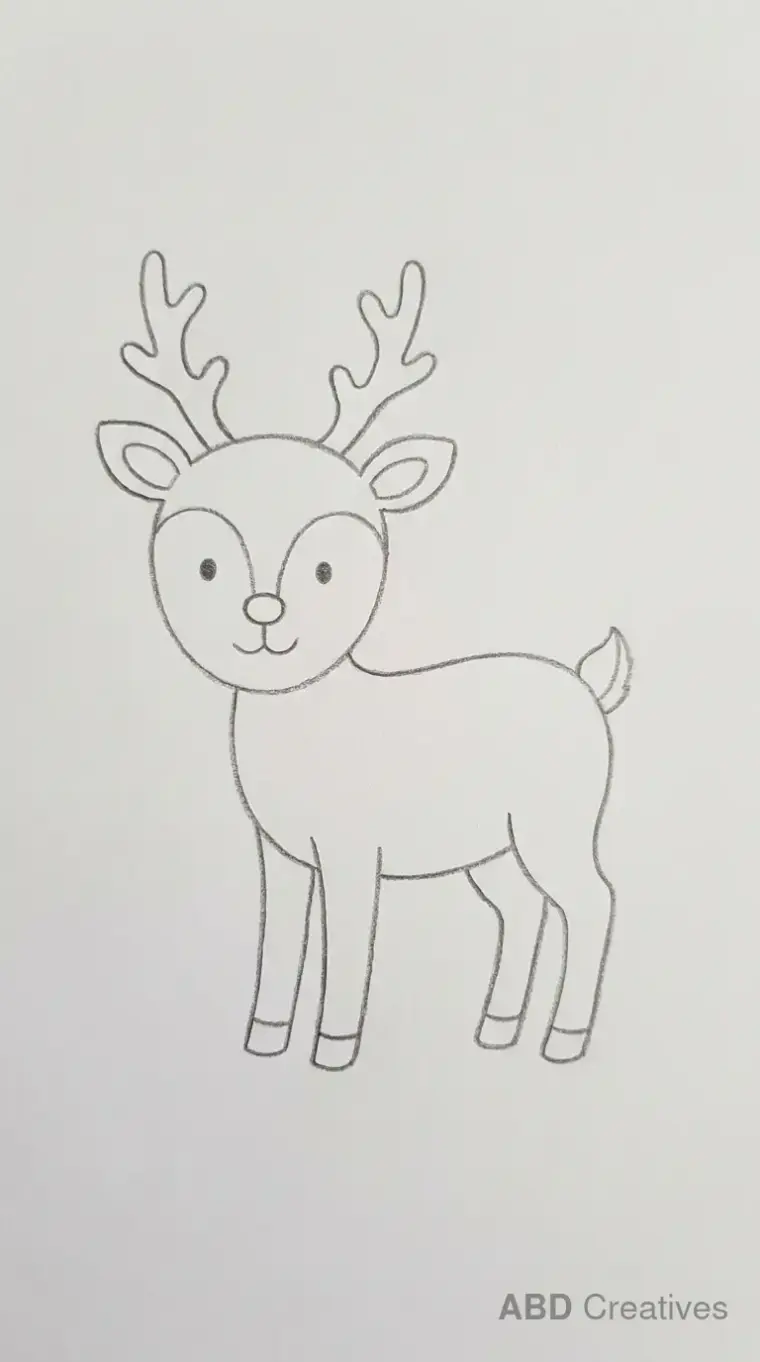
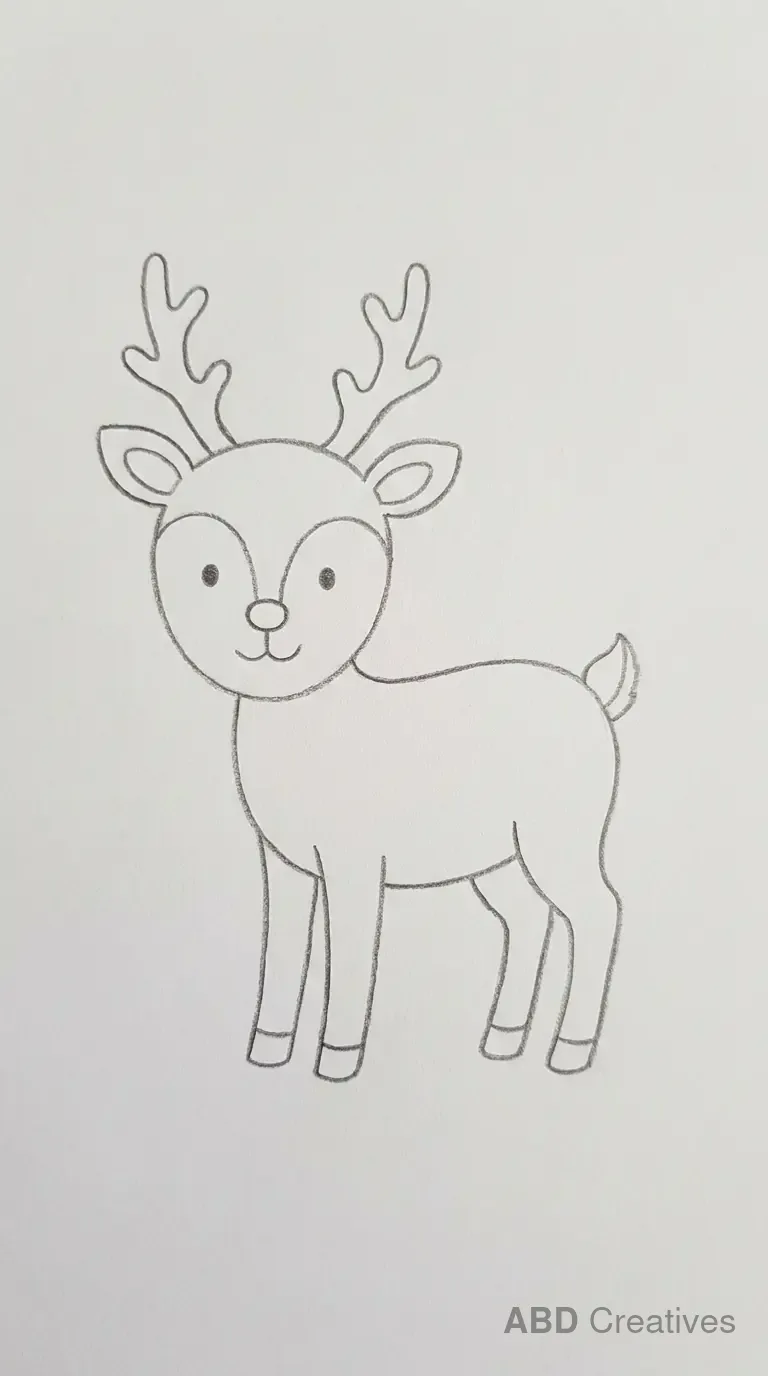
How to draw a deer step by step
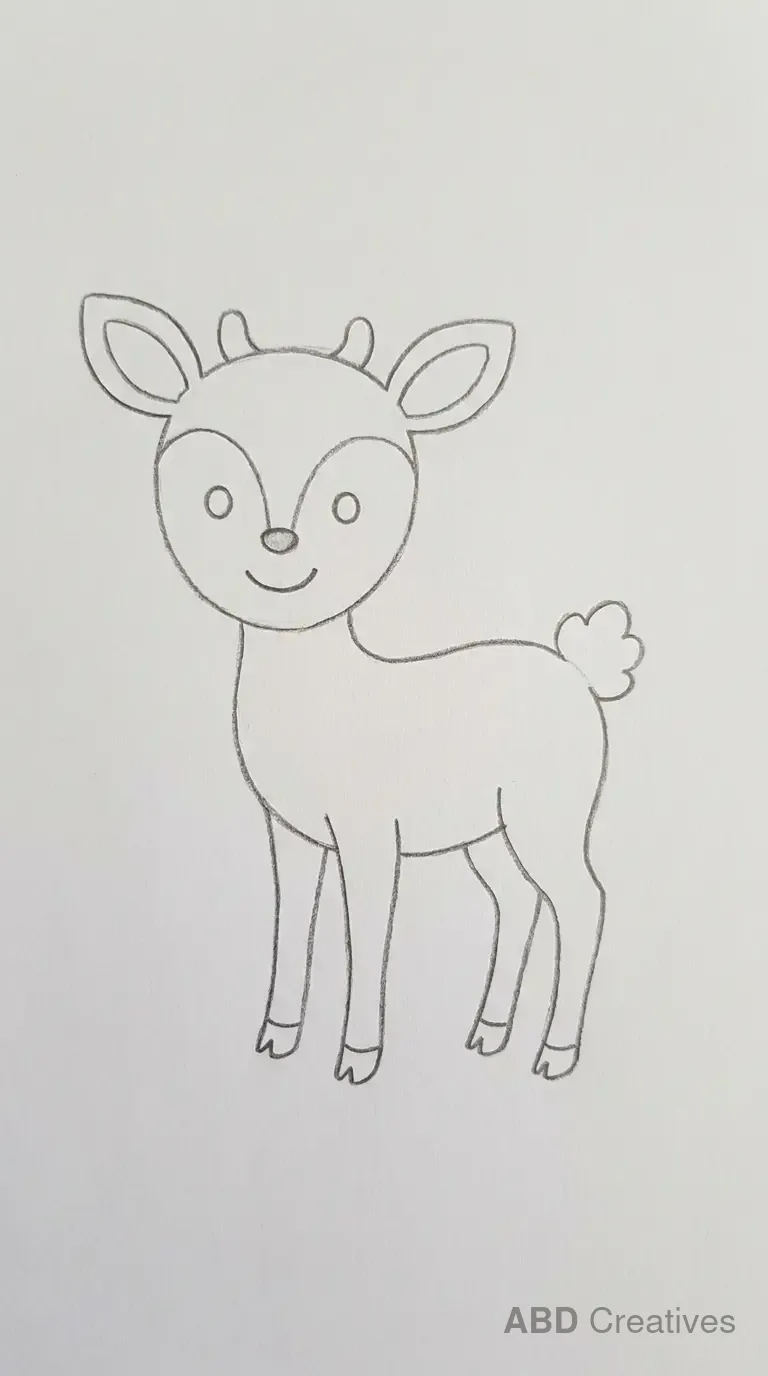
- Start with a small oval for the head and a longer oval for the body, joined by a short curved line for the neck.
- Add two thin, slightly bent lines for the front legs and two more for the back legs, a little longer to show the deer’s height.
- Draw two pointed ears on top of the head, then sketch the antlers as a few branching lines if your deer has them.
- Add a small round nose, two dot eyes and a short tail at the back.
- Go over your best lines in pencil and rub out the guide shapes underneath.
- If your drawing has a prop, like a flower, a scarf or a basket, add it last so it sits neatly on top of the body.
Which deer should you start with
If this is your first deer
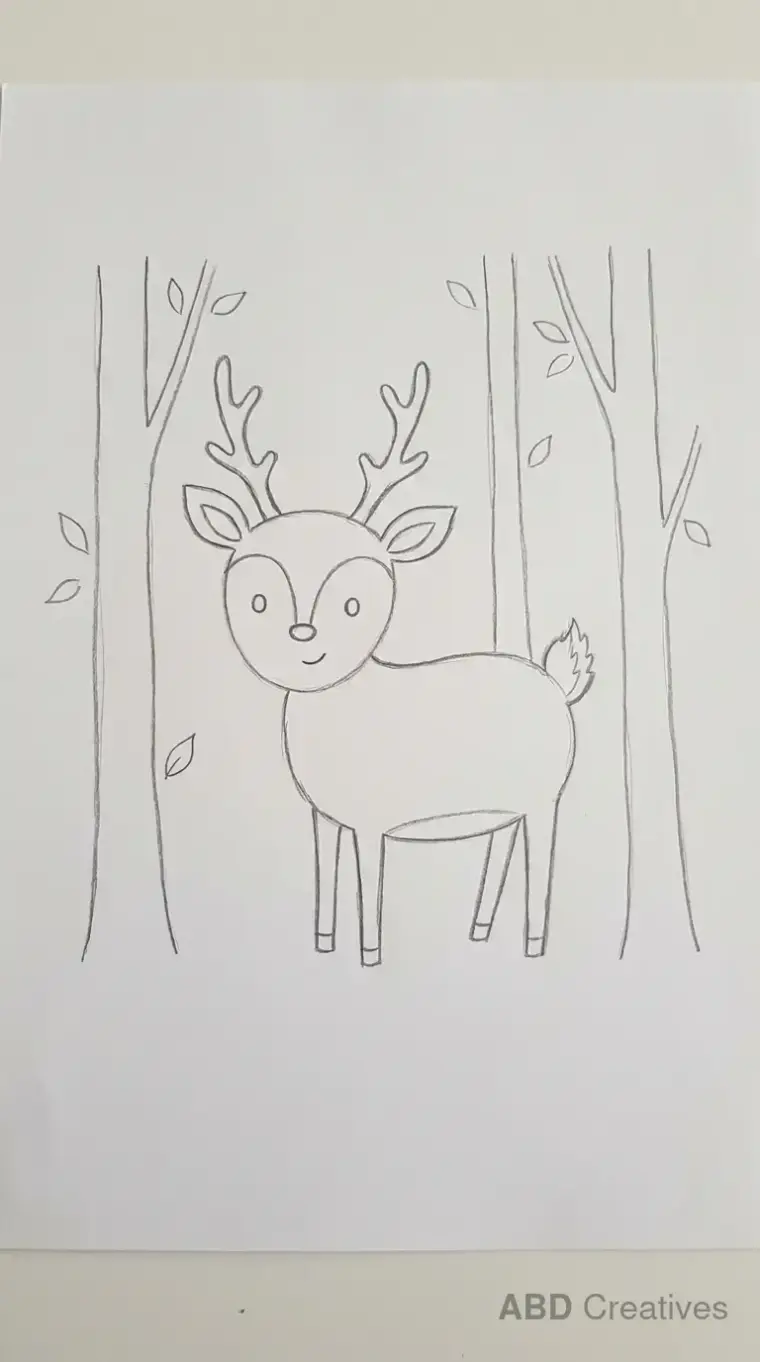
Try the plain standing or plain sitting deer with no antlers or props. These focus on getting the slender legs and the body shape right before you add anything extra.
If you have drawn animals before
Move on to a deer with a prop, such as one holding a flower, wearing a scarf, or carrying a small lantern. These add a little more detail without changing the basic shape.
If you want a challenge
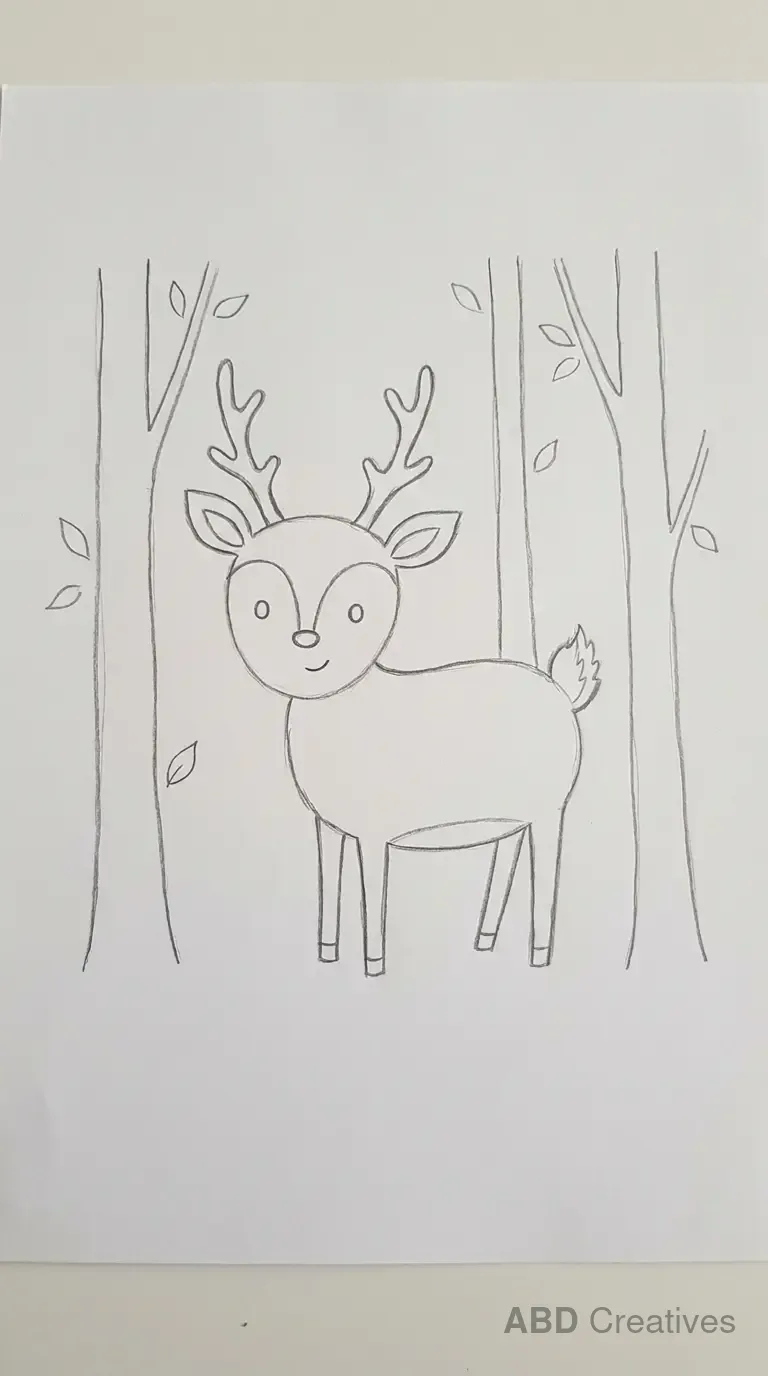
Try the jumping deer or the walking deer from the side. Legs in motion are trickier to get right, and the forest scene adds background elements to plan around the deer.
What you need
A pencil, an eraser and plain paper are enough to copy any drawing on this page. A ruler can help if you want straight guide lines for the legs, but it is not necessary.
Three things that make a deer look like a deer
- Legs too thick. Deer legs are slim and long compared to most animals. Keep them thin or the drawing will start to look like a dog or a horse.
- Antlers too small or missing. On an adult deer, antlers branch outward and upward from the head. Leaving them off or drawing them too short makes the deer look like a fawn instead.
- Ears in the wrong place. Deer ears are large and set high and wide on the head, almost like a rabbit. Small ears placed low will throw off the whole look.
Ways to use these drawings
Print a page and trace it with your child, use one as a colouring page, turn a favourite into a greeting card, or use the outline as a guide for a painting or craft project.
Questions people ask
What do I need to draw a deer?
Just a pencil, an eraser and a plain sheet of paper. A ruler is useful but not required.
Are these drawings suitable for beginners?
Yes. Start with the plain standing or plain sitting deer, since they have no antlers or props to worry about.
How do I draw deer antlers?
Draw a few branching lines that spread out and upward from the top of the head. Keep the lines thin and let them fork two or three times.
Can I colour these drawings?
Yes. Every drawing is a plain pencil outline, so you can print it and colour it in with crayons, pencils or paint.
What is the difference between a deer and a fawn drawing?
A fawn is a baby deer, usually drawn smaller, rounder and without antlers. A full grown deer has antlers and a longer, slimmer body.
Can I use these drawings for a school project?
Yes. You can print, trace or copy any drawing for personal, classroom or craft use.
Do you add new deer drawings over time?
Yes, we add new poses and props to this page from time to time, so check back if you want more ideas.
Are these drawings made by hand?
Yes. Each one was drawn in pencil on plain paper and photographed. They are not computer generated or traced from photographs.